7.
Click Print.
When you start printing, the Job Arranger Lite window is displayed.
8.
With the Job Arranger Lite window opened, open the le that you want to combine with the current le, and
then repeat the above steps.
9.
When you select a print job added to Print Project Lite in the Job Arranger Lite window, you can edit the page
layout.
10.
Click Print from the File menu to start printing.
Note:
If you close the Job Arranger Lite window before adding all the print data to the Print Project, the print job you are
currently working on is canceled. Click Save from the File menu to save the current job. e extension of the saved les
is "ecl".
To open a Print Project, click Job Arranger Lite on the printer driver's Maintenance tab to open the Job Arranger Lite
window. Next, select Open from the File menu to select the le.
Related Information
& “Printing Using Easy Settings” on page 47
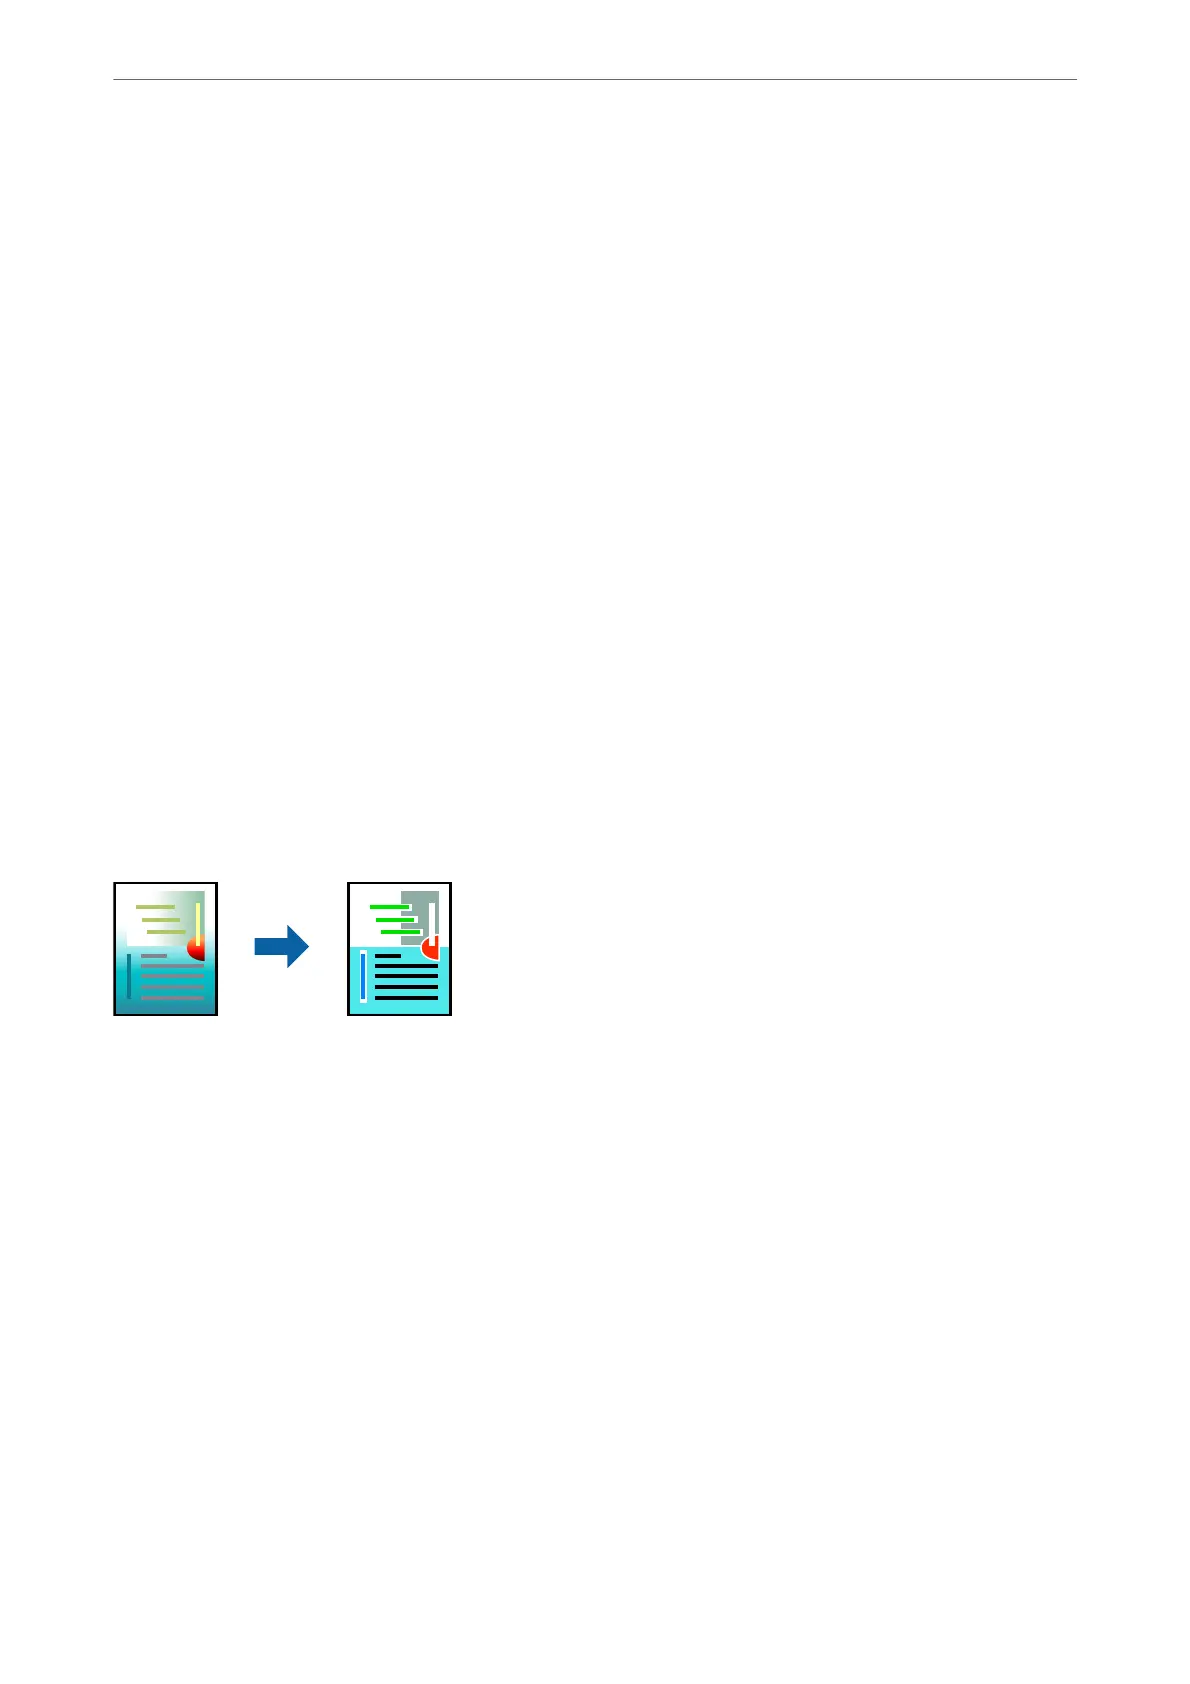
Printing Using the Color Universal Print Feature
You can enhance the visibility of texts and images in printouts.
Color Universal Print is only available when the following settings are selected.
❏ Paper Type: Plain paper, Copy paper, Letterhead
❏ Quality: Standard or a higher quality
❏ Print Color:Color
❏ Applications: Microso® Oce 2007 or later
❏ Text Size: 96 pts or smaller
1.
Load paper in the printer .
“Loading Paper in the Paper Cassette” on page 31
“Loading Paper in the Paper Tray” on page 34
2.
Open the
le
you want to print.
3.
Select Print or Print Setup from the File menu.
4.
Select your printer.
Printing
>
Printing Documents
>
Printing from a Computer - Windows
70
 Loading...