3.
Select the computer to which you want to save the scanned images.
4.
Select the scanning side from 1-Sided or 2-Sided.
5.
Select
, check the Scanner Settings, and then change them if necessary.
You can change the settings such as Slow or DFDS Function.
6.
Tap
x
.
Epson ScanSmart automatically starts on your computer, and scanning starts.
Related Information
& “Application for Scanning from a Computer (Epson ScanSmart)” on page 25
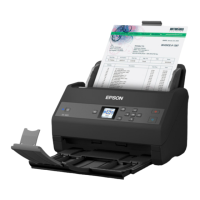
Scanning to a Network Folder
You can save the scanned image to a specied folder on a network. You can specify the folder by entering a folder
path directly, but it may be easier if you register the folder information in the contacts list
rst.
Before scanning, you need to set a network folder or FTP server.
Note:
❏ Make sure the scanner’s Date/Time and Time Dierence settings are correct. Select Settings > Basic Settings > Date/
Time Settings on the control panel.
❏ You can check destination before scanning. Select Settings > Scanner Settings, and then enable the Conrm Recipient.
1.
Place the originals.
2.
Select Network Folder/FTP on the home screen of the scanner’s control panel.
Scanning
>
Scanning Using the Scanner's Control Panel
>
Scanning to a Network Folder
102

 Loading...