30
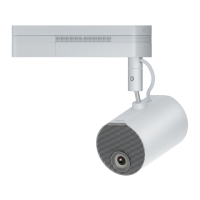
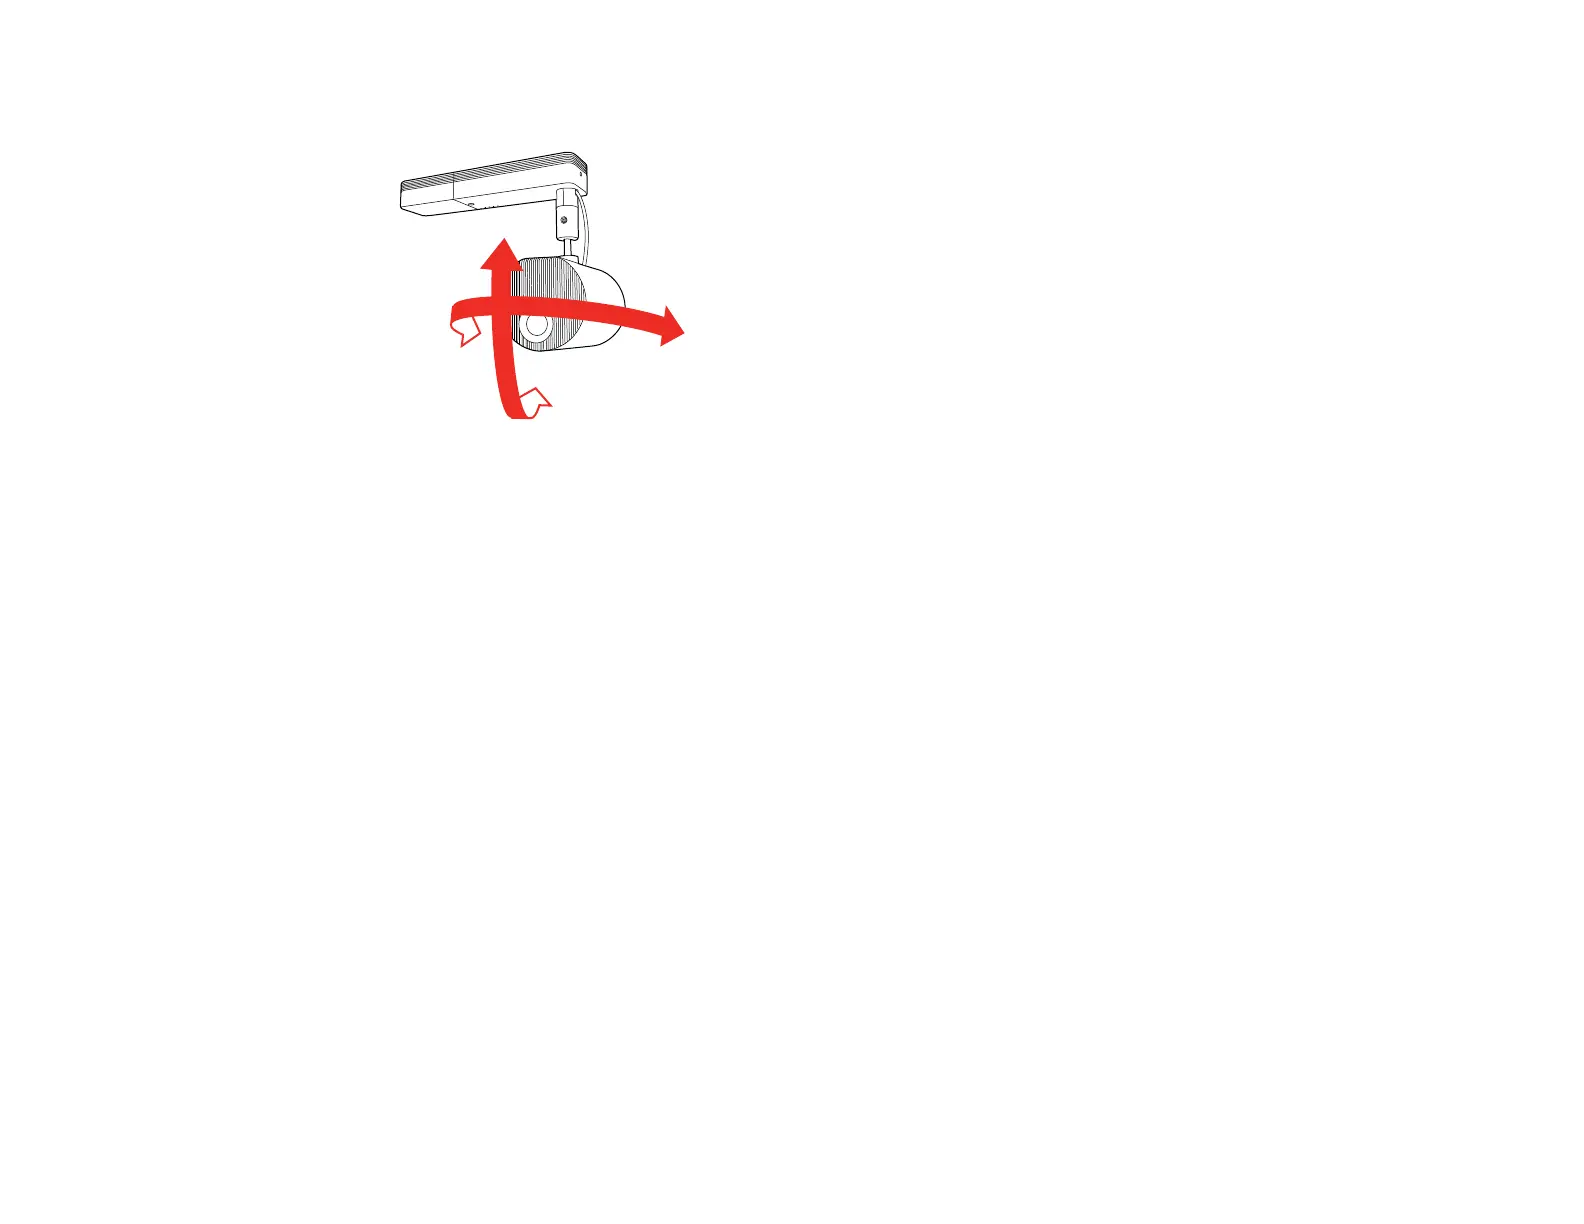
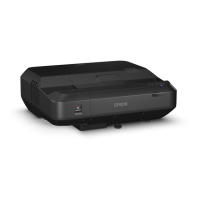
3. Tilt the projection unit to adjust the projection angle.
Caution: Make sure the cables do not tangle around the ball joint or you may damage the projector.
4. When you finish, tighten the ball joint screw using the supplied hexagonal wrench. Make sure to
support the projection unit so that it does not move.
Caution: Do not force the ball joint to move after tightening the ball joint screw or you may damage
the projector.
Parent topic: Projector Setup and Installation Options
Projection Distance
The distance at which you place the projector from the screen determines the approximate size of the
image. The image size increases the farther the projector is from the screen, but can vary depending on
the zoom factor, aspect ratio, and other settings.
Refer to the tables in the Installation Guide to determine approximately how far to place the projector
from the screen based on the size of the projected image. (Conversion figures may have been rounded
up or down.) You can also use the Projection Distance Calculator here (U.S.), here (Canada), or here
(Caribbean).
Parent topic: Projector Placement