179
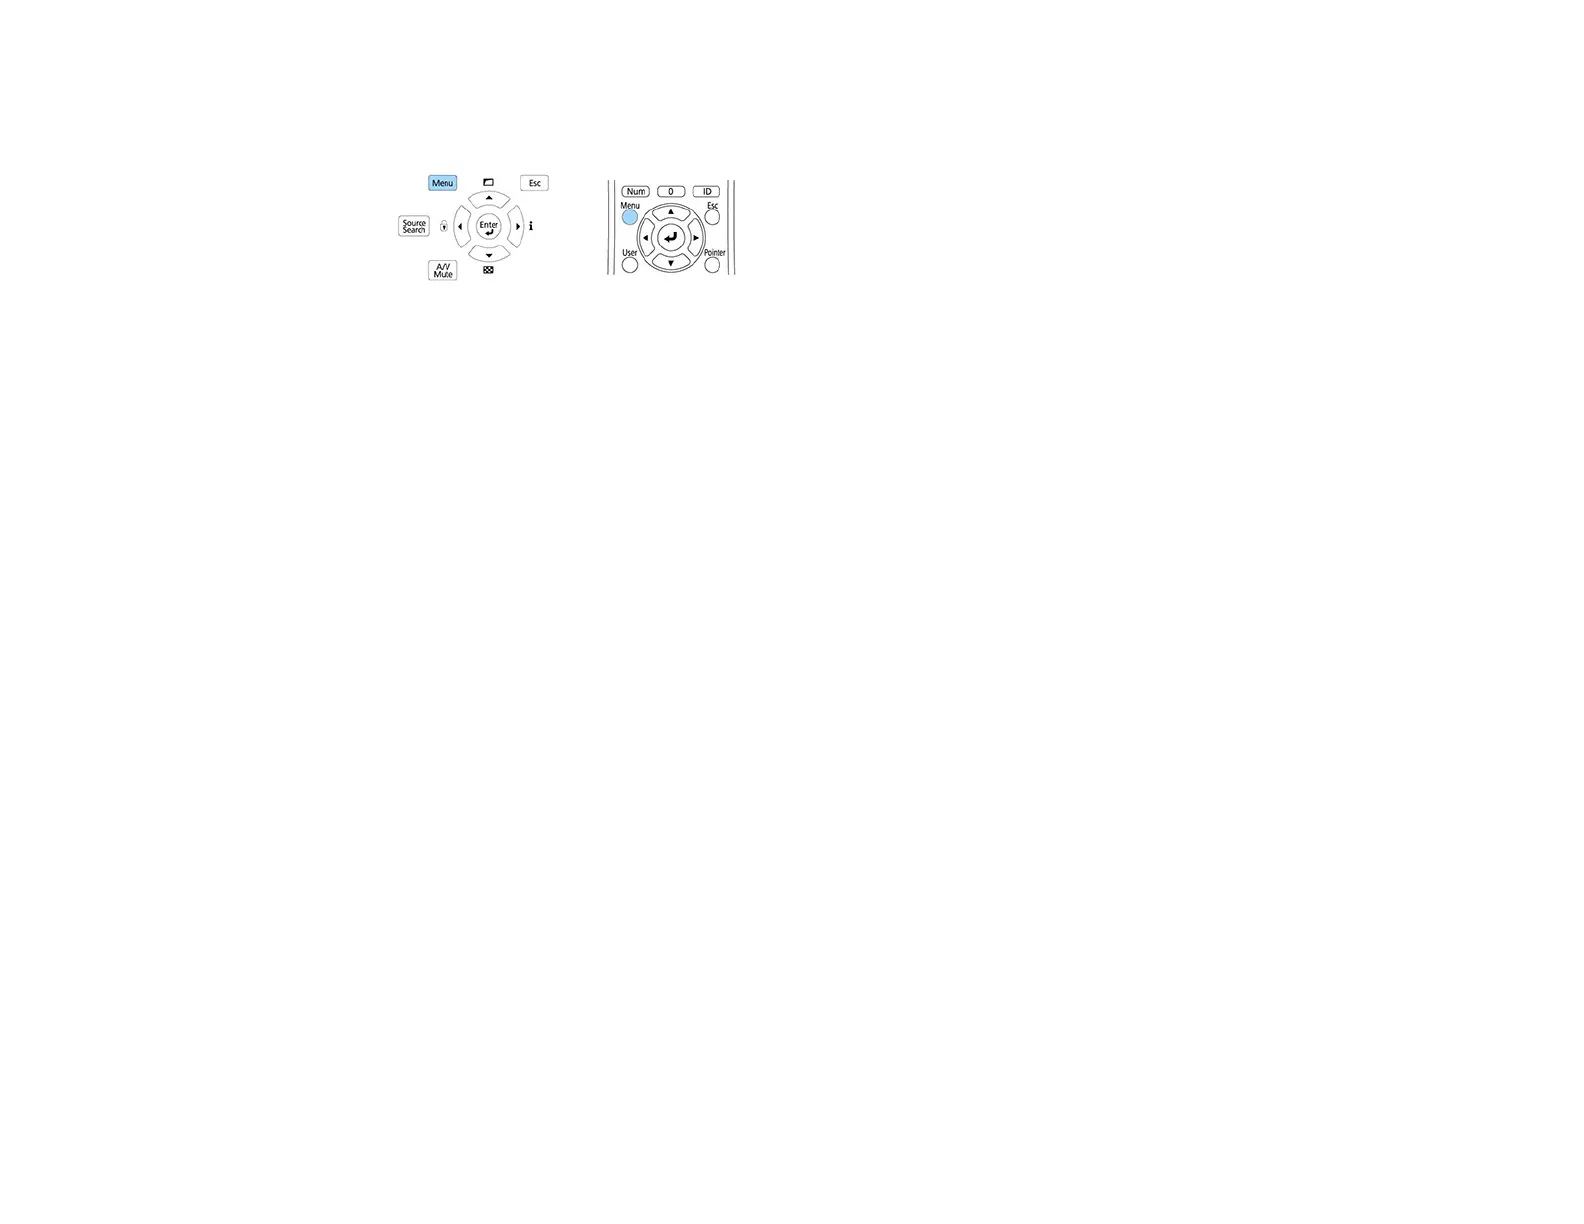
4. Press and hold the Menu button on the control panel or remote control as you connect the power
cord to the projector's power inlet.
5. When the On/Standby and Status lights are blue, and the Laser and Temp lights are orange, release
the Menu button.
The projector shows up as a removable disk on your computer.
6. Copy the pjconfdata.bin file from your computer to the removable disk.
Note: Do not copy any other files to the removable disk.
7. Once the file has copied, do one of the following:
• Windows: Open the My Computer, Computer, or Windows Explorer utility. Right-click the
name of your projector (listed as a removable disk) and select Eject.
• Mac: Drag the removable disk icon for your projector from the desktop into the trash.
When the lights stop flashing, the On/Standby light turns blue and the projector enters standby
mode.
Caution: Do not unplug the power cord while the lights are flashing. This could damage the
projector.
Parent topic: Copying Menu Settings Between Projectors
Related references
Projector Light Status
 Loading...