EPSON Stylus CX7300/CX7400/DX7400/NX200/TX200 series/SX200 series/Stylus CX8300/CX8400/DX8400/NX400/TX400 series/SX400 series Revision C
DISASSEMBLY/ASSEMBLY Removing the Housing 99
Confidential
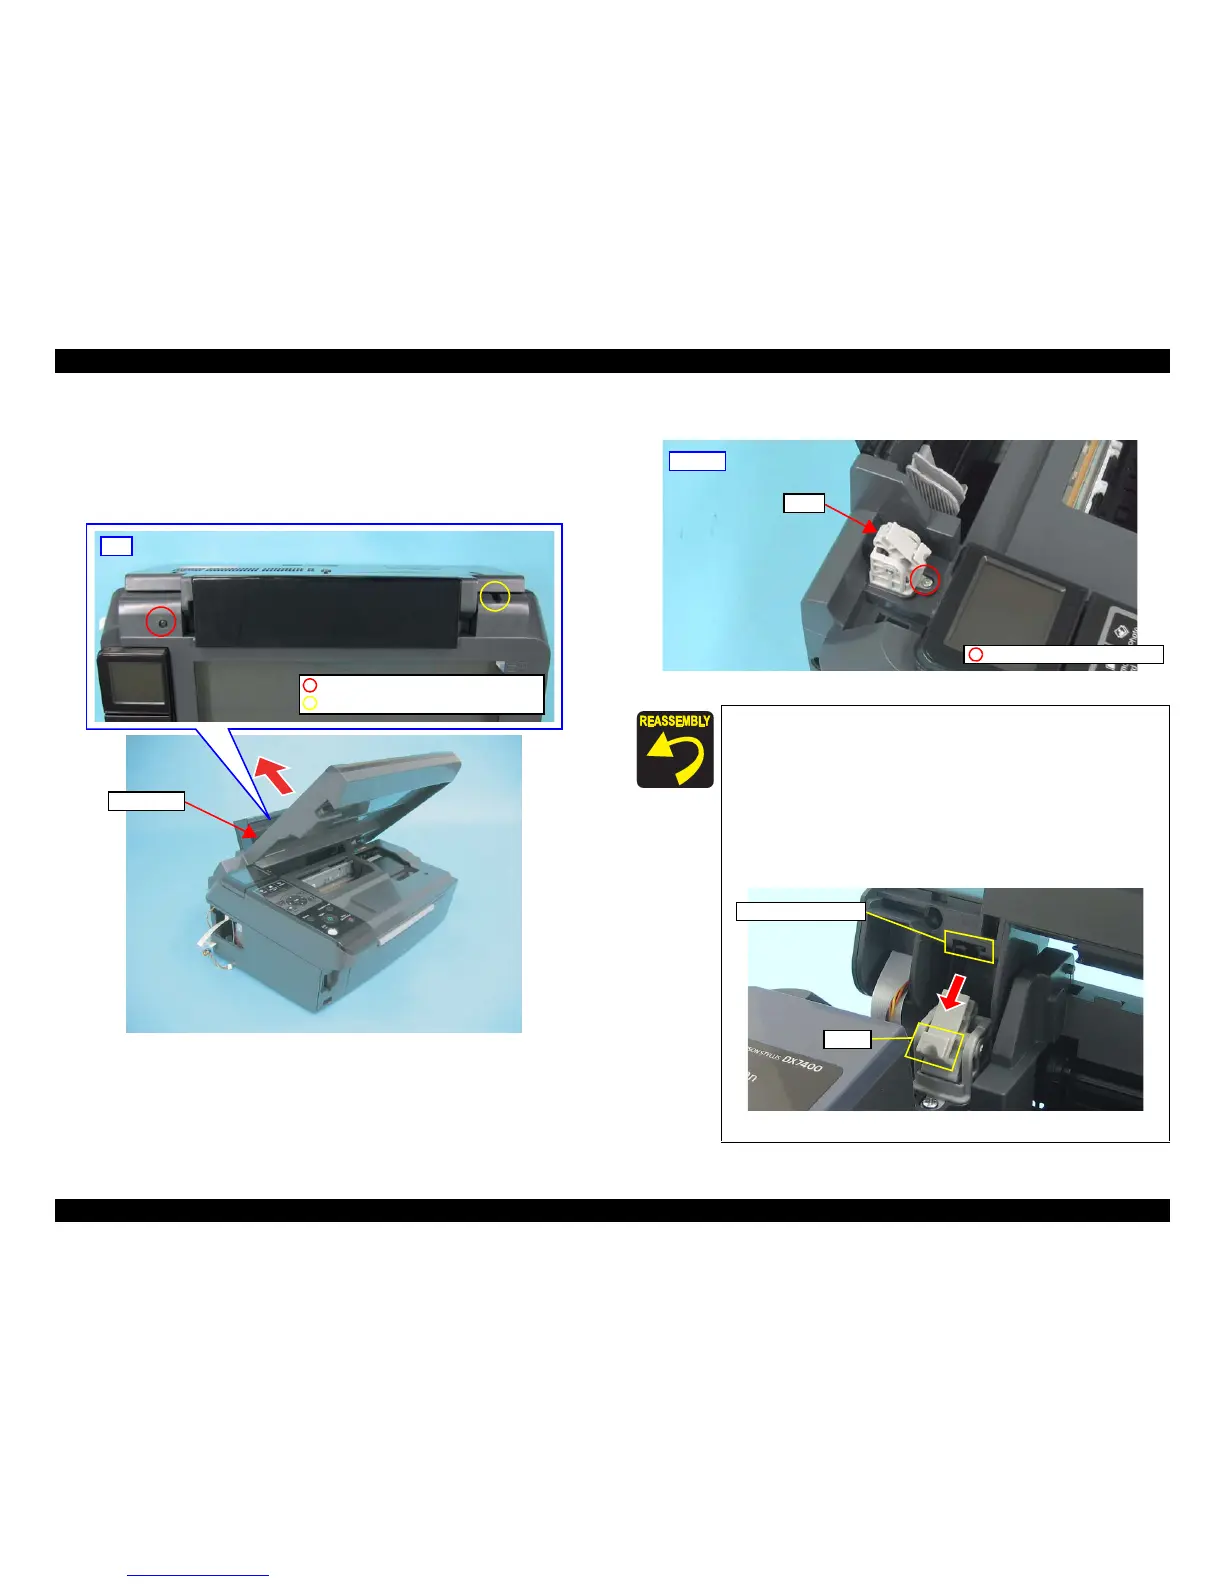
6. Remove the screws (x2) that secure the Scanner Unit.
7. Open the Scanner Unit.
8. Pull out the Scanner Unit in the direction of the arrow, taking care not to let
the Scanner Motor Cable and Scanner Carriage FFC get caught by the Upper
Housing.
Figure 4-8. Removing the Scanner Unit (2)
9.
Remove the screw (x1) that secures the Hinge and remove the Hinge.
Figure 4-9. Removing the Hinge
Top
C.B.P. 3x10, F/Zb-3C (Black) (6±1kgfcm)
C.B.P. 3x10, F/Zn-3C (Silver) (6±1kgfcm)
When installing the USB Cover, match the tabs (x3) with the
positioning holes (x3) of the Upper Housing as shown in
Figure 4-6.
Route the Scanner Carriage FFC and secure it to the Upper
Housing and Main Board Frame with double-sided tape as
shown in
Figure 4-7.
When installing the Scanner Unit, engage the groove of the
Scanner Unit with the hook of the Hinge as shown in
Figure
4-10.
Figure 4-10. Installing the Scanner Unit
Hinge
C.B.P. 3x10, F/Zn-3C (6±1kgfcm)
Left Side
Groove of Scanner Unit
Hook

 Loading...


