204
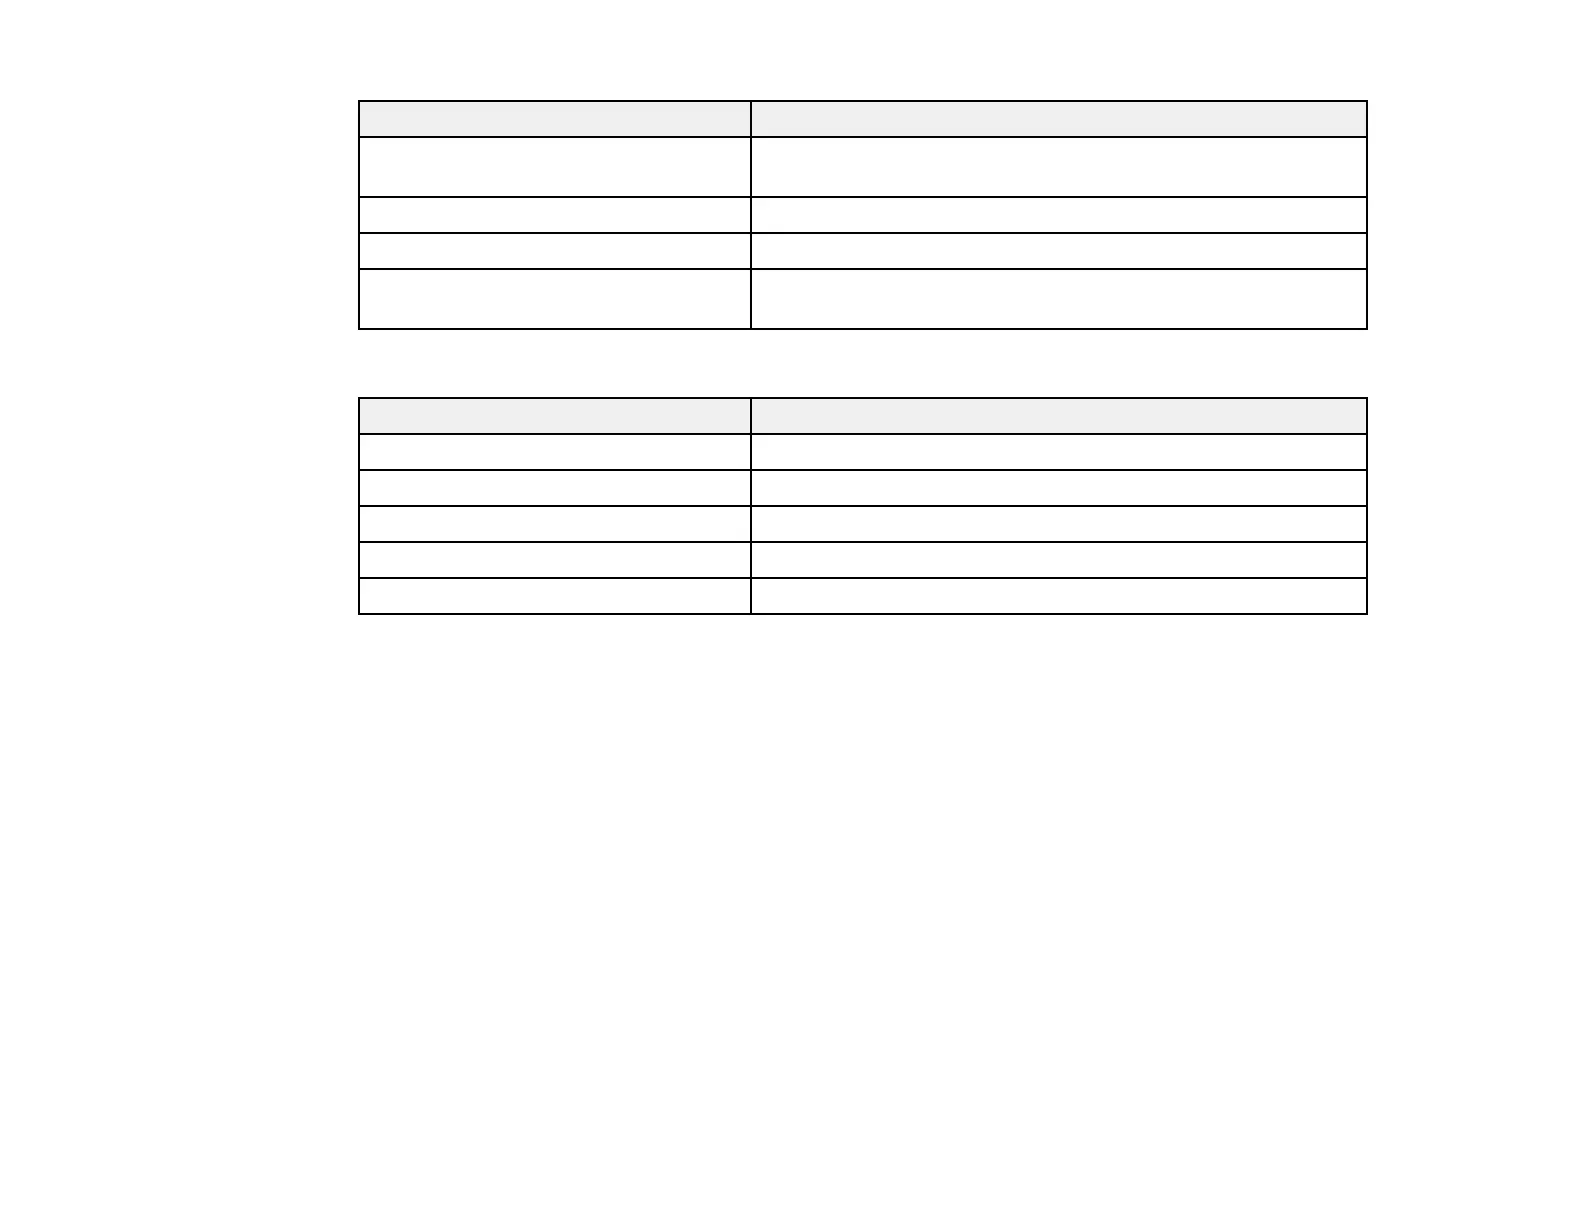
Setting Options/Description
Access Authority Set the access authority when SNMPv1/v2c is enabled to
Read Only or Read/Write
Community Name (Read Only) Enter 0 to 32 ASCII characters
Community Name (Read/Write) Enter 0 to 32 ASCII characters
Allow access from Epson tools Allow information to be written from Epson tools such as
Epson Device Admin
SNMPv3 Settings
Setting Options/Description
Enable SNMPv3 Enable SNMPv3 for products that support SNMPv3
User Name Enter 1 to 32 characters
Authentication Settings Select an algorithm and set a password for authentication
Encryption Settings Select an algorithm and set a password for encryption
Context Name Enter 1 to 32 characters in Unicode (UTF-8)
Parent topic: Configuring Protocols and Services in Web Config
Configuring SSL/TLS Communication
Follow the instructions in these sections to configure SSL/TLS communication using Web Config.
Configuring SSL/TLS Settings
Configuring a Server Certificate for the Product
Parent topic: Using Your Product on a Secure Network
Configuring SSL/TLS Settings
If your product supports HTTPS, you can configure SSL/TLS to encrypt communications with your
product.
1. Access Web Config and select Network Security tab.
2. Select SSL/TLS and select Basic.
3. Select one of the options for the Encryption Strength setting.
4. Select Enable or Disable for the Redirect HTTP to HTTPS setting as necessary.
 Loading...