Chapter 8 Installing Optional Products
> 8.1 Disk Installation
ETERNUS DX60/DX80/DX90 Disk storage system User Guide
191
Copyright 2010 FUJITSU LIMITED
P3AM-3042-07ENZ0
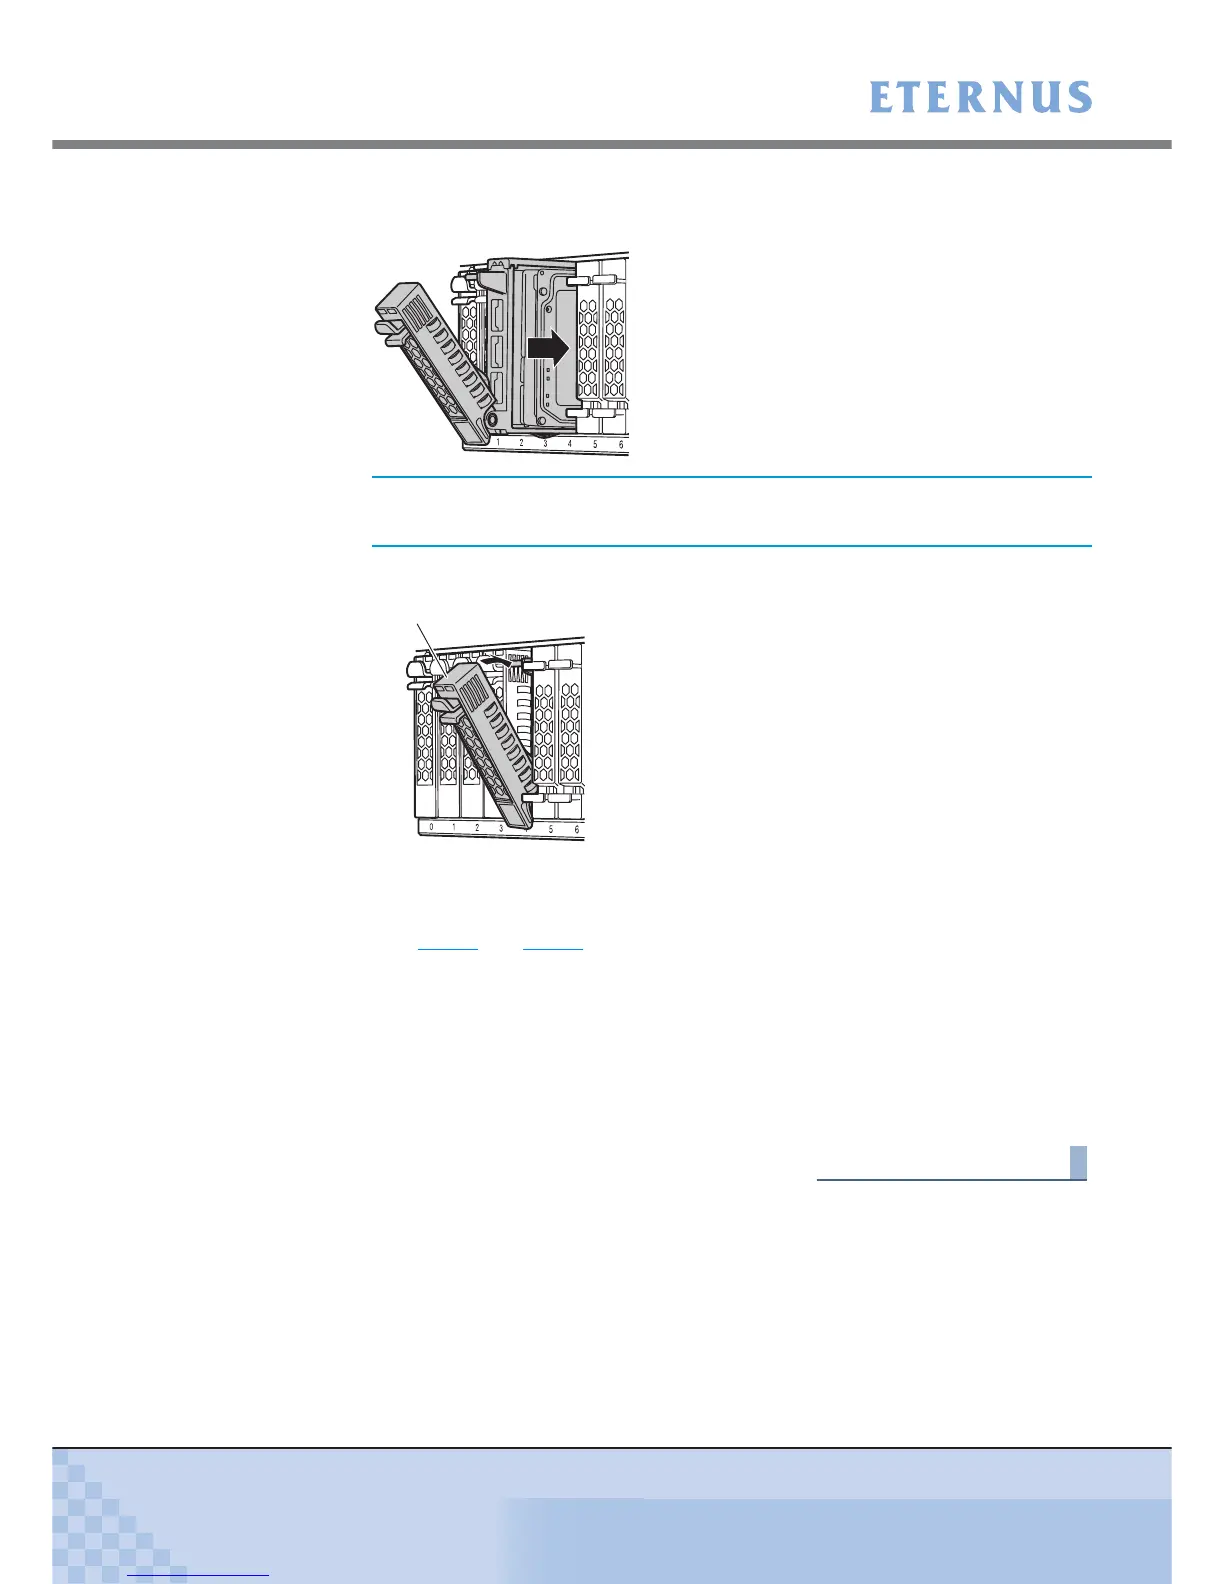
5-2 Insert the disk all the way into in the slot, making sure that it is firmly seated and
keeping the lock lever open.
5-3 Swing the lock lever in the direction of the arrow, until the lock clicks shut.
5-4 Check that the newly installed disk’s DISK READY LED lights up green after
approximately 30 seconds.
6 Repeat Step 4 and Step 5 for each additional disk.
7 Remove the wrist strap.
8 On the Storage System Status screen of GUI, check that the added disks have
been recognized.
9 Set up RAID groups, volumes, hot spares, and Host Affinity settings on the new
disks, as required.
End of procedure