13
5.3 MOUNTING THE BICYCLES TO THE RACK
5.4 USING THE TENSIONRELIEF STRAP
These instructions describe the use with estates and compact vehicles with a hatchback (rear door). With boots
(saloons) proceed appropriately.
Before mounting the tension-relief strap, remove dust and dirt from the upper region of the rear door in order
to prevent scratching and abrasion when travelling with the tow-bar rack.
Open the rear door of your vehicle. Guide the free end of the strap from the inside to the outside between the
rear door and the edge of the roof. Leave approximately 20 cm free between the strap anchor and the edge of
the roof. Carefully close the rear door. Make sure that the strap lies at and straight between the seals. Now
slowly pull the strap until the strap anchor meets the panel of the roof liner and the rear door.
The bicycle rack may not be used without this safety strap.
Make sure that any roof edge spoilers are not damaged and that the functionality of
the tension-relief strap is not in uenced by such spoilers.
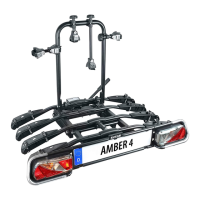
The rst bicycle is placed in the rst wheel rail (closest to the vehicle) and secured to the U-bracket
with the short frame holder. To do this, use the side of the frame holder with the tensioning strap
to secure to the bicycle frame. The wheels are secured by placing the tensioning straps around the
wheel rim of your bicycle and tightening the straps. Caution: The front wheel must also be secured
to prevent it from turning using an additional small tensioning strap. To do this, secure the front
wheel to the rail again at a di erent position (see picture).
The second bicycle is usually placed in the second rail, facing the opposite direction to the rst and
secured to the U-bracket with the long frame holder. The wheels are secured in the same way as for
the rst bicycle. The third bicycle is placed in the third rail and secured with the long frame holder
to the U-shaped bar. The fourth bicycle is secured in the fourth rail. With the wheel-to-wheel frame
holder connect the frame of the fourth bicycle with that of the third. The bicycle wheels are secured
in the same way as those of the rst bicycle. It may be necessary to use a di erent method than
the one described to secure the bicycles individually on the rack to ensure that the frame holders
may be correctly secured. Now secure the bicycles with the long safety strap. Wrap the safety strap
through the bicycle frames and the U-shaped bar and tighten.
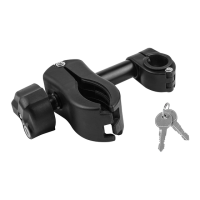
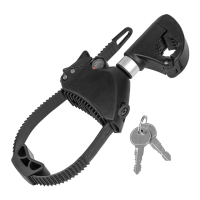
Now attach the lock section of the strap to the U-bar as shown on Figures 1 to 4.
Figure 1 Figure 2 Figure 3 Figure 4
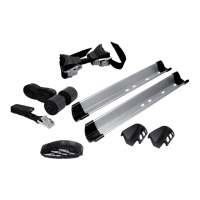
Tension-relief strap
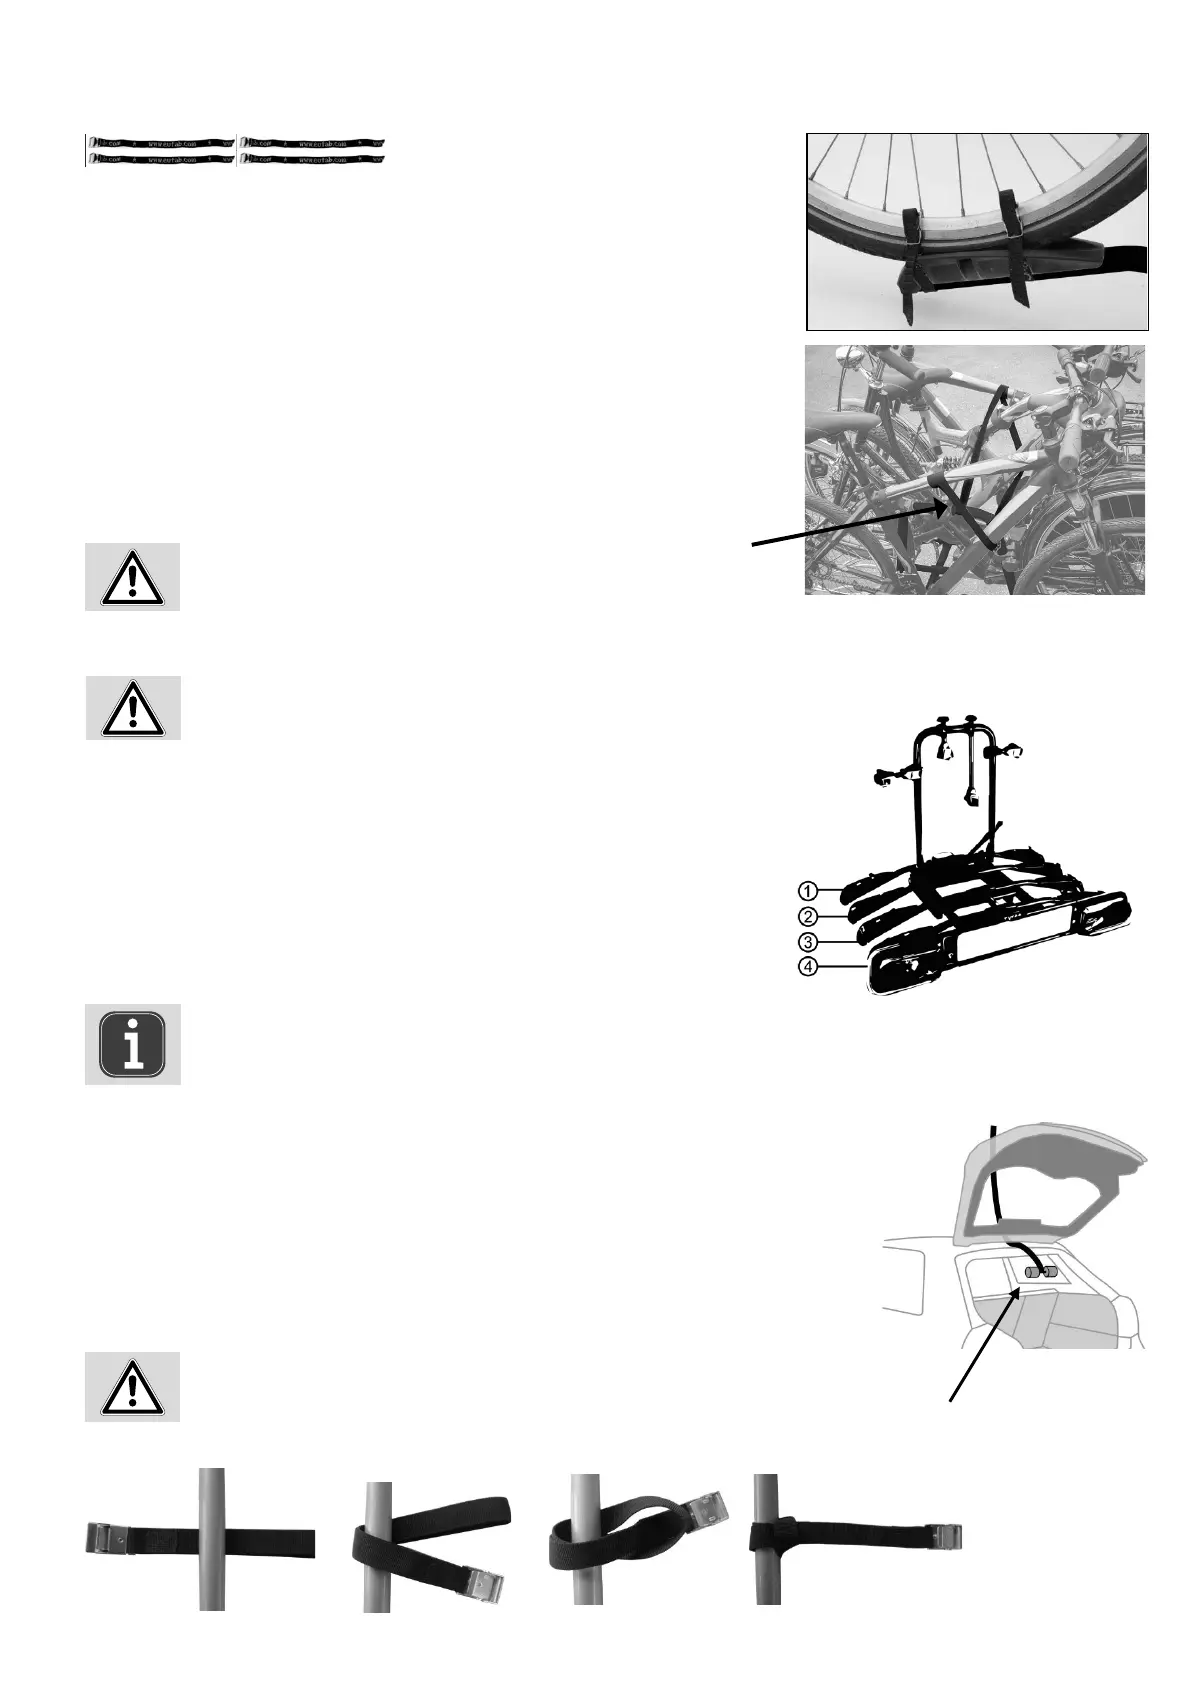
4 x Tensioning strap, short
Safety strap
When transporting e-bikes, the payload of the bicycle carrier and the maximum load capacity of each individual bicycle rail
must not be exceeded.
If you transport an e-bike on rails 1 or 2, the other bikes must be correspondingly lighter so that the bike carrier is not overloaded. Before loading,
determine the weight of each bicycle (e.g. using a personal scale).
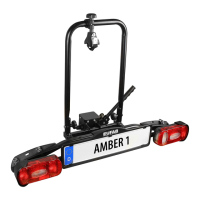
5.3.1 TRANSPORT OF EBIKES
Mount e-bikes only on the bicycle rails 1 and 2, see picture.
Maximum load capacity of the bicycle rails:
rail 1: 27.5 kg
rail 2: 27.5 kg
rail 3: 15.0 kg
rail 4: 15.0 kg
Load the bike carrier so that the maximum payload is not exceeded. See section 3. Speci cations.
Regularly check the rm seating of the rack on the trailer tow bar as well as the attachment of the bicycles to the rack. Also regularly check the functions of the
lighting system of your bicycle rack.
 Loading...