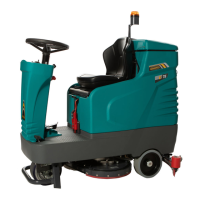
Gradually open the valve by turning the device pos 3 and dosing the water leakage to avoid splashing;
Once the tank has been emptied, remove the cover pos.4 and carefully wash the inside with water.
Wash well to make sure all residues are removed, even the smallest ones (sand) and also clean the closing valve well
so it is always in good operating condition;
Screw off the anti-foam device pos. 5 and wash the float pos. 6 without removing it from the machine;
Remove and wash the curved sleeve pos. 7 removing any dirt deposits;
Wash the squeegee vacuum pipe. To perform this operation, remove the pipe pos. 9 from the squeegee, fit the water
pipe in the duct pos. 8 and allow water to flow. This will avoid the formation of scale deposits inside the pipe and
vacuum will always be perfect;
After cleaning, fit the anti-foam device pos. 5 back on together with the curved sleeve pos. 7. Close the valve pos. 3,
fit the cap pos. 2 back on and return the drain pipe pos. 1 to its housing. Fit the cover pos. 4 back on and refit the
squeegee vacuum pipe pos. 9 making it form the anti-drip loop;
During tank cleaning avoid any water spraying onto the control panel (pos. 10).
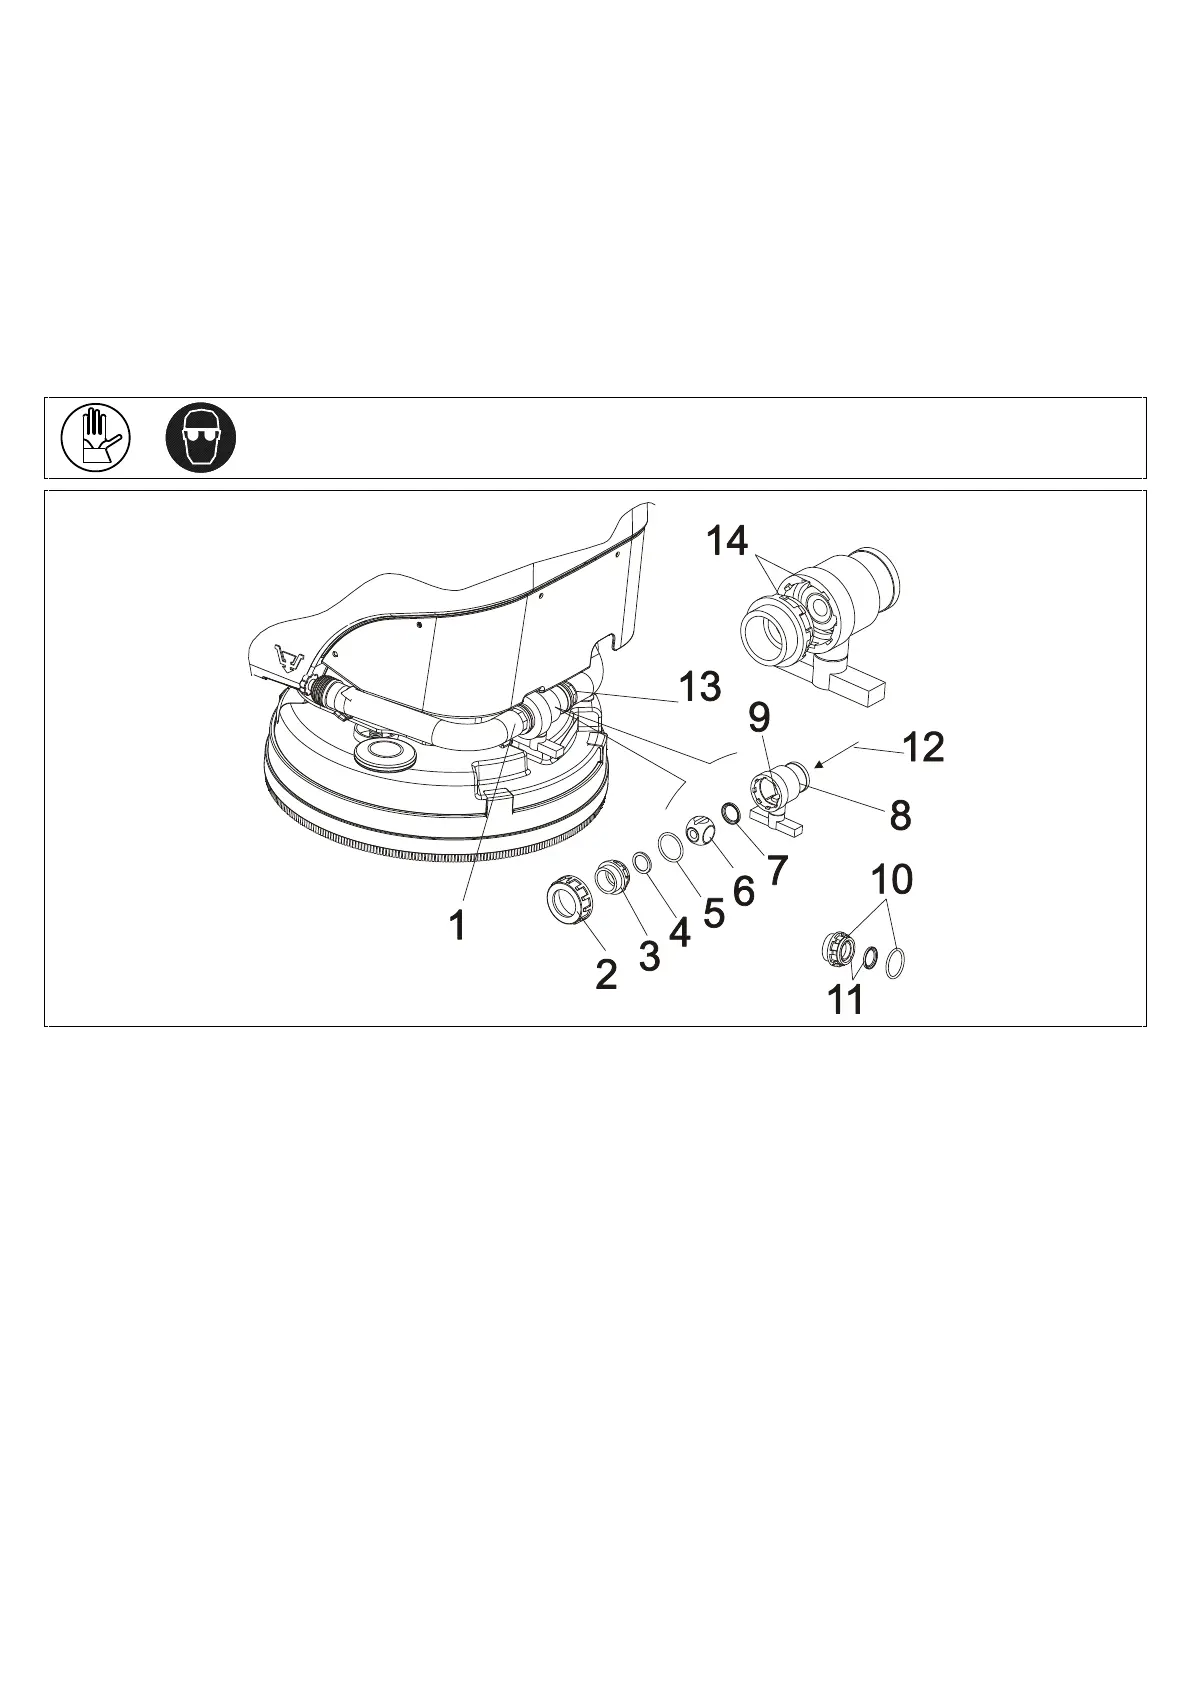
RECOVERY TANK DRAIN VALVE CLEANING
In case of difficulty in closing the valve, check it and remove any scale or residues.
This operation must be performed with the recovery tank empty and clean.
Proceed as follows:
Unscrew the pipe pos. 1 from the valve;
Unscrew the valve from the pipe pos. 13;
Unscrew and remove the ring nut pos. 2 manually;
Remove the sleeve pos. 3 in which the seal pos.4 and the gasket pos. 5 are fitted;
With the valve in closed position, take out the ball pos. 6 by pushing it with your finger on the side indicated by the
arrow pos. 12;
Take the seal pos. 7 out of the valve body pos. 8;
Clean the valve body pos. 8, the seals pos. 4 and 7 and the ball pos. 6;
Put everything back in place, being careful to fit the seal pos. 7 back into its housing in the valve body pos. 8 keeping
the chamfered side towards the ball pos. 6;
Fit the ball pos. 6 back on being careful to center it properly on the valve body pos. 9;
Fit the seal pos. 4 (make sure the chamfered side is turned towards the ball) and fit the gasket pos. 5 in the sleeve
pos. 3 back on into the corresponding housings as indicated in pos. 10-11;
Fit the sleeve pos. 3 in the valve body, being careful to ensure the sleeve teeth coincide with the valve body housings
as can be seen in pos. 14;
Fit the ring nut pos. 2 back on and secure manually;
Fit the valve back on the machine and screw it up on the pipes pos. 1 and 13 in accordance with the direction shown
in the pictures.