Raptor User Manual
2017 EverySight Ltd. Proprietary Page 9 of 46 Rev 1.0
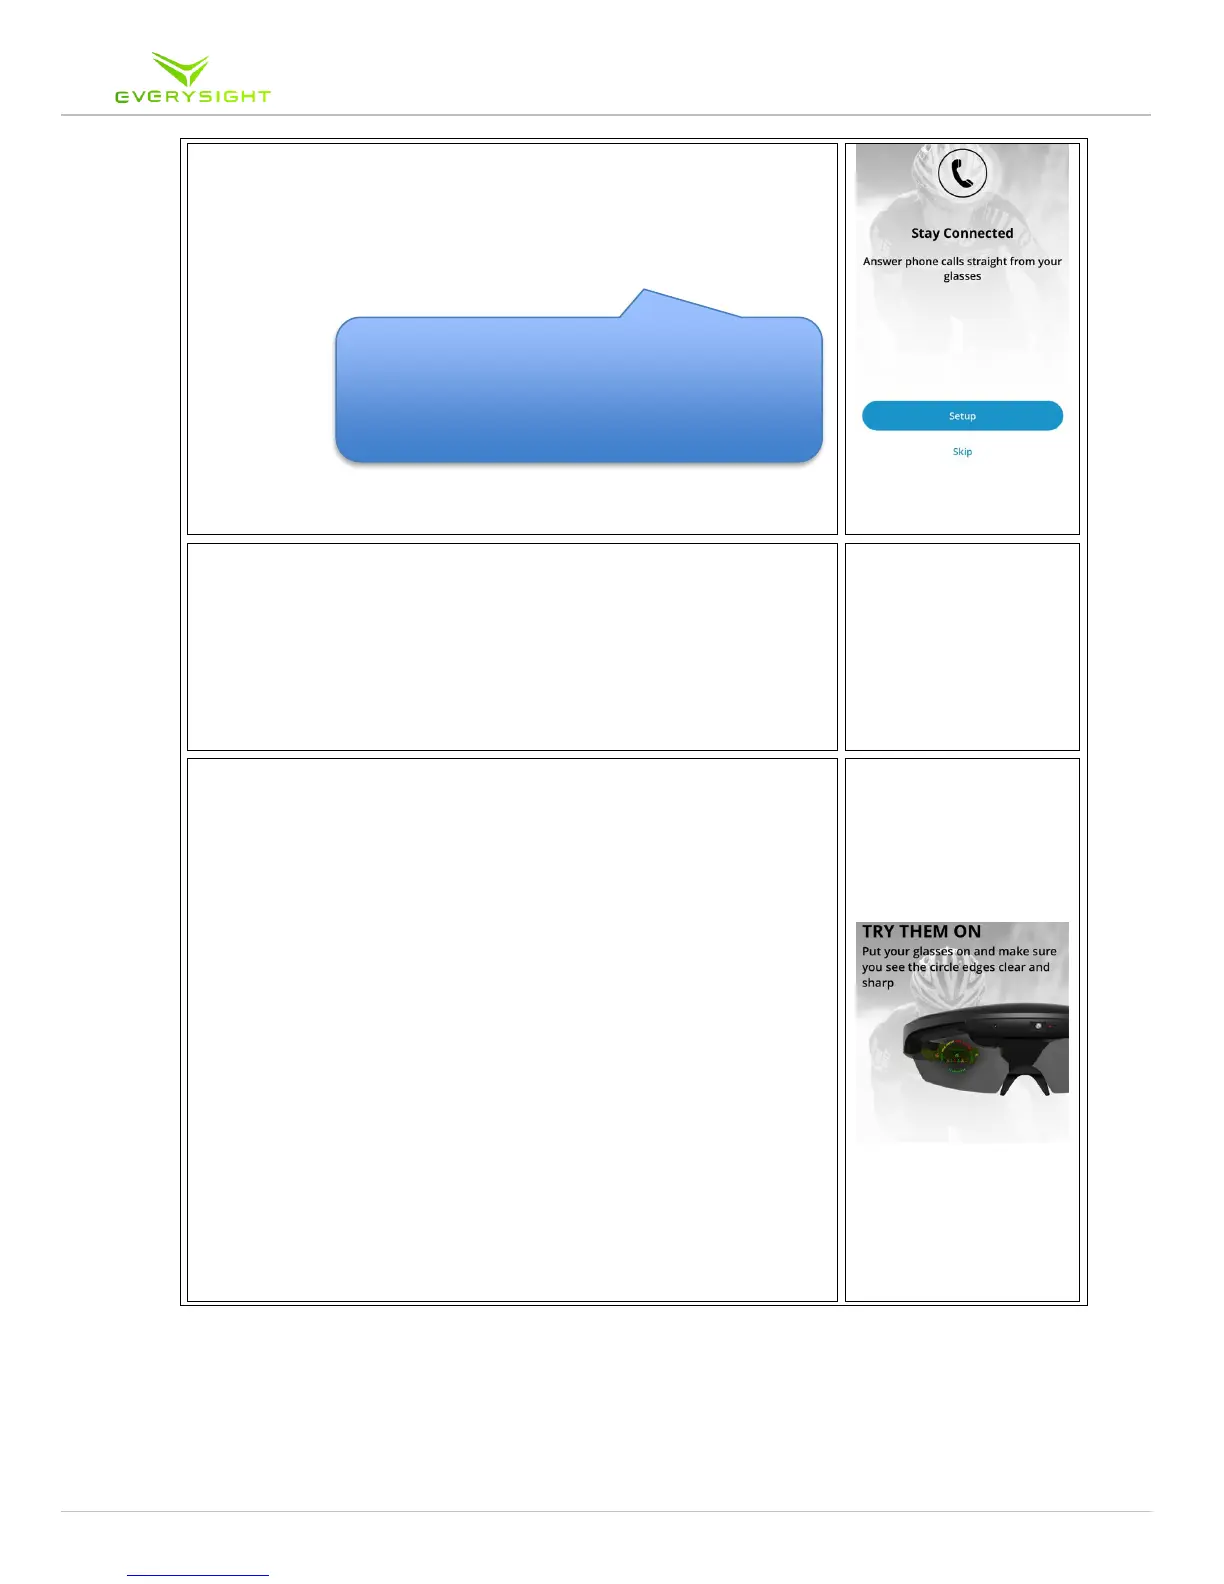
6. Next the Everysight app will request permission for phone
notifications (phone calls and messages). Once you click
‘Setup’, simply follow the instructions on the app.
7. The Raptor's innovative BEAM
tm
technology display needs to
be adjusted to your unique facial structure. The following two
steps will ensure a clear and tailored display while using your
Raptor smartglasses.
Please note! Adjustments may need to be made in cases where
the Raptor's display is moved (i.e. using a different helmet,
shifting of the nosepiece etc.),
7.1. Adjusting the Raptor's nosepiece for your comfort
and the security of your smartglasses. (PUT YOUR
HELMET ON!!)
The goal of this step is to adjust the Raptor for your
comfort; make sure that the nosepiece is comfortable, that
the Raptor is secured in place and resting flush against
your forehead.
The helmet affects the Raptor's position on your face
and the display's location accordingly. Therefore,
MAKE SURE YOU ARE WEARING YOUR HELMET with
the straps sitting underneath the glasses.
The nosepiece was designed to be adjusted; you can open,
close or tilt the nosepiece forward or back for your
comfort and security so the Raptor doesn't move while
riding.
Hint: If you wish to do this later, you can
always change this feature by accessing your
settings menu in the Everysight App and
selecting ‘Start HFP Setup’