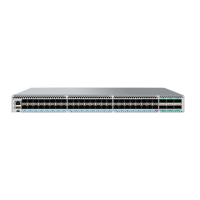
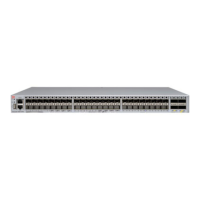
When the SLX 9540 device is powered on, the LEDs on the power supply rear panel should light up green to conrm that the power
supply is correctly installed and supplying power.
NOTE
If you do not install a power supply in a slot, you must keep the slot ller panel in place. If you run the device with an uncovered
slot, the system will overheat.
Inserting a new DC power supply
CAUTION
All devices with DC power supplies are intended for installation in restricted access areas only. A restricted access area is a
location where access can be gained only by trained service personnel through the use of a special tool, lock and key, or
other means of security, and is controlled by the authority responsible for the location.
NOTE
This equipment installation must meet NEC/CEC code requirements. Consult your local authorities for required regulations
Use the following steps to install an DC power supply in the SLX 9540 device.
FIGURE 45 Installing an DC power supply unit
1. DC power supply terminals 2. Safety ground screw
1. Make sure that power is disconnected at the circuit breaker before proceeding.
2. Prepare the power and safety grounding wires using the appropriate size wire, crimp on ring lugs and heat shrink tube for all
three wires. Due to the limited space for the safety ground wire, we recommend using a 90 angled lug such as:
• TE Connectivity Solistrand "16-14HD 90 Ring 8", part number 184269-1 for 14 AWG wire
• PIDG 12-10 Ring #8, 90-DEG, part number 1958340-1 for 12 or 10 AWG wire
Inserting a new DC power supply
ExtremeSwitching SLX 9540 Hardware Installation Guide
82 9036360-00 Rev AB

 Loading...


