11
ENGLISH
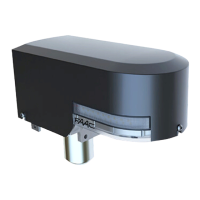
The carriages allow leaf height adjustment of ± 7.5 mm.
Adjustment procedure:
• Slightly loosen the two cylinder head screws - fig.15 ref..
• Turn the screw (fig.16) clockwise to raise the leaves or anti-clockwise
to lower them.
• Tighten the two cylinder head screws you had loosened
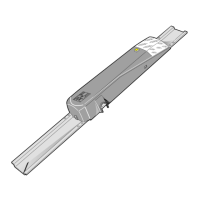
4.1A LEAF HEIGHT ADJUSTMENT
4A ADJUSTING THE LEAVES
When you have prepared the leaves, install them on the support
profile.
The carriages have two sliding wheels (Fig.15 ref. ) and a
counter-thrust wheel (Fig.15 ref. )
Two slots are provided on the base of the carriages. These slots
enable leaf depth adjustment (Fig.15 ref. )
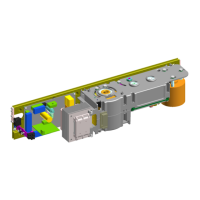
4.2A LEAF DEPTH ADJUSTMENT
To adjust the depth of the leaves, loosen the screws as shown in
Fig. 17.
Move the leaf on the carriage slot as you require and tighten the
screws.
Make sure that the leaves are parallel with respect
to the support profile.
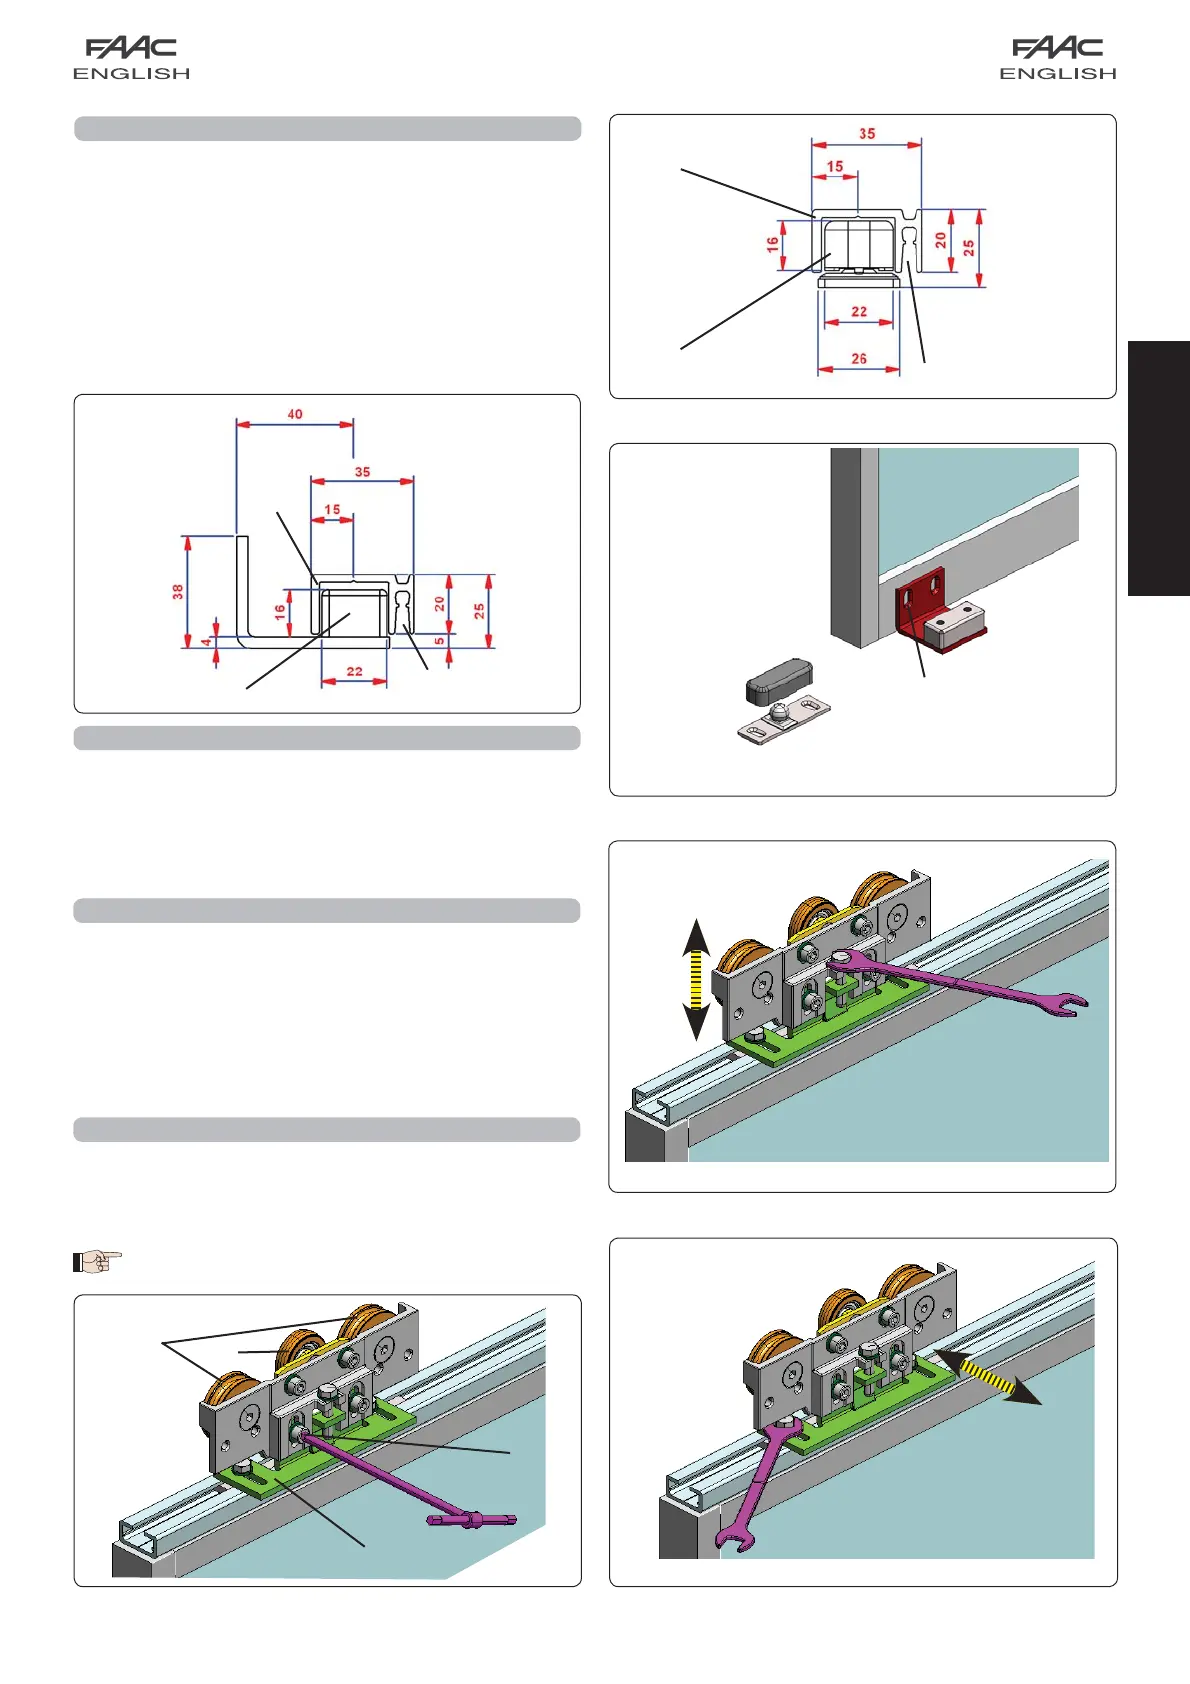
3A INSTALLING THE LOWER SLIDING BLOCKS
The lower sliding blocks are designed for securing to a wall (or
fixed leaf) or to the floor.
Assemble the sliding blocks, referring to the dimensions in figures
12 and 13.
On-wall securing (or on fixed leaf):
• Secure the sliding blocks as shown in Fig. 14 ref., using
adequate screws.
Securing on the floor
• Directly secure the sliding block to the floor, as shown in Fig. 14
ref. , using adequate expansion plugs and screws.
fig. 14
fig. 13
fig. 12
fig. 15
fig. 17
fig. 16