EasyManuals Logo

Fargo DTC1250e User Manual

Fargo DTC1250e
145 pages
To Next Page IconTo Next Page
To Previous Page IconTo Previous Page
Page #71 background imageLoading...
Page #71 background image
DTC1000Me-1250e-4250e-4500e Card Printer Service Manual PLT-01543 rev 1.0
November 2013 71
.
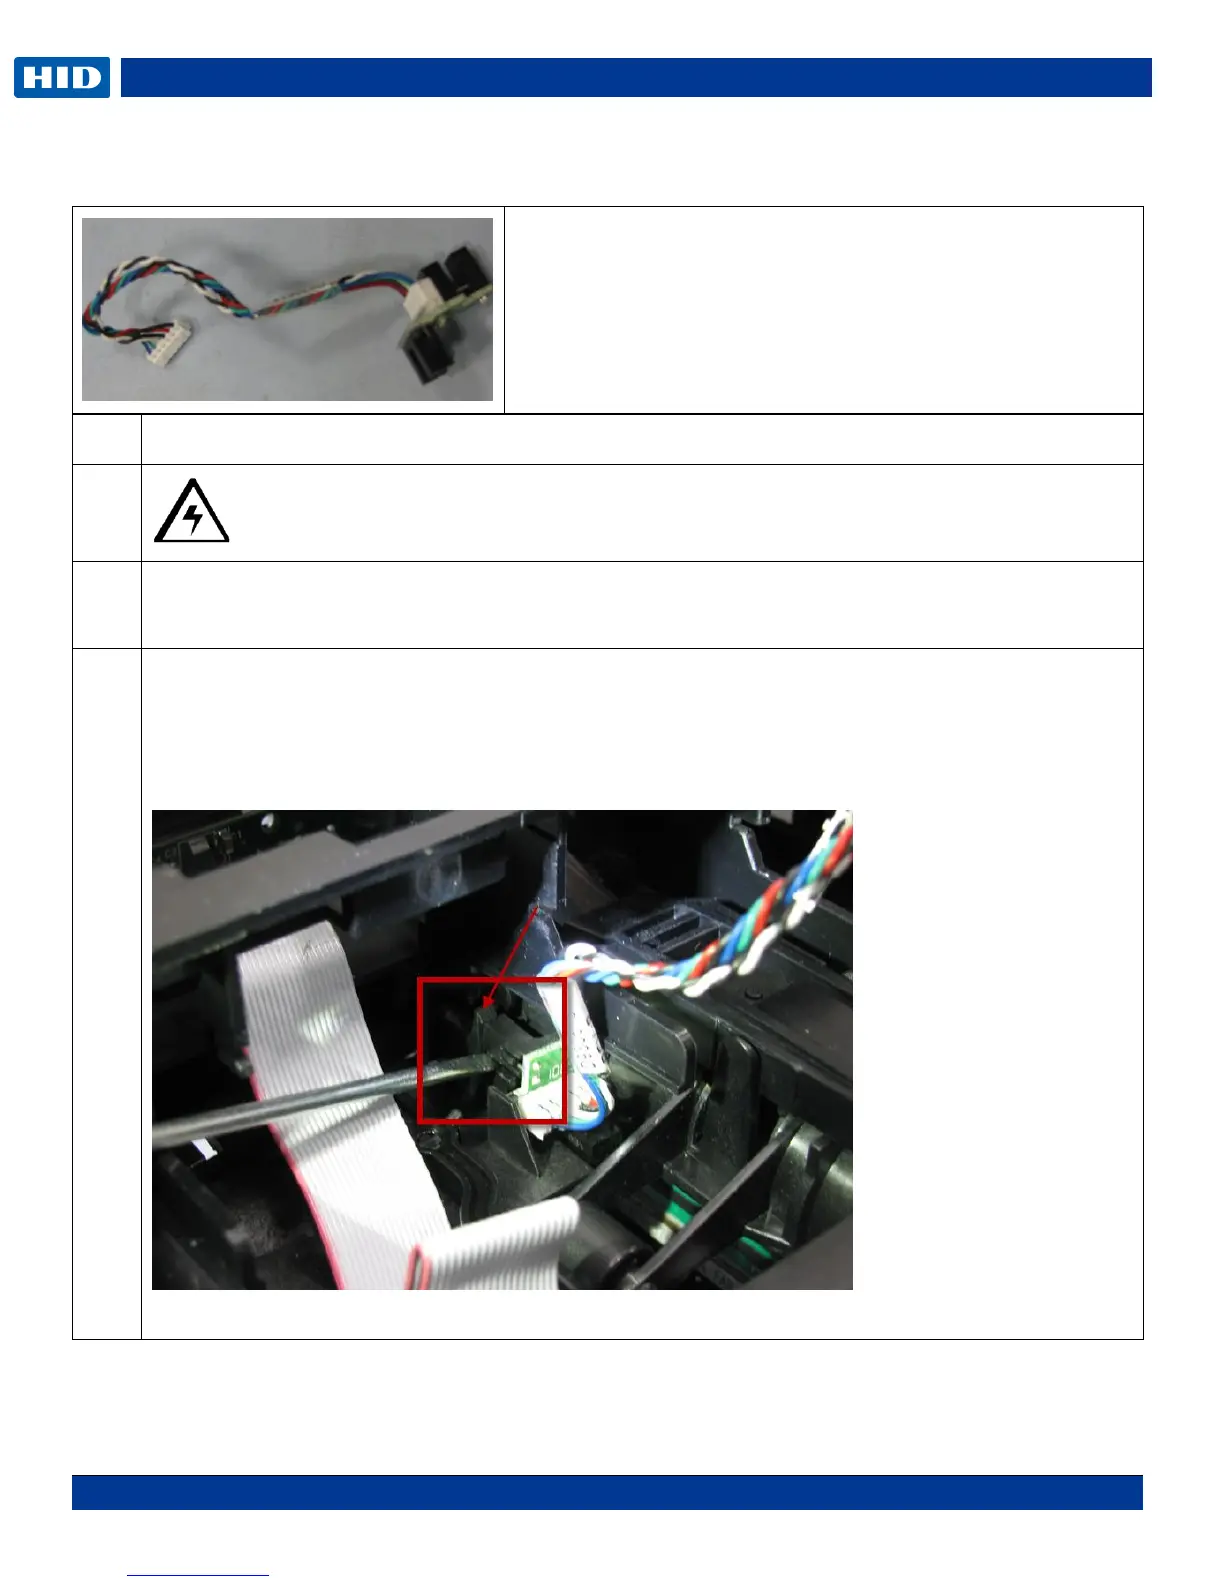
Remove/Replace Card Path/Cover Sensor (D930613)
Step
Procedure
1
Caution: Turn OFF the Printer and unplug the power cord from the Printer.
2
Remove the mainboard.
Remove the J11 and J17 connector from the mainboard.
3
Use a small flathead screwdriver to GENTLY pry the sensor up.
The sensor must be released from the small tab holding the sensor.
( See the RED arrow)
NOTE: Pry up on both sides of the sensor legs not just one side or it may break.
(The cable is shown on THIS side of the frame for clarity.)
Tools needed: T10 Torx screwdriver
Estimated Repair Time: 30 min
Preparation: Remove the Covers
Important: This procedure can only be performed by
authorized service personnel.

Table of Contents

Questions and Answers:

Question and Answer IconNeed help?

Do you have a question about the Fargo DTC1250e and is the answer not in the manual?

Fargo DTC1250e Specifications

General IconGeneral
Print TechnologyDye-Sublimation / Resin Thermal Transfer
Print Resolution300 dpi
Card CapacityInput Hopper: 100 cards; Output Hopper: 30 cards
Card SizesCR-80, CR-79 Adhesive Back
ConnectivityUSB 2.0
Memory32 MB RAM
Card Thickness9 mil to 40 mil
Operating System SupportWindows 7, 8, 10

Related product manuals