FaroArm User Guide
January 2007
36
Chapter 2: CAM2 Measure Devices Menu
CAUTION: The probe must be well-seated in the hole when
digitizing all calibration points. Even one or two poorly digitized
points significantly affects the optimization process, which then has
an effect on the accuracy of the FaroArm.
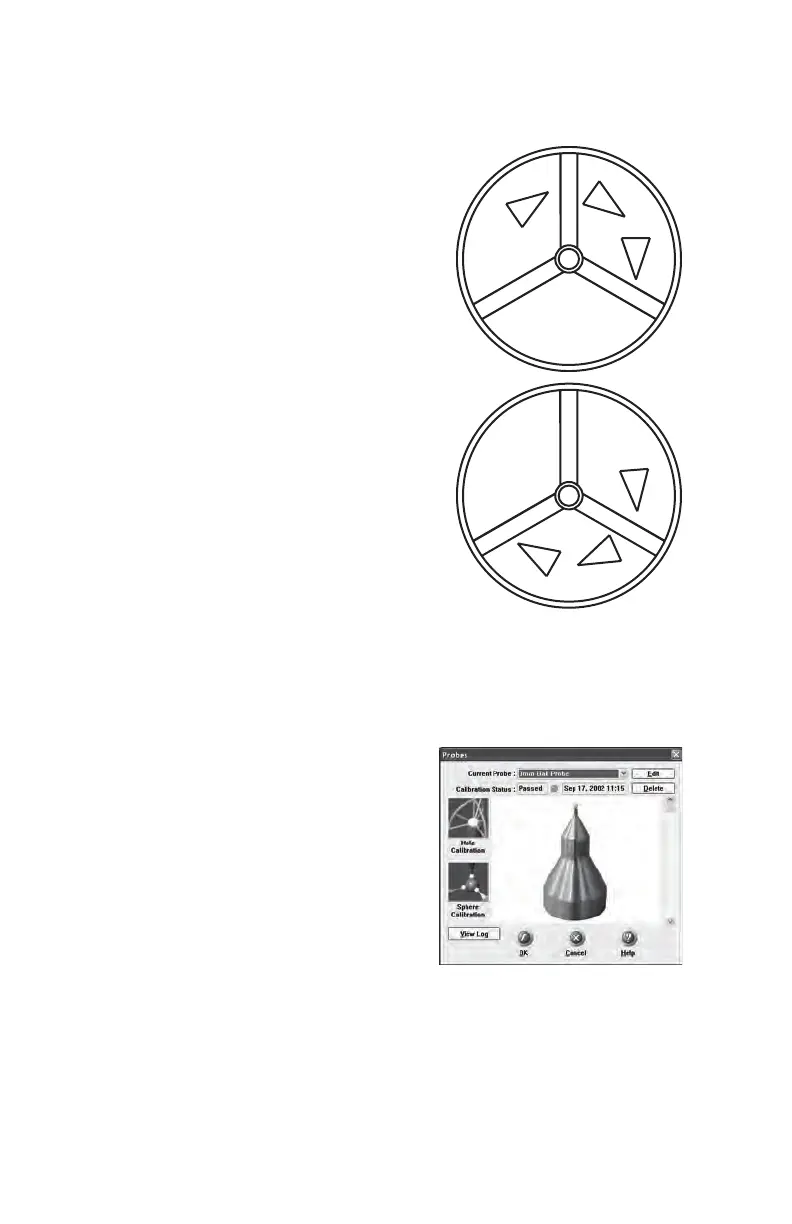
The calibration points are then
calculated and the probe Calibration
Status is updated. If the probe passes,
the current date and time is added to the
probe information.
You can view the details for all of the
calibrations of a probe by clicking the
View Log button. See “View Log” on
page 40.
5 Rotate the Probe to the
next position. Look at the
dialogue box and move the
handle until you reach the
start of the next position.
• Repeat steps 1 to 4
and digitize 200 more
points in this position.
6 Rotate the Probe to the last
position. Look at the
dialogue box and move the
handle until you reach the
start of the next position.
• Repeat steps 1 to 4
and digitize 200 more
points in this position.
08M46E00_FaroArmUSB.book Page 36 Monday, January 15, 2007 1:12 PM
 Loading...

