3. Installation
3−19
Festo P.BE−CPV−EN en 0503g
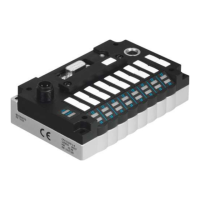
CPV valve terminal with IC connection
With this CPV valve terminal variant each valve solenoid coil is
connected separately.
Please note
· Use only the following ready−to−use sockets from Festo
for connecting the valve solenoid coils:
For CPV10/14:
KMYZ−7−24−...−LED, an LED and the holding current
reduction are incorporated in the transparent socket.
The LED indicates the switching status of the valve
solenoid coil.
For CPV18:
KMYZ−2−24−...−LED, an LED is incorporated in the trans
parent socket. The
LED indicates the switching status of
the valve solenoid coil.
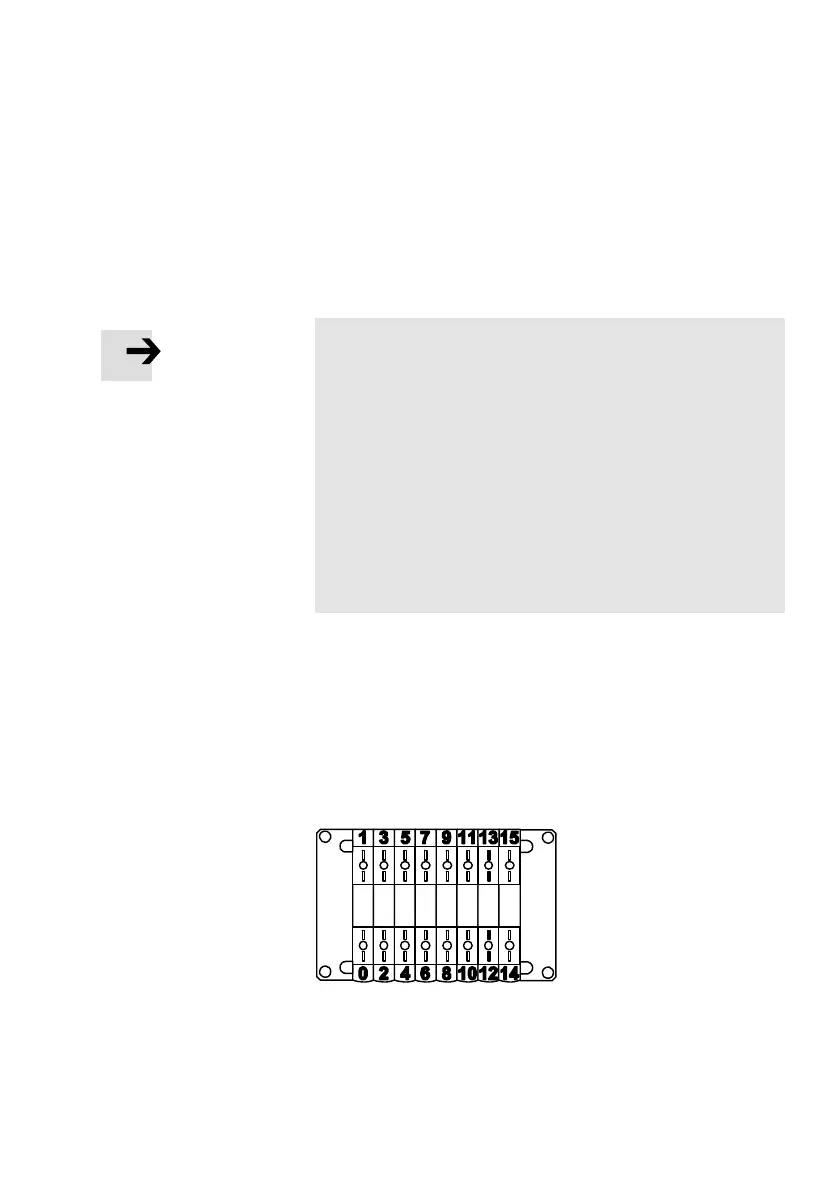
Address assignment of the valves
· The addresses must be assigned in ascending order with
out gaps.
· Counting begins from left to right, on the individual valve
plates from the front to the rear (see Fig.3/6).
Fig.3/6: Address assignment of a CPV valve terminal with
IC connection and 8 valve locations