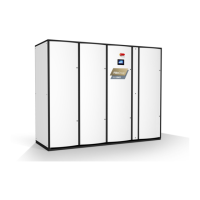
Multi-DENCO Installation
FläktGroup DC-2013-0101-GB • Subject to modifications • R5-08/2020 53
– The interconnecting pipework in one direction between the indoor unit and the
WaterCool module must be less than 20m.
For more details about interconnecting pipes, please see chapter 6.
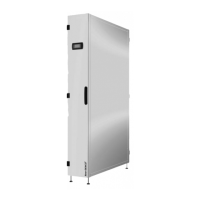
5.6.3 Positioning
The condenser must be installed on a level surface that can support the weight of the
equipment and allowing for access from all sides. If multiple condensers are used for
1 indoor unit, the condensers must be installed on the same level and the same
distance to the indoor unit.
Whenever possible, shelter condensers from winds and avoid prevailing winds
blowing directly onto the fan(s) or the heat exchanger. Always bolt down units to
ensure secure fixing to location, it‘s recommended to use bolt M10 for this purpose.
Consideration should also be given to minimising the noise created by the condenser.
Pipework and cabling running underneath the unit should be configured so as not to
obstruct airflow.
Pipework and cabling underneath the unit can cause a reduction in airflow as well as
an increase in noise as air passes around the obstruction.
All legs provided with the outdoor unit must be installed properly (for the horizontal
positioning it is enough to install the legs one side, refer to Fig. 5-28). Due to the length
and weight of the outdoor unit, failure to install all provided legs may cause damage to
the coil, create leaks and invalidate warranty. All outdoor units should be fixed to a rigid
structure using the holes provided (wherever possible). If the units are in an exposed
situation and normal bolting is not practical, then alternative brackets, fixings or adhe-
sive should be used.
Condensers are delivered with the mounting legs loose unless the condenser is pro-
vided either with a liquid receiver or winter kit. Allowing for installation on site to decide
the orientation of the unit (vertical or horizontal). The legs have been designed to max-
imise the clearances onto the coil, so it is essential they are installed correctly.
The hot gas discharge line MUST be positioned at the top of the condenser for hori-
zontal airflow (labelled as 1 on the Fig. 5-28). Therefore, the liquid line (labelled as 2)
will be at the bottom of the unit.
The unit comes on a pallet and covered by a wooden crate, follow the instructions for
secure manipulation:
• Dismantle the crate by unscrewing all screws.
• Make sure all bolts on the hanging lugs are tightened correctly.
• Connect the chain of the crane with the hanging lugs that mounted at the top side of
the unit, (chain length must be long enough to achieve the required angle 60° as in
the picture below.
• Lifting must be done only with specified measures to avoid tipping, rolling or any
other damage and take care to maneuver it.
Lie down the unit on a platform, table or any other available rigid instrument in the site
as in the picture below.