Set-up
l
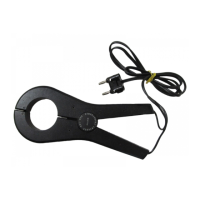
Mount the sensor and the reflector on either side of the coupling. Make sure that sensor
and reflector are aligned with the 0 or reference mark.
l
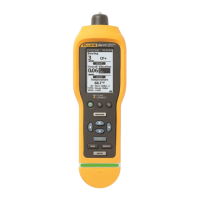
Switch the touch device on, then tap
in the home screen to start the vertical align-
ment application.
Note: If the icon is inactive, tap to activate the vertical alignment icon.
l
Use the machine carousel to configure the machines as required (refer to Machine prop-
erties).
l
Enter these required machine dimensions:
l
(1) Sensor to reflector
l
(2) Sensor to coupling center — This dimension is calculated as half the sensor-to-
reflector distance automatically. The dimension may be edited as required.
l
(3) Coupling center to flange
l
(4) RPM
l
(5) Coupling diameter
l
The flange geometry must be taken into account when machine dimensions are entered.
Tap the flange-mounted machine.
The menu items on the screen are used to edit machine name, access the "Flange
details" screen, change the flange position with respect to the shaft, flip the machine
along the shaft axis (toggle) and edit machine color.
Fluke 831 101
On-board help
Shop for Fluke products online at:
1.888.610.7664
www.MyFlukeStore.com