DSP-4000 Series
Users Manual
2-36
Enabling and Configuring the Auto Sequence Function
1. Determine the range of cable names you want to use for your Autotests. (Refer
to the previous section.)
2. Turn the rotary switch to SETUP.
3. Use D to highlight the auto increment setting; then press ! Choice.
4. Use D U to highlight Sequence; then press ! Edit ID Seq.
5. Use ! to select the Start ID or End ID field for editing.
6. To add characters to the ID, use the L R U D keys to highlight a character in
the list, then press E.
Use @ Â and # ³ to move the cursor through the ID.
Use $ Delete to delete characters to the left of the cursor.
7. Press S when you are finished; then press E.
When necessary, you can edit the cable ID when you save an Autotest. See
Chapter 3 for information on saving Autotest results with the auto sequence
function enabled.
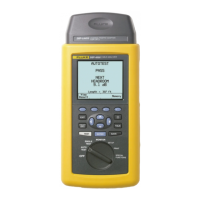
Viewing the Auto Sequence and Memory Status
To see the auto sequence configuration (if auto sequence is enabled), the number
of Autotests saved in memory, and the available memory, press the Memory
softkey that appears on several of the Autotest displays.
To see the status of the memory card (DSP-4100 only), select
Memory Card Configuration in the SPECIAL FUNCTIONS mode.
 Loading...


