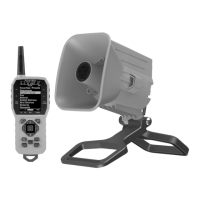
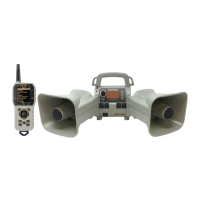
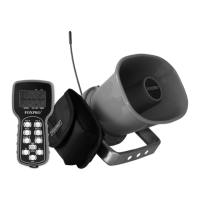
11
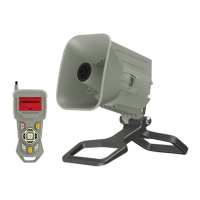
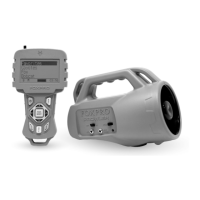
24. Along the upper left side of the remote are three buttons. The
lowest button on the left is the FOXDATA button.
25. Above the FOXDATA button is the P3 button.
26. Above the P3 button is the P4 button.
27. In the top left corner of the top status line is the FOXMATION
status indicator.
28. In the back of the transmitter, above the battery tray is the USB
port.
2-1 X24 Remote: Requirements
The X24 remote control operates on 3 ‘AA’ batteries. It is
recommended that you use high quality lithium or alkaline batteries for
the best performance.
Installing Batteries in the X24 Remote
Access the battery compartment by removing the door from the back of
the remote. The door slides down and off the remote. Place the
batteries into each battery cavity while observing polarity as indicated.
Slide the battery compartment door back on the remote.
3. Quick Start Guide
The following Quick Start Guide provides a very brief overview of basic
operations such as playing sounds, adjusting volume, and using presets.
3-1 Powering on the X24
The X24 is powered-on by moving the power switch to the on position.
When powered-on, the green LED pilot lamp blinks rapidly several
times and then illuminates solidly, signaling that it is ready to be
operated from the remote control.
3-2 X24 Remote Setup
After placing new batteries in the X24 remote, it is recommended to
take a moment to set up the date and time settings.