7
5. Under the charge jack is the power LED.
6. On the back, near the bottom, is the knurled thumb screw used for
gaining access to the battery compartment, radio channel selector
switches, and the USB port.
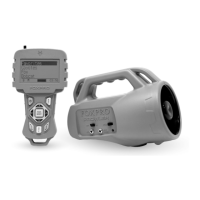
1-2 X24: Requirements
The X24 ships from the factory with an 11.1V Lithium-Ion Battery
Pack/Charger Kit. The battery pack will need to be charged fully before
use to get the best performance.
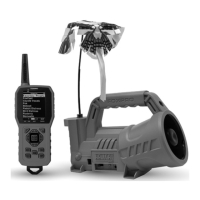
Installing the Battery Pack in the X24
Access the battery compartment by removing the door
on the back of the X24. Once the door is removed, locate the power
wire that is inside the battery compartment. It will have a white, plastic
connector on the end. Connect the battery pack to the power wire and
place the battery pack into the X24. Reinstall the battery cover.
1-3 Charging the X24
Your X24 game call comes with an 11.1V 5200mAh lithium-ion battery
pack and compatible charger. To charge the battery pack, you will have
to install the battery into the caller by following the steps in Section 1-3
Once you have the battery installed, MAKE SURE THE CALLER IS
TURNED OFF and any accessories (decoy, external speaker, USB cable)
are disconnected from the unit. You can now plug your charger into the
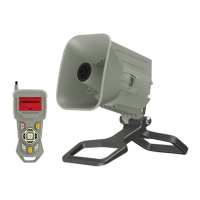
charge jack on the back of the caller and connect the other end to a
120V AC wall plug. At the end of the charger, you will notice a glowing
red light. This means the battery pack is charging. The light will turn
green once the battery is fully charged. It takes roughly 6 hours to
charge a fully depleted battery pack.
Note: There are some instances where the red light on the charger will
slowly blink before turning solid red. This is perfectly normal.