13
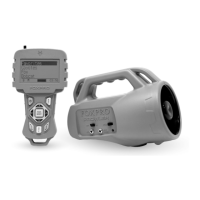
2. Turn on the X24 Remote by pushing and holding down the
power button for approximately 2-3 seconds. The remote will
default to Category View Mode, meaning that the sounds are
listed and grouped in categories. If no categories are defined,
you will see ‘Sound List’ instead.
3. Use the scroll buttons on the remote to highlight the category
you wish to pick a sound from and then push the “Play/Select”
button. The sounds assigned to that category will be displayed.
4. Use the scroll buttons on the remote to highlight the individual
sound from that category that you wish to play, and then push
the “Play/Select” button to start playback.
5. Use the volume up button to raise the volume level to a point
where you can hear it.
6. To mute (or pause) the sound, simply push the mute button. To
resume playback, push the mute button again.
7. To switch sounds, simply go through the sound list or switch
categories to find a different sound and then just push the
“Play/Select” button. To go back to the previous sound, push the
“Recall” button.
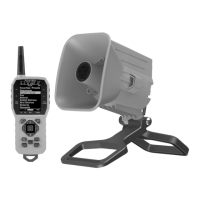
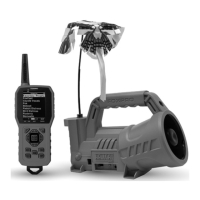
3-4 Using Presets/Favorites
The X24 remote can store up to 50 unique presets or favorites. A preset
is a shortcut to a particular sound which has a defined volume level. The
X24 remote has 4 quick access preset buttons located on the top left
and right (see image on page 8). By default, your X24 remote will have
no presets established. The following instructions will describe how to
setup a preset:
To Create a Preset/Favorite, from the main screen, select the
“Favorites/Presets” menu item. Select one of the 50 preset slots. Notice
that the screen will indicate “Preset Recording”. The first step is to
select the sound. Use the scroll buttons to highlight the sound you want
to establish for this preset and then push the “Play/Select” button. The