F3D3 Series Service Manual Parts Replacement / Section 2.17
Questions? Call Franke Technical Support Group For Your Area. Copyright 2012 Franke, Inc. All rights reserved.
2.17 Freezer Temperature Sensor Cable
Replacement Continued…
23) From rear - replace insulating putty around freezer
compartment penetration.
24) Using plastic wire ties, route and secure sensor cable in
low-voltage harness, as needed.
Test the new Sensor Replacement Cable by:
25) Plug in unit power cord to power supply.
26) Turn on main power switch.
27) Freezer compartment temperature should appear in
upper-right corner of display.
28) Allow compressor to draw down unit to its normal
operating temperature range, which should be -18 to -
23° C [0 to -10° F]. A cool down time of 1-1/2 to two
hours is normal.
29) If unit functions normally, position and secure rear
service access panel and return fries dispenser to
normal operating position.
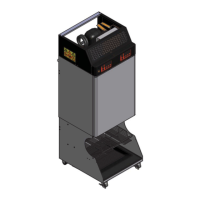
[Photo 5] Unit front
Pull sensor connector through
plastic chase using fish & route
under control broad to connect.
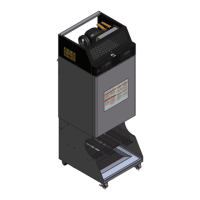
[Photo 6] – From back
Remove putty from penetration
in freezer back panel to free &
pull out sensor.
[Photo 7] To Test
When main power switch is ON
the current compartment temp.
appears in upper-right of display.
Rev 1 6/2012
Medium Phillips screwdriver
8 mm socket & wrench
Plastic wire ties
Electric tape
String or fish tape