EasyManuals Logo

Fronius TransTig 170 Service Manual

Fronius TransTig 170
44 pages
To Next Page IconTo Next Page
To Previous Page IconTo Previous Page
Page #23 background imageLoading...
Page #23 background image
23
EN-US
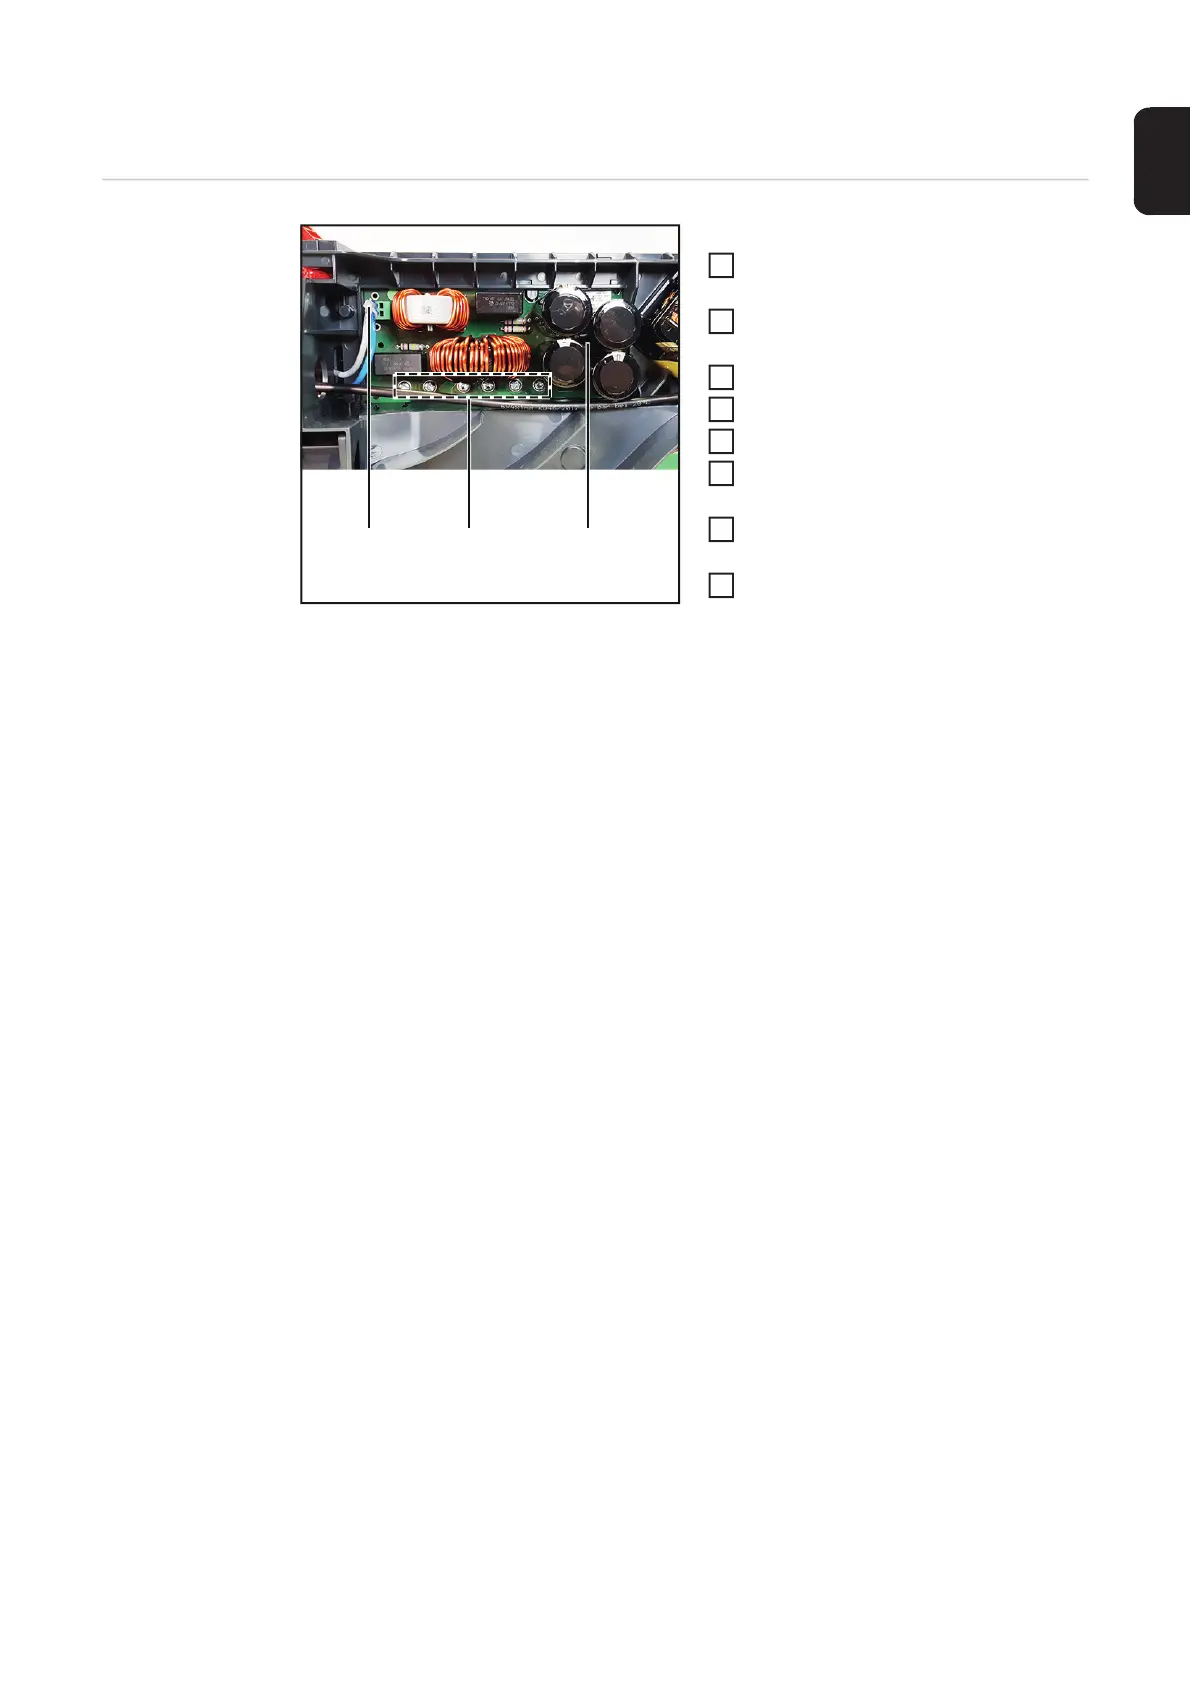
Replacing the LC 1800 PC board
Replacing the
LC1800
PC board
Replacing the LC1800 PC board
Open housing as described in chapter
"Opening the housing".
Remove cable ties and disconnect ca-
bles (1).
Remove 6 M4x8 TX20 screws (2).
Remove LC1800 PC board (3).
Insert new LC1800 PC board (3).
Install 6 M4x8 screws (2)
Tightening torque = 2.1 Nm.
Connect cables (1) and install cable
ties.
Close housing as described in chapter
"Closing the housing".
(4)
(1) (2) (3)
1
2
3
4
5
6
7
8

Other manuals for Fronius TransTig 170

Questions and Answers:

Question and Answer IconNeed help?

Do you have a question about the Fronius TransTig 170 and is the answer not in the manual?

Fronius TransTig 170 Specifications

General IconGeneral
BrandFronius
ModelTransTig 170
CategoryWelding System
LanguageEnglish

Related product manuals