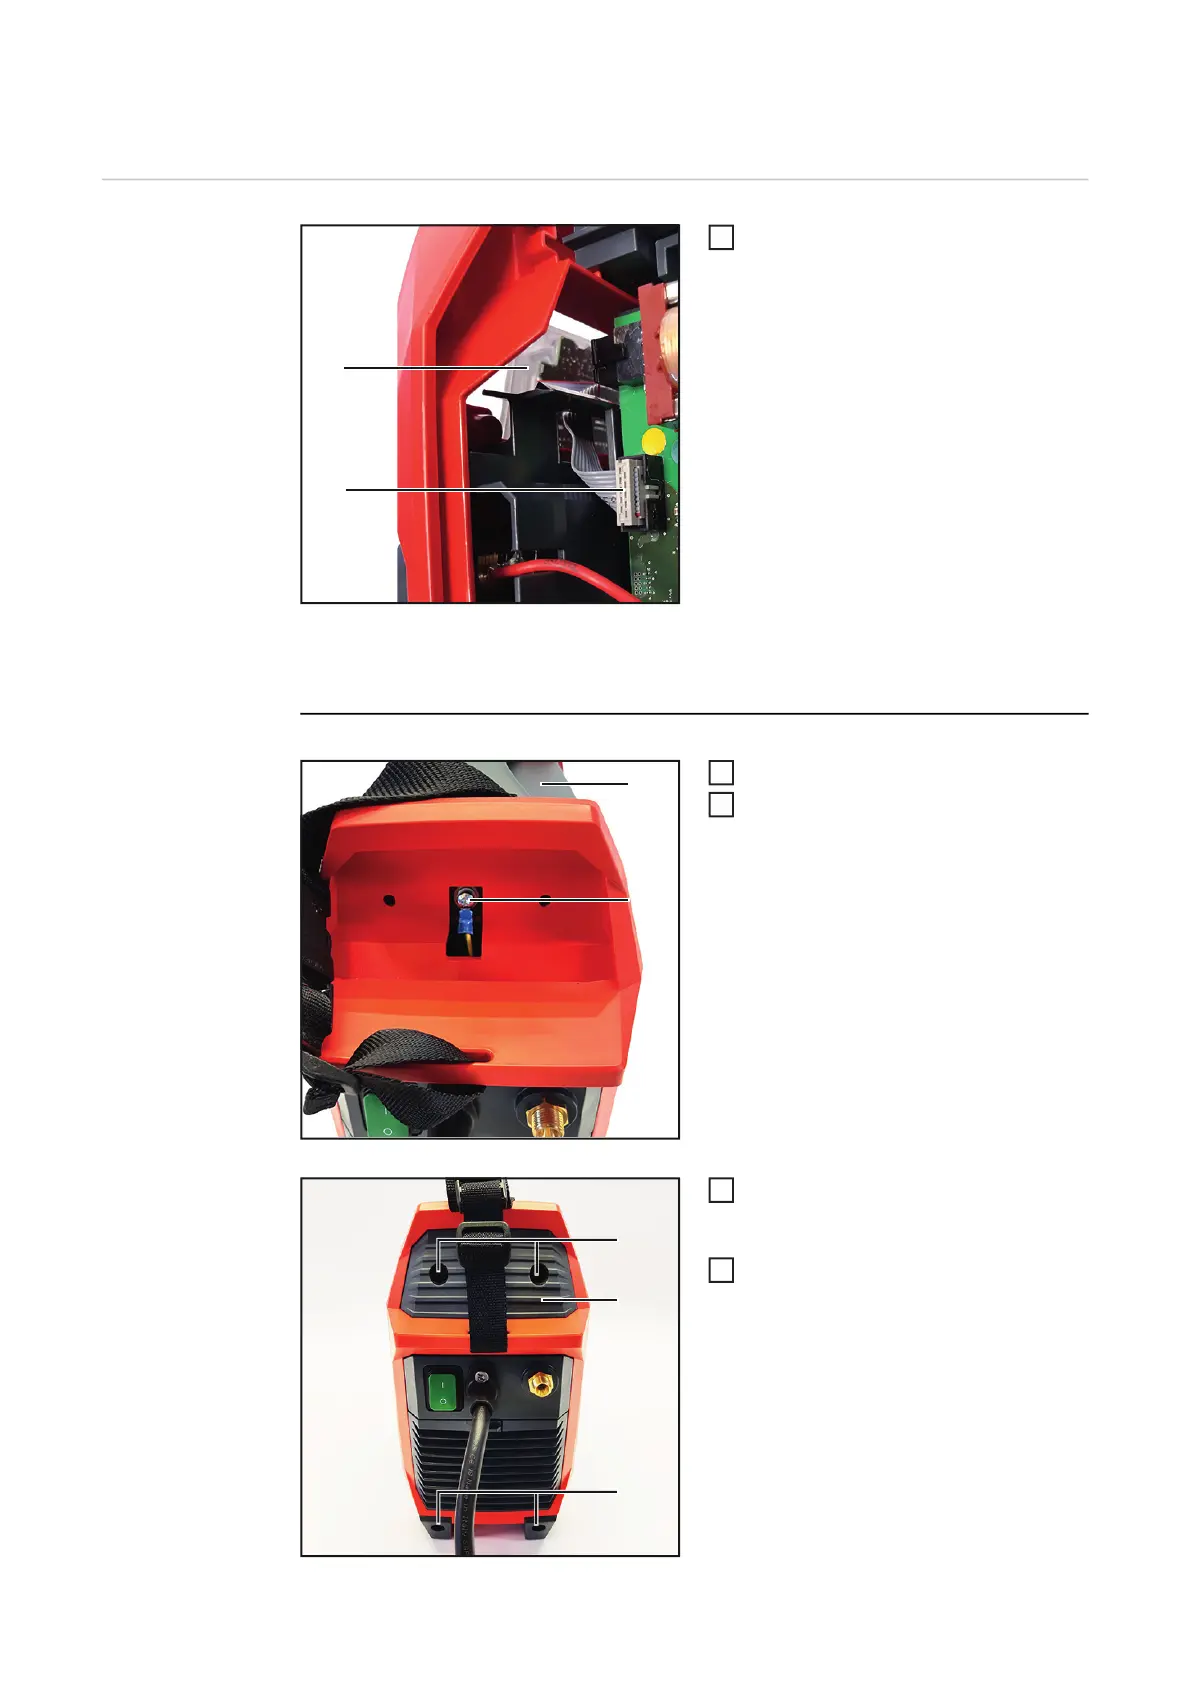
EasyManuals Logo

Fronius TransTig 170 Service Manual

Fronius TransTig 170
44 pages
To Next Page IconTo Next Page
To Previous Page IconTo Previous Page
Page #30 background imageLoading...
Page #30 background image
30
Closing the Housing
Closing the hous-
ing
Connect the ribbon cable (1) of the
control panel (2).
IMPORTANT!
The handle is attached to the casing via 4 5x10 screws.
Put on the casing (3).
Install grounding cable with M4x8
TX20 screw (4)
Tightening torque 2.7 Nm.
Insert cover (6) and mount with 2 5x18
TX25 screws (5).
Tightening torque 2.7 Nm.
Insert the housing feet (7) and install
with 2 5x18 screws
Tightening torque = 3.0 Nm.
(2)
(1)
1
(3)
(4)
2
3
(5)
(6)
(2)
(7)
4
5

Other manuals for Fronius TransTig 170

Questions and Answers:

Question and Answer IconNeed help?

Do you have a question about the Fronius TransTig 170 and is the answer not in the manual?

Fronius TransTig 170 Specifications

General IconGeneral
BrandFronius
ModelTransTig 170
CategoryWelding System
LanguageEnglish

Related product manuals