EasyManuals Logo

Fronius TransTig 170 Service Manual

Fronius TransTig 170
44 pages
To Next Page IconTo Next Page
To Previous Page IconTo Previous Page
Page #22 background imageLoading...
Page #22 background image
22
Replacing the HF 190 PC board
Replacing the HF
190
PC board
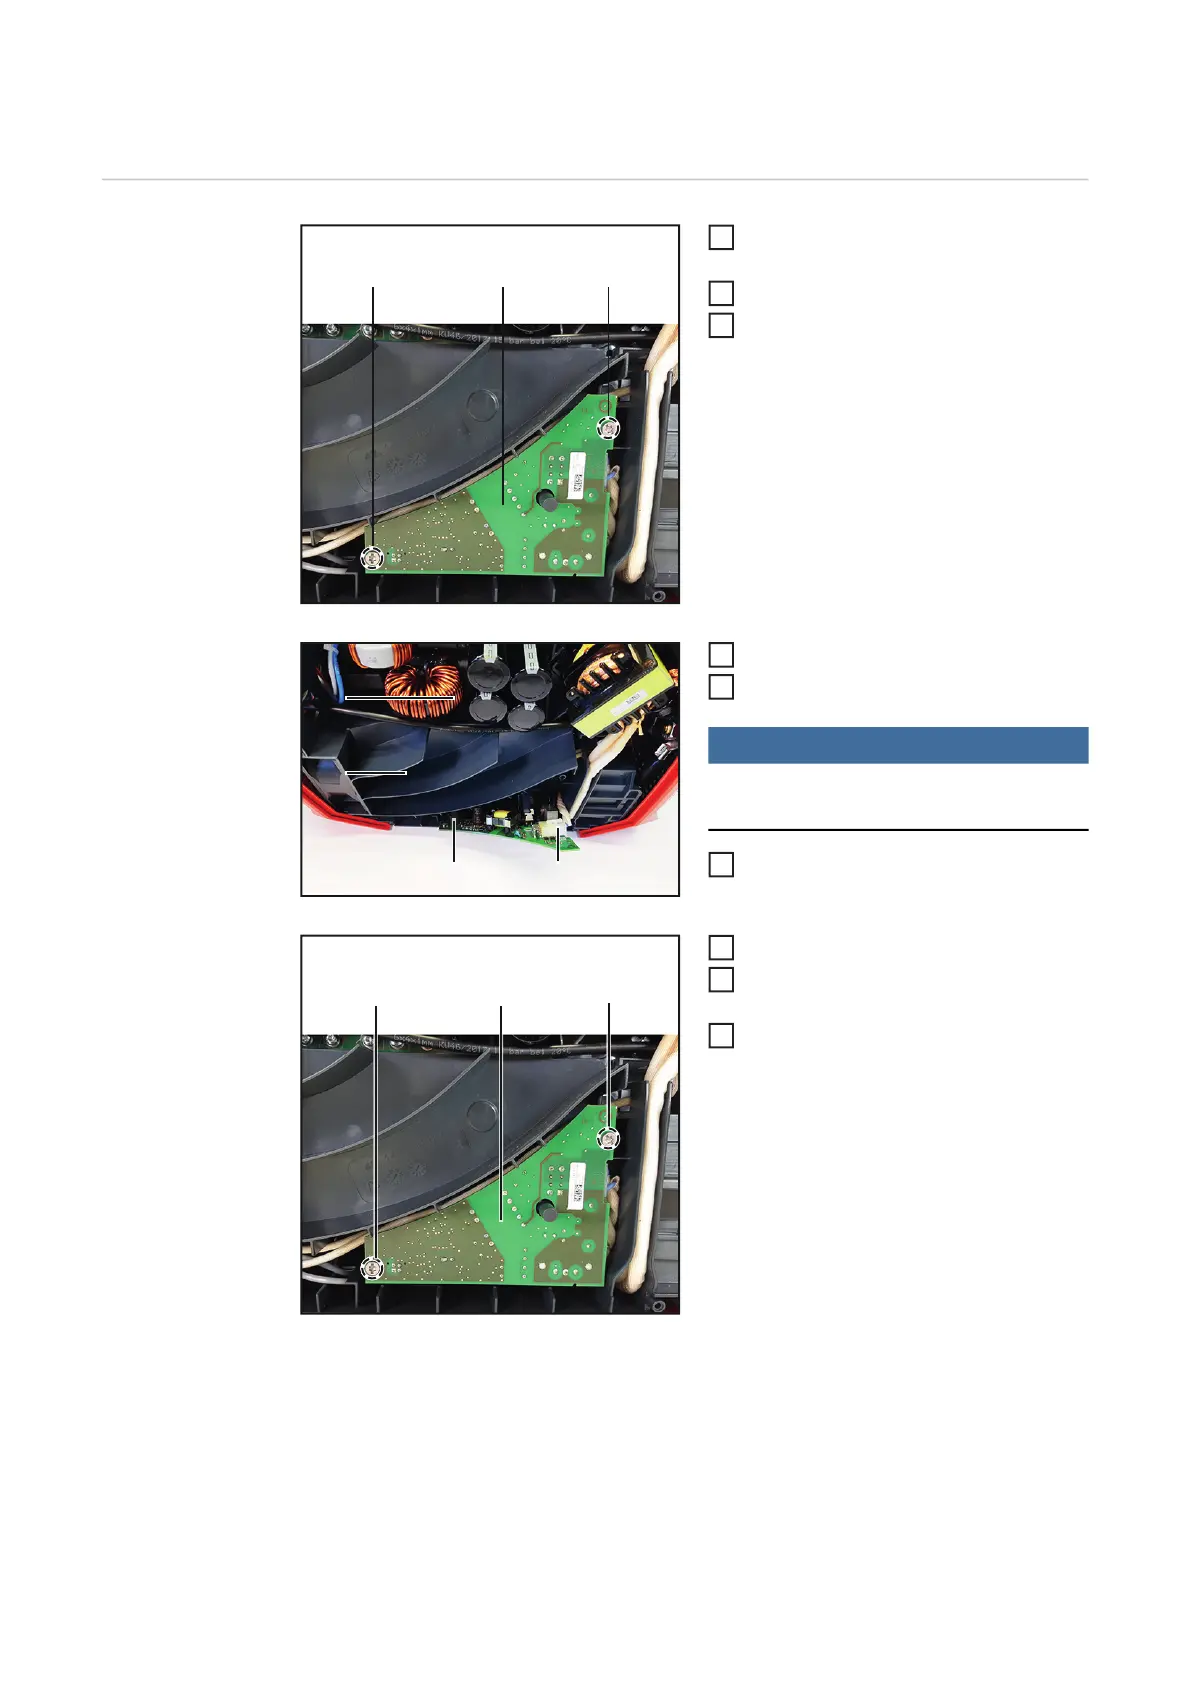
Open housing as described in chapter
"Opening the housing".
Loosen 2 4x20 mm TX20 screws (1).
Fold out the HF 190 PC board (2).
Disconnect plugs (3) and (4).
Remove the HF 190 PC board.
NOTE!
Make sure that line (4) is sufficiently
twisted.
Connect plugs (3) and (4) to the HF
190 PC board.
Insert the HF 190 PC board (6).
Install 2 4x20 screws (2)
Tightening torque = 2.1 Nm.
Close housing as described in chapter
"Closing the housing".
(1)(1) (2)
1
2
3
(4)
(13)
(3)
(12)
(4)
4
5
6
(5)(5) (6)
7
8
9

Other manuals for Fronius TransTig 170

Questions and Answers:

Question and Answer IconNeed help?

Do you have a question about the Fronius TransTig 170 and is the answer not in the manual?

Fronius TransTig 170 Specifications

General IconGeneral
BrandFronius
ModelTransTig 170
CategoryWelding System
LanguageEnglish

Related product manuals