NOTE!
For 1-phase operation, use phase L1.
▶
To supply power to the Wattpilot, phase L1 must be connected. The unused
phases L2 and L3 must be isolated (contact protection)!
Backup power
mode
NOTE!
It is advisable to connect the Wattpilot outside the backup power loads of a
photovoltaic system!
If the charging current per phase cannot be covered by the backup power, con-
nect the Wattpilot outside the backup power loads.
If the Wattpilot is connected in the backup power circuit of a photovoltaic sys-
tem and the total current of one phase is exceeded as a result, the inverter
switches off the backup power. The electric vehicle must be unplugged and the
backup power acknowledged (see inverter Operating Instructions).
IMPORTANT!
Check whether the electric vehicle allows charging at 53 Hz.
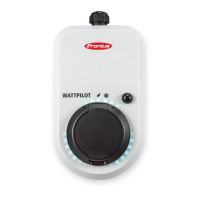
Commissioning Start up the permanently installed Wattpilot Home 11 J 2.0 / Home 22 J 2.0 from
step 2.
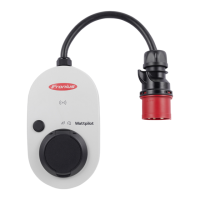
1
Connect the CEE plug to a suitable
socket directly or with a suitable ad-
apter.
NOTE!
The LEDs light up in the rainbow colours during an initial self-test. Afterwards,
the number of LEDs corresponding to the set charging current light up blue.
2
Set the desired charging current by pressing the pushbutton. (See Pushbut-
ton functions on page 15).
39
EN
 Loading...