7 Scan
150
Scan
7
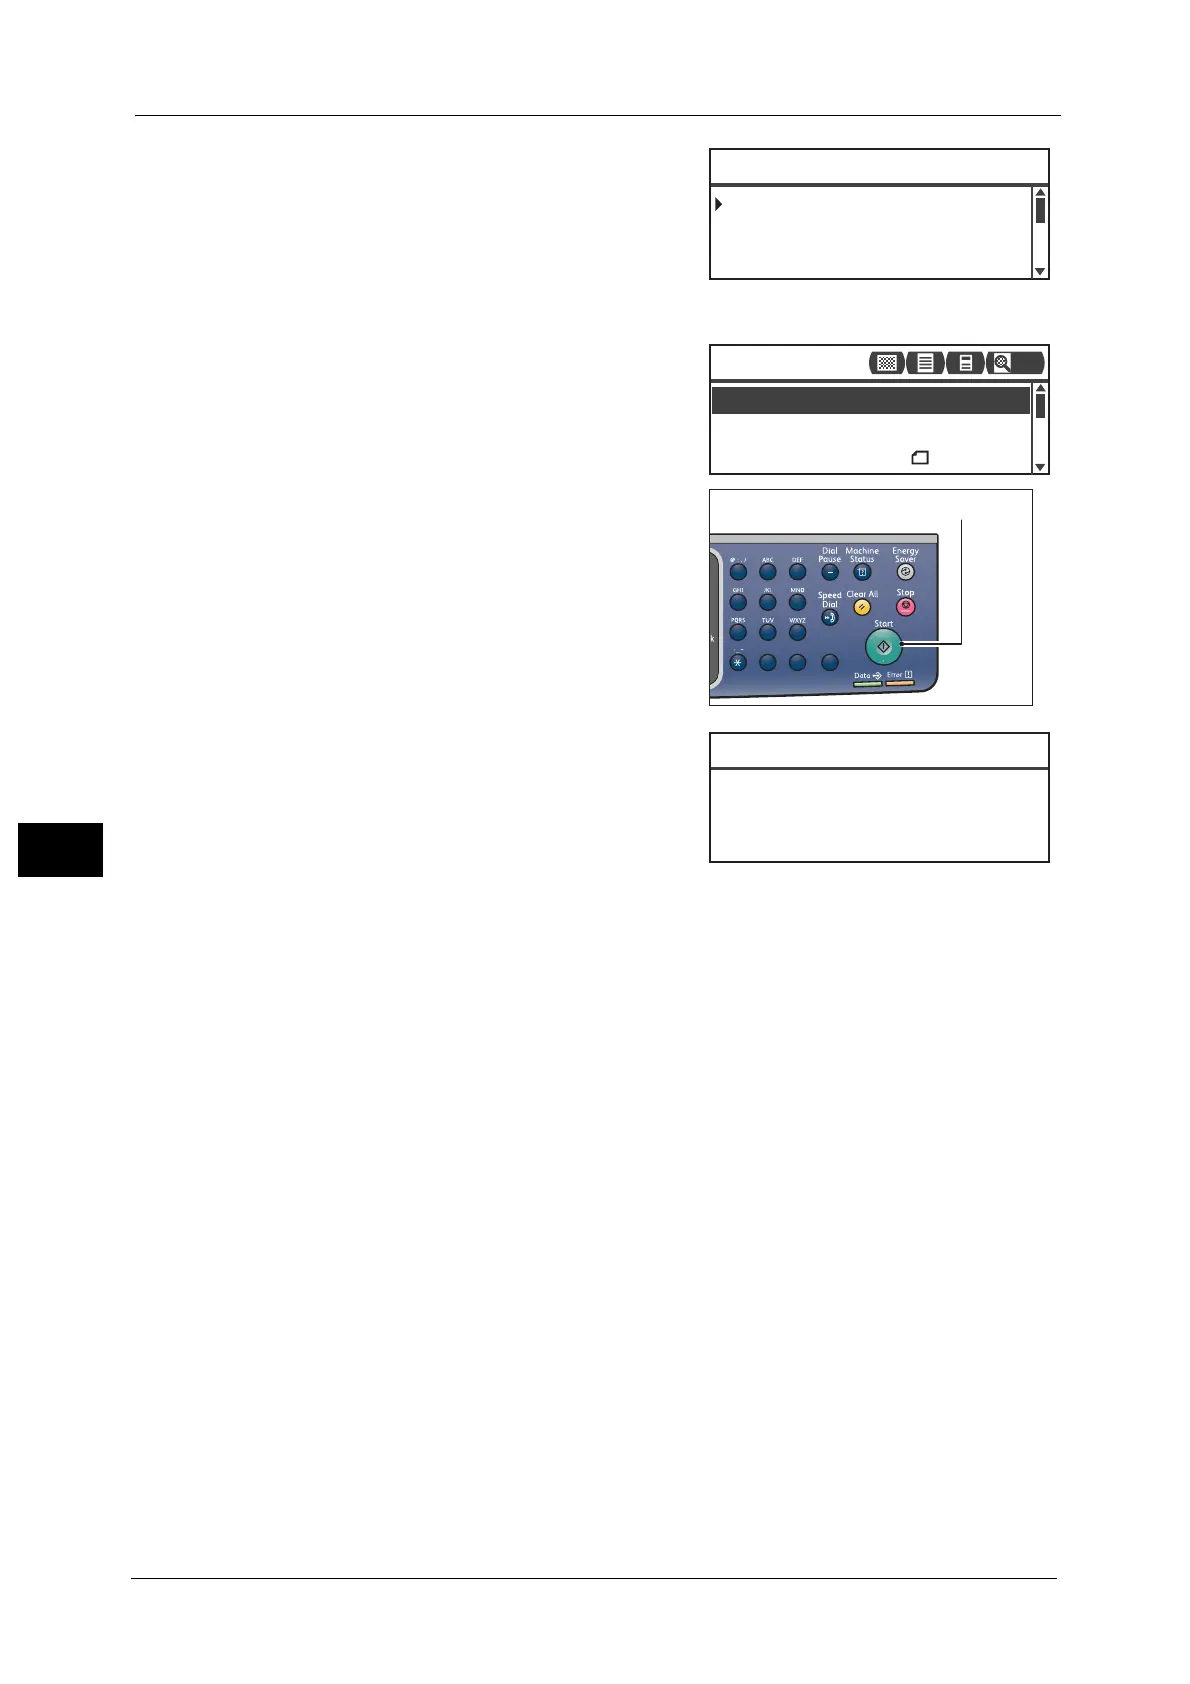
4 Select the desired address of computer, and then
press the <OK> button.
Note • You can also enter the two-digit number of
registered computer to jump to the specified
computer .
• To check the address registered for a computer,
select it and press the <#> button. When you
have checked the address, press the <OK> button.
5 Make advanced settings as needed.
For more information on advanced settings, refer to "Advanced
Scanner Settings" (P.152).
6 Press the <Start> button.
If the address of computer is not specified, the
Address Book screen appears.
Note • You can also set to display the screen to
confirm recipient. For more information, refer
to "Recipient Confirmation" (P.189).
02 Smith
PC(Network) [#]:Info Jump to [_ ]
01 pc1
03 pc2
File Format
...
PDF
Color Mode
...
Color
Scan to [01]
Original Size
...
A4
200
1
23
456
789
0#
C
<server address>
01 pc1
Confirm Recipient
PC(Network)

 Loading...


