Sending Scan Data to PC over Network - PC (Network)
149
Scan
7
Sending Scan Data to PC over Network - PC (Network)
This function allows you to send scanned data to a network-based computer. You can send
the monochrome scanned data in PDF or TIFF or the color scanned data in PDF or JPEG to
the specified computer. The SMB protocol is used for the data transmission.
You can only select a forwarding computer from the Address Book. You must register
computer addresses using CentreWare Internet Services in advance. Up to 30 e-mail
addresses and SMB servers in total can be registered.
For more information on CentreWare Internet Services, refer to "Using CentreWare Internet Services" (P.45).
Note • To forward scan data, you must first create a shared folder in which to save the data on the
computer. Set the write permission for the shared folder.
• If you forward a data file having the same name as a file already in the shared folder, the new file
will replace the old one.
• Up to 20 MB of data can be scanned to PC (Network). If the volume exceeds 20 MB, you can select
whether to cancel or send the part. (Scan data volume may differ depending on the graphical
content in the original document, color mode, and resolution.)
• If a network error occurred, or the machine or the computer is disconnected during the transmission,
a part of the transferred file is stored in the computer. To delete this file, delete it manually.
• When using 2-sided document placed in the document feeder, make sure to set [2 Sided] properly. If
it is not specified and the orientation of the scanned data needs to be changed, rotate it on your
computer.
For more information on selecting TIFF or JPEG format, refer to "File Format" (P.155).
To forward scanned data to a network computer:
1 Place document in the machine.
For information on how to place a document, refer to "Placing Document" (P.142).
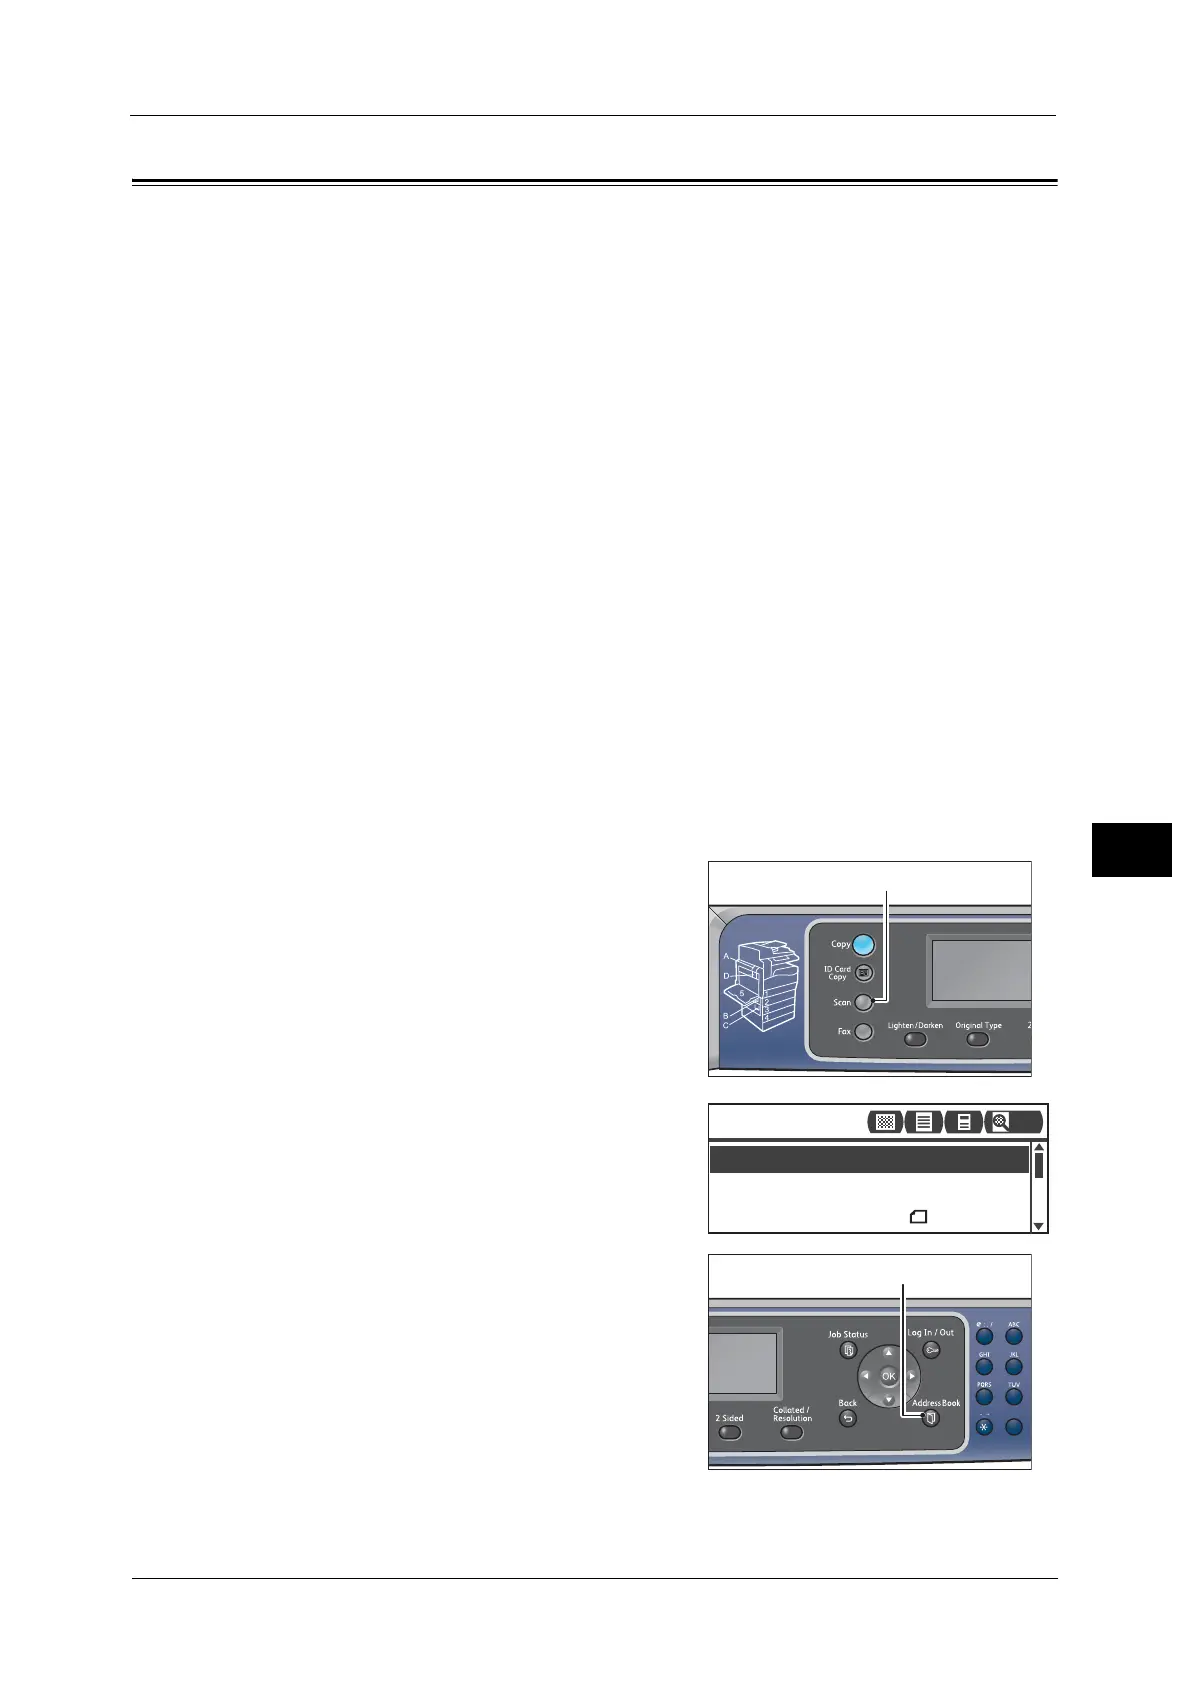
2 Press the <Scan> button.
Note • In the displayed screen, you can enter the two-
digit number of registered computer using the
numeric keypad, and then go to step 5.
3 Press the <Address Book> button.
File Format
...
PDF
Color Mode
...
Color
Scan to [ ]
Original Size
...
A4
200
1
2
45
78
0

 Loading...


