■ Power tools (optional)
■ Metric and SAE toolkit
Step 1
With the RU on its back, align at bushings with the smaller holes at the top of each L-bracket and place the
adapter plate on top with the holes also aligned.
Step 2
Insert step bushings into each of the adapter plate holes. Ensure the shoulder of the stepped bushing is perfectly
t inside of the hole on the L-bracket for proper alignment.
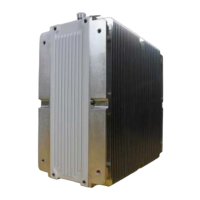
Figure 14
Aligning Mounting Adapter Plate and Bushings
Step 3
Secure the mounting adapter plate to the L-Brackets using M10 x 30 screws with at and split washers as shown
in the following graphic.
Installation
RU Installation
98
Release 1.0 · Issue 1.1, May 2021
Fujitsu and Fujitsu Customer Use Only