Actions (for Windows users)
205
3. Change the settings for [Scan to SugarSync] (If you do not want to
change any settings, go to step 4.).
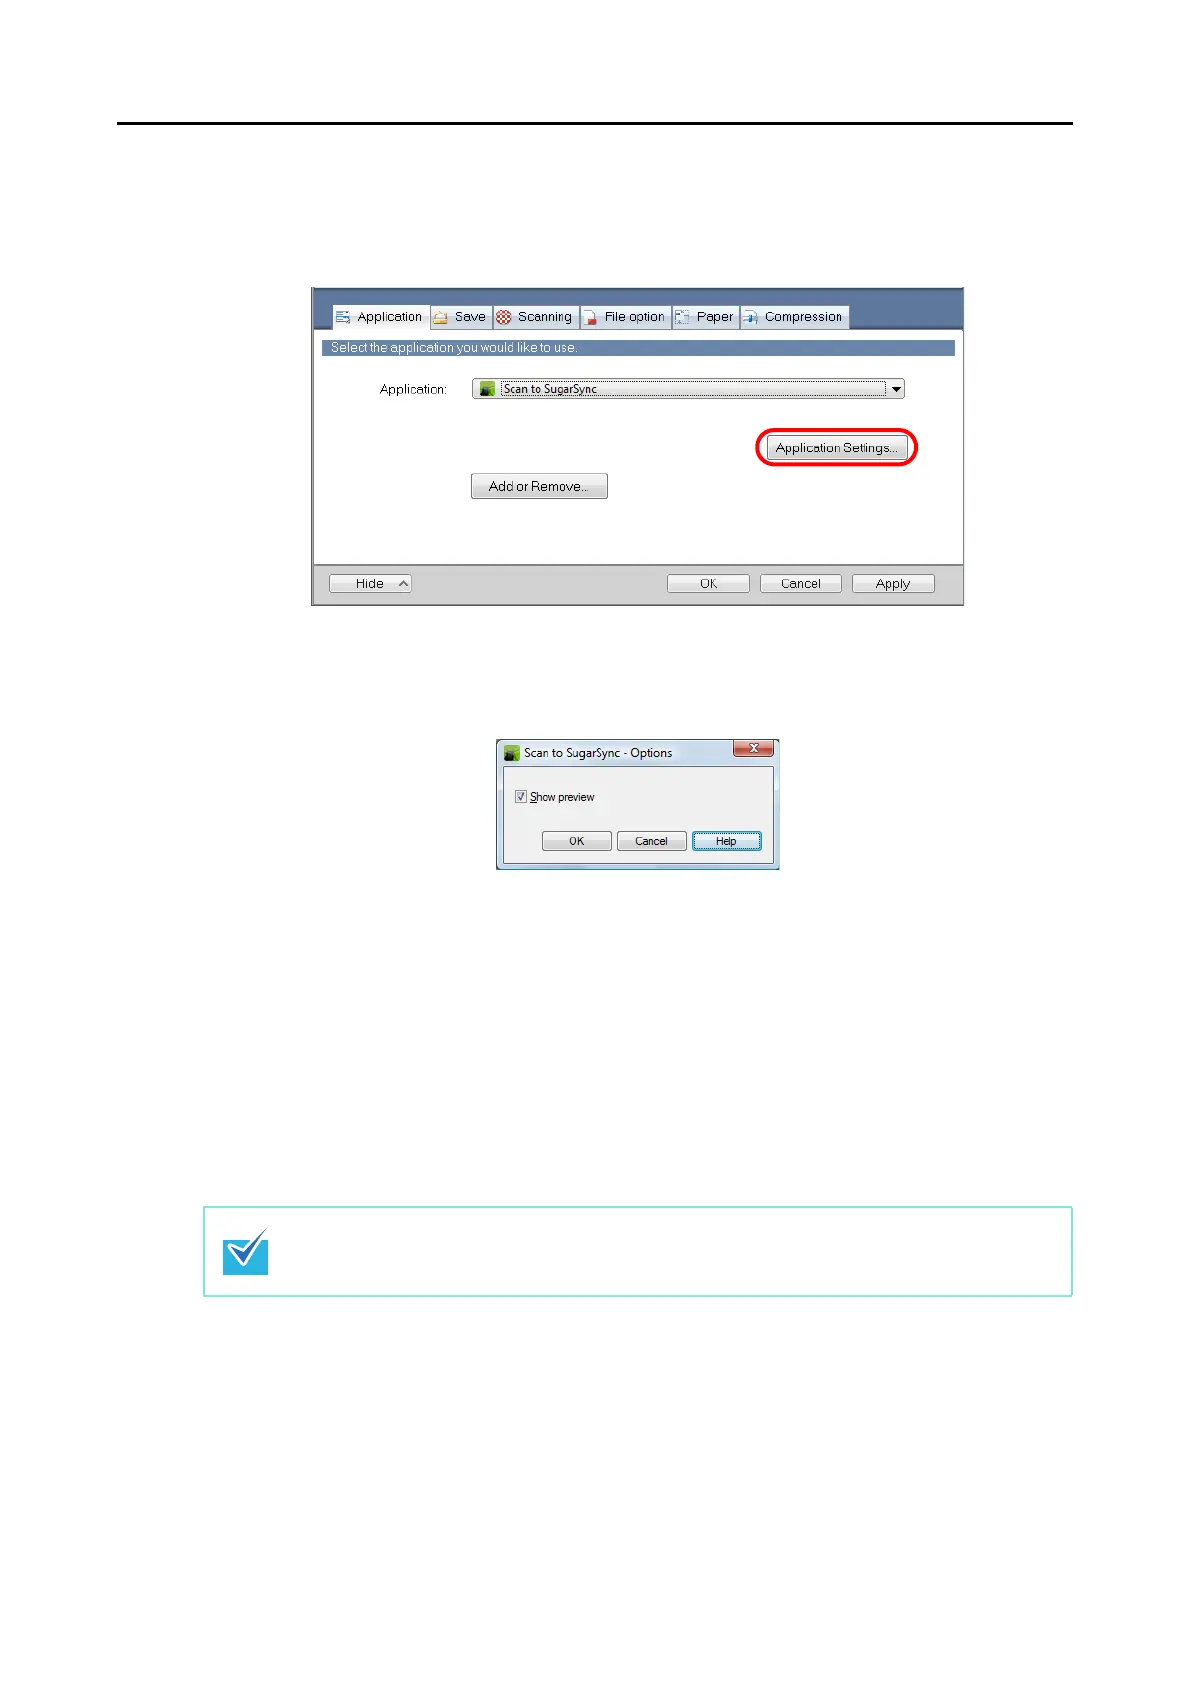
1. Click the [Application Settings] button.
D The [Scan to SugarSync - Options] dialog box appears.
2. Change the settings.
For details about the [Scan to SugarSync - Options] dialog box, refer to the
ScanSnap Manager Help.
3. Click the [OK] button to close the [Scan to SugarSync - Options] dialog box.
4. Click the [OK] button to close the ScanSnap setup dialog box.
5. Load a document in the ScanSnap.
For details about how to load documents, refer to "How to Load Documents" (page 31).
6. Press the [Scan/Stop] button on the ScanSnap to start scanning.
7. Press the [Scan/Stop] button on the ScanSnap to finish scanning.
D The [Scan to SugarSync] dialog box appears when the scanning is completed.
If you clear the [Show preview] check box in step 3., scanned image is directly saved
to your SugarSync folder.
Load another document in the ScanSnap when you want to scan multiple sheets. Scanning
starts automatically when a document is loaded.
 Loading...