1. OPERATION
1-39
1
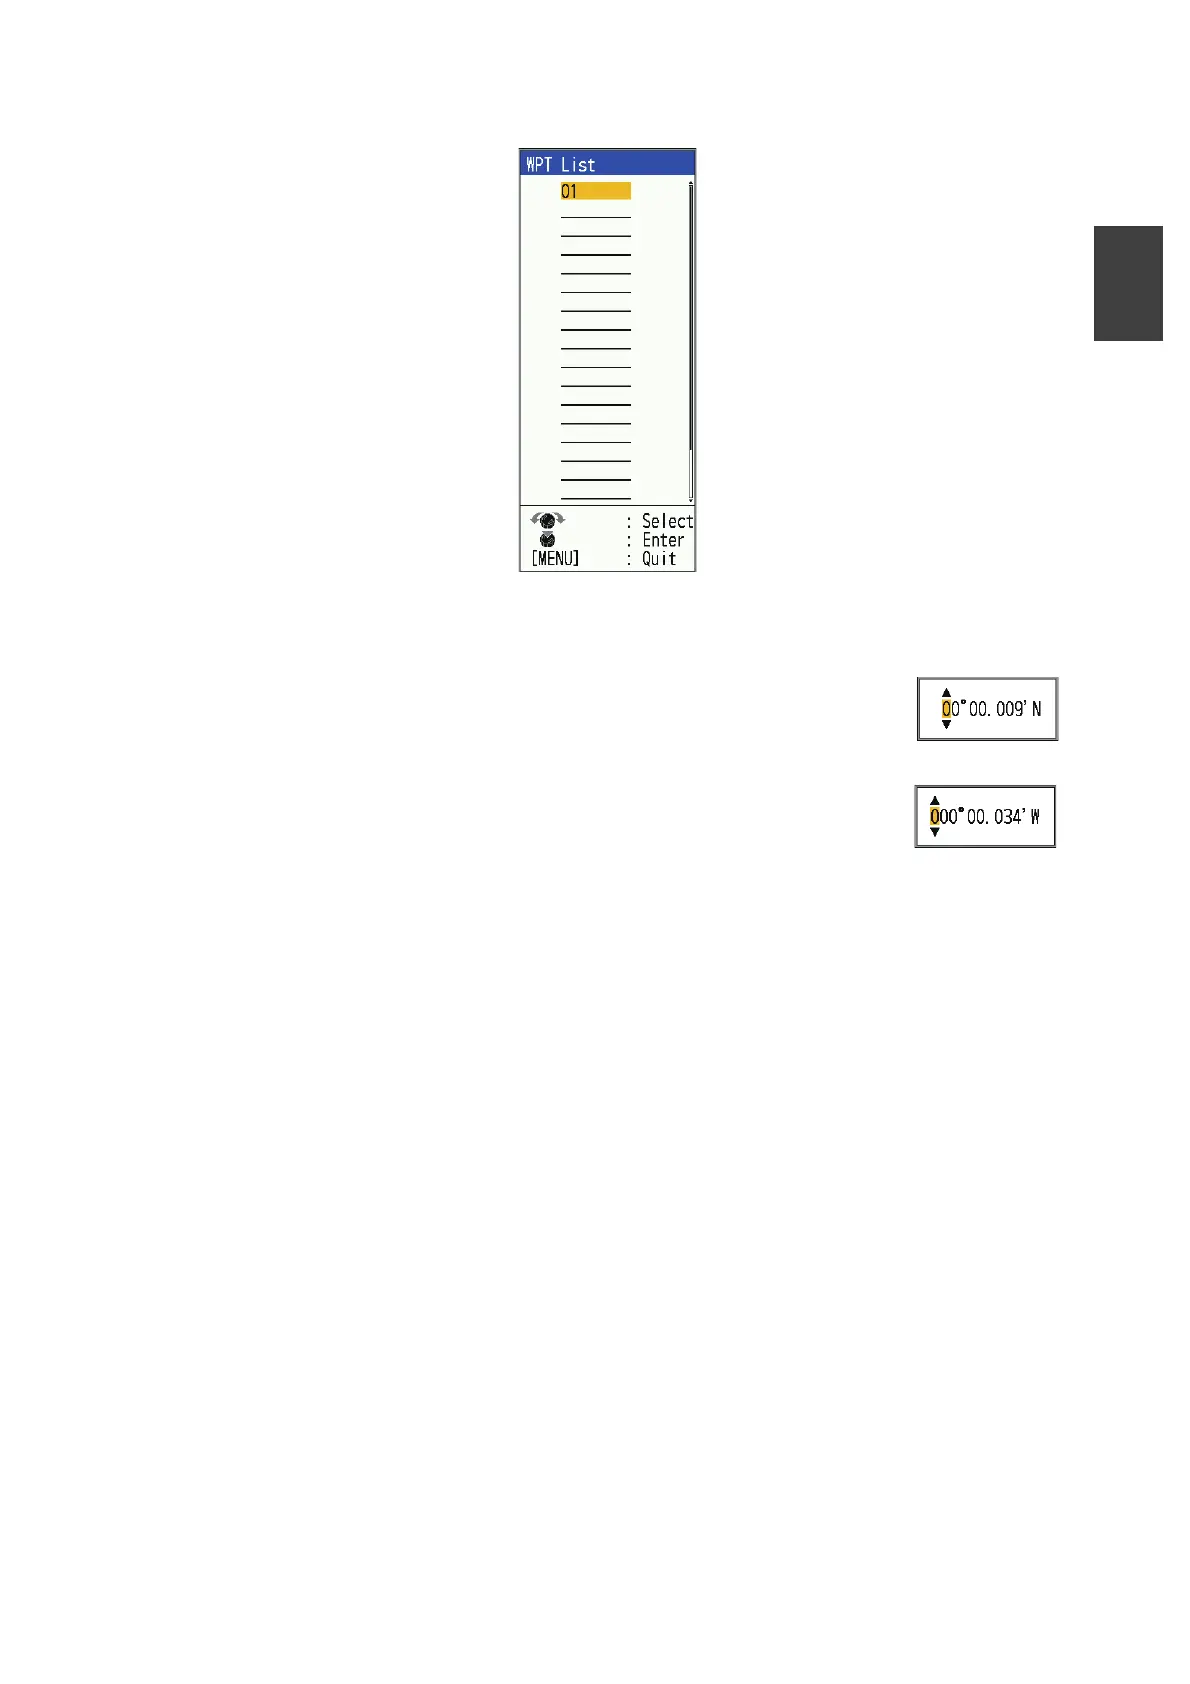
3. Select [WPT List], then press the KNOB.
4. Select an empty waypoint, then press the KNOB.
The Waypoint setting window appears. [Lat] and [Lon] show the current position.
5. Select item desired, then press the KNOB key to show corresponding input box.
6. Enter name or latitude and longitude as applicable.
• To change the name: Select [Name] to change the waypoint
name (max. 8 characters). See page 1-16 for details.
• To change latitude/longitude: Press the desired key as fol-
lows:
1) Press or key to change the numerical value.
Press key to change the value 09...90... in or-
der.
Press key to change to the reverse order.
2) Press key to move the cursor to the next character.
3) Repeat step 1) and 2) and set the latitude/longitude.
Use or key to change north/south and east/west value as appropriate.
4) Press the KNOB.
7. Press the MENU/ESC key
A waypoint is registered to the line selected in step 4.
8. Press the MENU/ESC key twice to close the window.
 Loading...