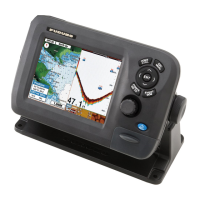
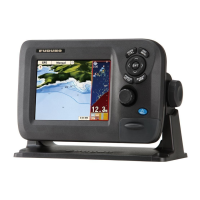
1. MOUNTING
1-2
1.1.2 Flush mounting, fixed at front
An optional flush mount kit type F is required. For details, see the outline drawing at
end of this manual. (Name: Flush Mount Kit F, Type: OP20-41, Code No.:001-243-
900)
1.1.3 Flush mounting, fixed at rear
An optional flush mount kit type S is required. (Name: Flush Mount Kit S, Type: OP20-
40, Code No.: 001-243-890)
1. Prepare a cutout in the mounting location whose dimensions are 242 (W) X 152
(H) mm.
2. Insert the unit to the cutout.
3. Attach two flush mount metals to the unit with two hex bolts (M6×12) and two
spring washers
4. Screw four wing bolts to wing nut.
5. Fasten the unit with wing bolts assembled at step 4, and then tighten nuts.
Name Type Code No Qty
Self-tapping screw 5×20 SUS304 000-162-608-10 4
Hex.bolt M6×12 SUS304 000-162-897-10 2
Spring washer M6 SUS304 000-158-855-10 2
Cosmetic panel 20-035-1061 100-380-480-10 1
Name Type Code No. Qty
Wing bolt M4×30 YBSC2 000-168-243-10 4
Hex. bolt M6×12 SUS304 000-162-897-10 2
Wing nut M4 YBCS2 000-168-239-10 4
Spring washer M6 SUS304 000-158-855-10 2
Flush mount metal 20-035-1062 100-381-290-10 2
 Loading...