p.14
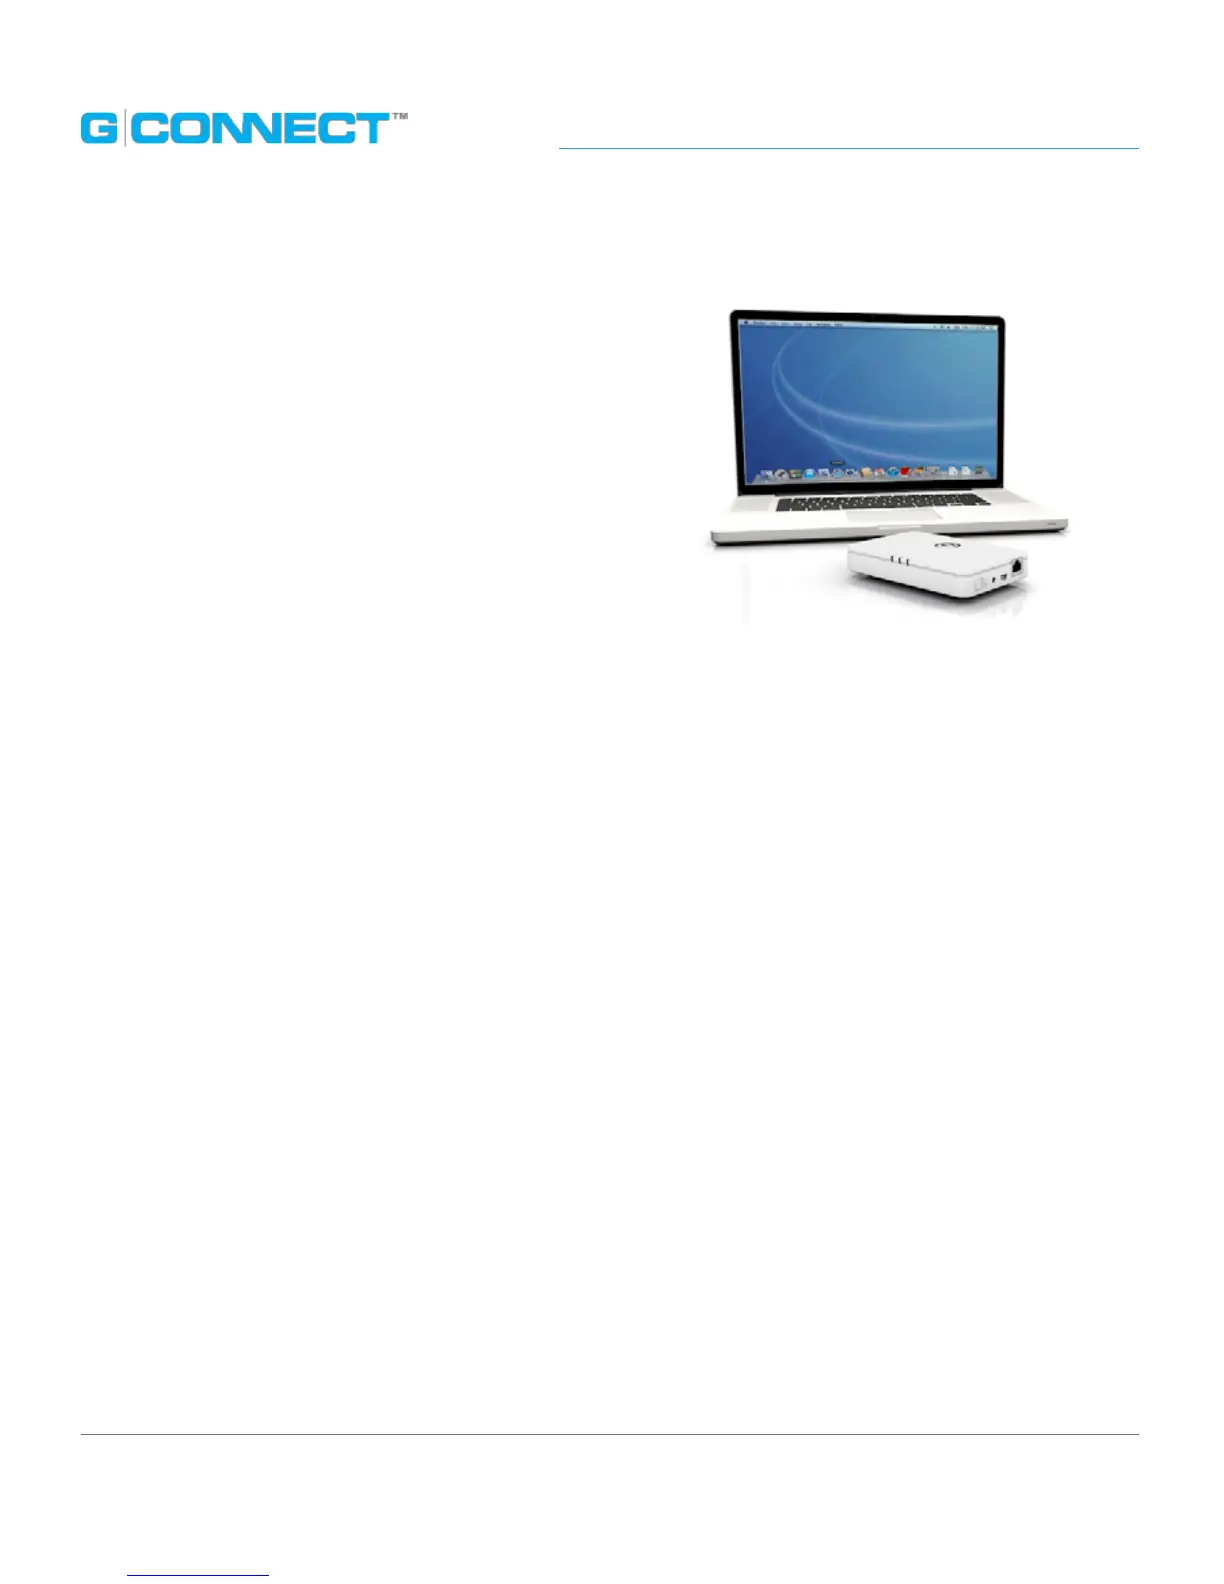
Setting Up G-CONNECT
Setting Up G-CONNECT
To get started, you will need your G-CONNECT and
a personal computer with a web browser installed.
Please review the System Requirements section to
make sure you have a supported operating system
and web browser.
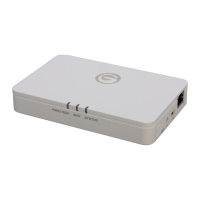
STEP 1: Turn on G-CONNECT
Plug in the included power adapter to the G-CONNECT and a wall outlet. Next, turn
on the G-CONNECT by pressing and holding down the Power button for one second.
The Status and PWR/HDD status indicators will begin to illuminate. The Status light will
continue to ash for a few moments indicating that your device is powering on.
Note: To turn the device ‘O’, press and hold down the Power button again for
approximately one second. The Power/HDD light will brighten and then the Status light
will blink rapidly until all lights turn o.
STEP 2: Connect to Wireless Network
Next, go to the Wireless Network Connection icon on your personal computer and view
your available Wireless Networks.
 Loading...