GNS 430 Pilot’s Guide and Reference
SECTION 3
NAV PAGES
3-11
d) Press the ENT Key to accept the selected option
(Figure 3-19).
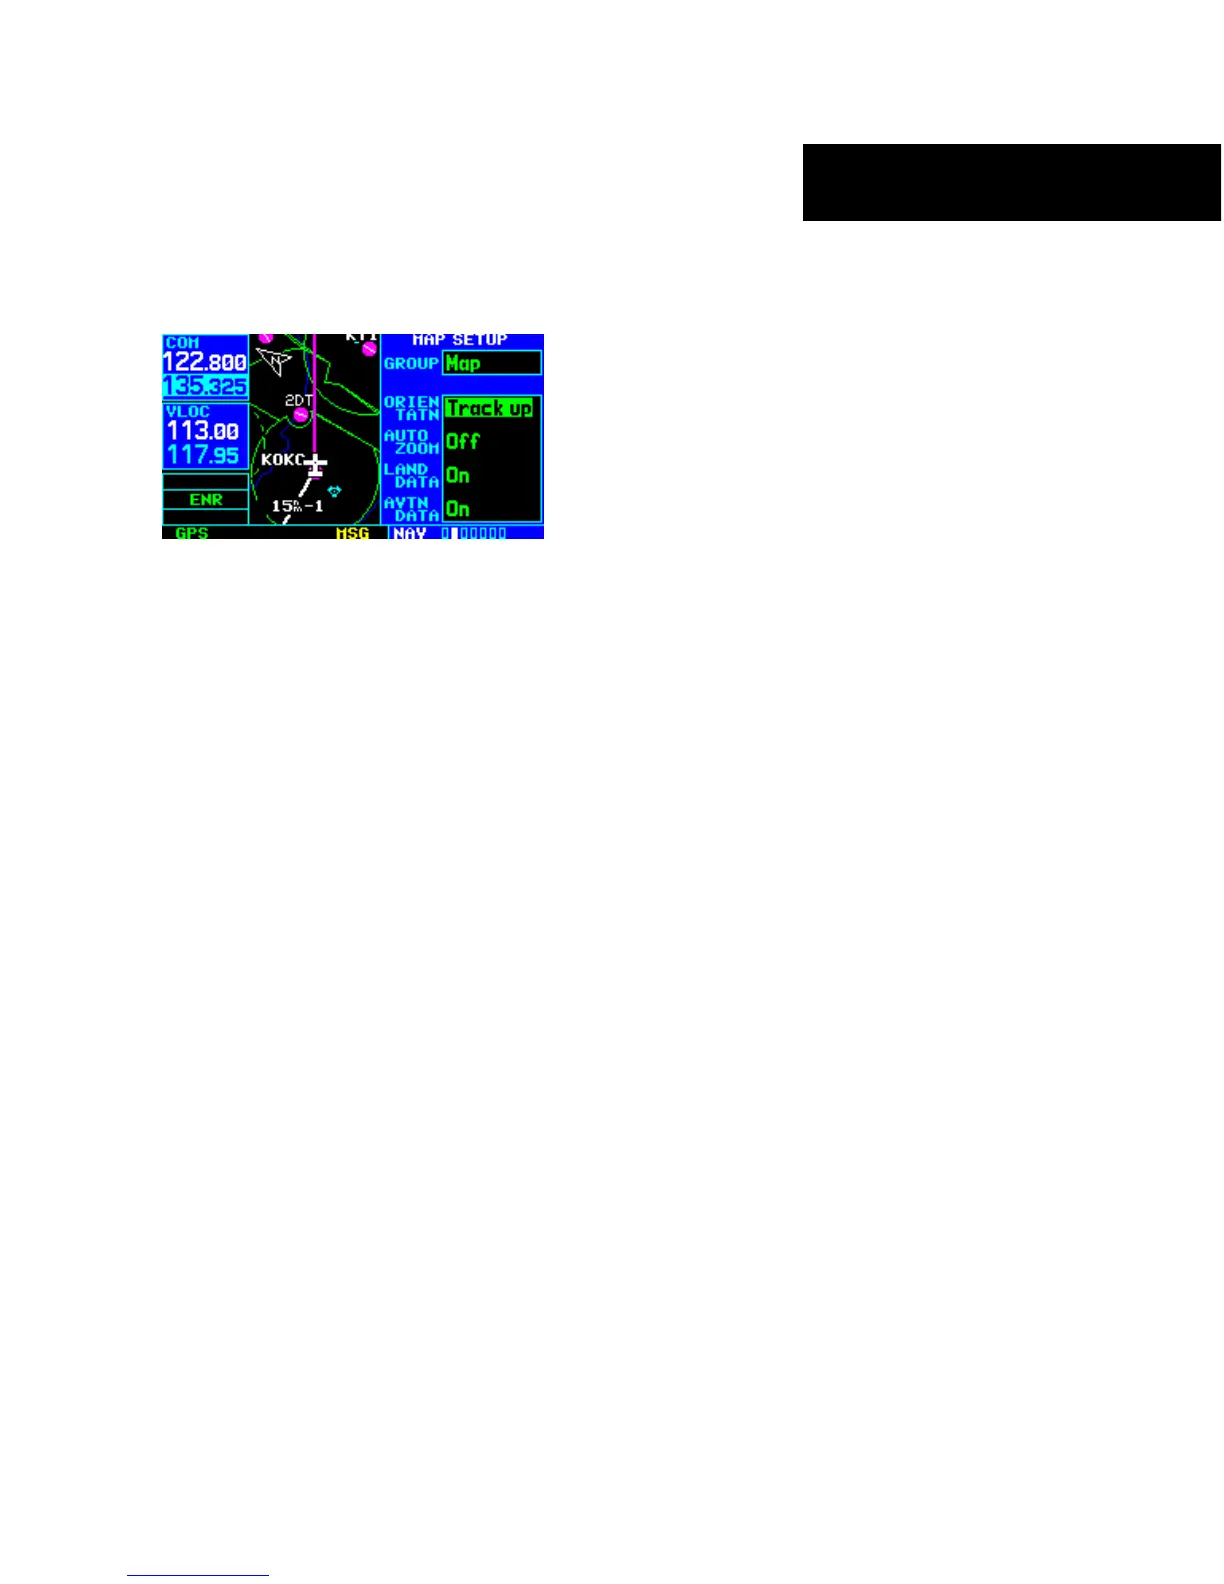
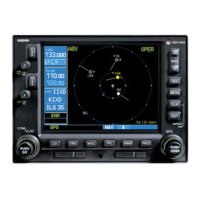
Figure 3-19 Map Setup Page
To enable/disable automatic zoom:
1) From the Map Page Menu, turn the large right
knob to highlight ‘Setup Map?’ and press the
ENT Key.
2) Turn the small right knob to select ‘Map’ and
press the ENT Key.
3) T
urn the large right knob to highlight the ‘Auto
Zoom’ field.
4) Turn the small right knob to select ‘On’ or
‘Off’.
5) Press the ENT Key to accept the selected option.
The automatic zoom feature automatically
adjusts the map range from 2000 nm through
each lower range, stopping at 1.0 nm when
approaching the destination waypoint.
To enable/disable the wind vector, all
background land data, or all Jeppesen
aviation data:
1) F
rom the Map Page Menu, turn the large right
knob to highlight ‘Setup Map?’ and press the
ENT Key.
2) Turn the small right knob to select ‘Map’ and
press the ENT Key.
3) T
urn the large right knob to highlight the
appropriate field.
4) Turn the small right knob to select ‘On’ or
‘Off’.
5) P
ress the ENT Key to accept the selected
option.
For airports
, NAVAIDs, active flight plan
waypoints, user-created waypoints, state/
provincial boundaries, rivers/lakes, and
cities:
1) F
rom the Map Page Menu, turn the large right
knob to highlight ‘Setup Map?’ and press the
ENT Key.
2) Turn the small right knob to select the
appropriate ‘Group’ name (per the chart on
the preceding page) and press the ENT Key.
3) T
urn the large right knob to highlight the zoom
field for the desired feature.
4) Turn the small right knob to select the
maximum range at which the feature should
appear on screen (or select ‘Off’ to never
display the selected feature).
5) P
ress the ENT Key to accept the selected
option.
6) T
urn the large right knob to highlight the text
field for the desired feature.
7)
Turn the small right knob to select the desired
text size, or select ‘None’ to disable text
descriptions.
8) Press the ENT Key to accept the selected
option.