CHAPTER 13: Adding and Replacing Components www.gateway.com
144
Important
The color and shape of your replacement
component's front cover may vary from
your original component.
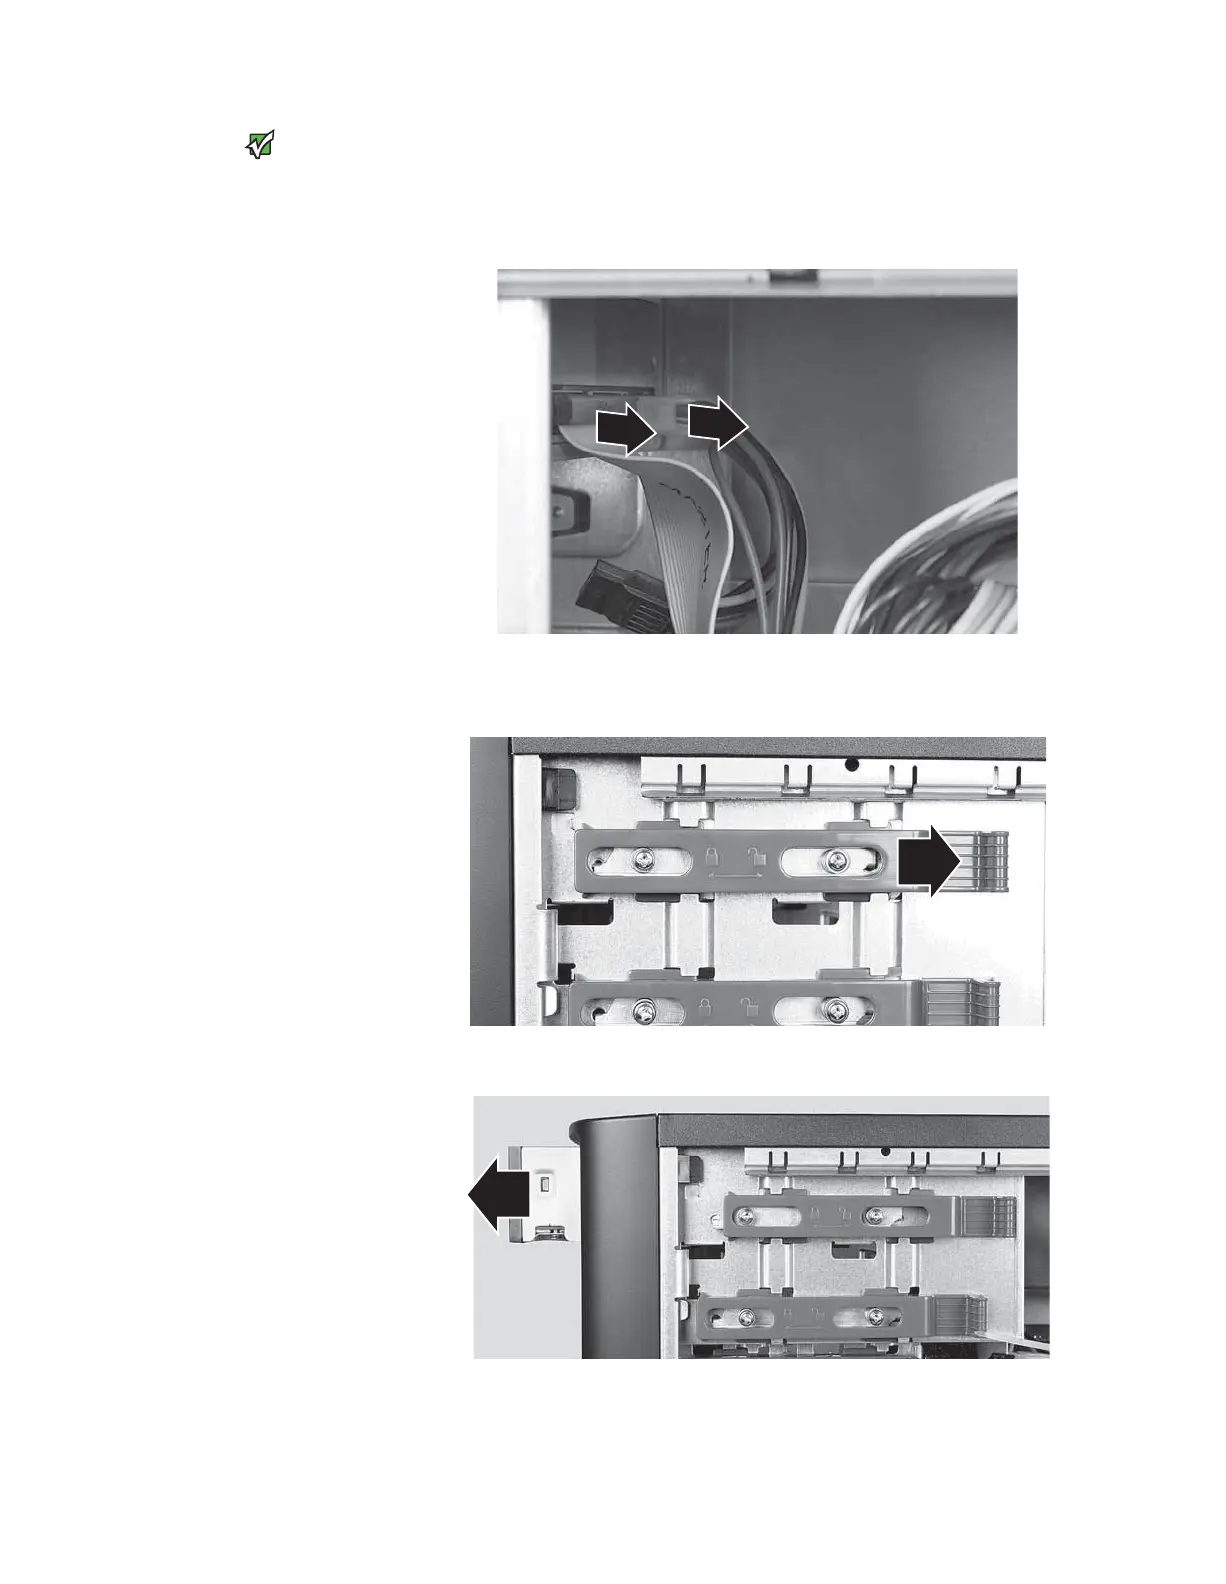
3 If you are replacing an existing drive, disconnect the cables from the drive,
noting their locations and orientation. You will reconnect the cables after
you install the new component. (CD/DVD drive shown.) If you are installing
a new drive, go to Step 7.
4 Slide the drive release latch toward the back of the computer to the Unlock
position.
5 Slide the drive or card reader forward and out of the drive bay.
6 Note any jumper settings on the old drive and set the jumper on the new
drive to be the same.
8511629.book Page 144 Wednesday, July 19, 2006 9:38 AM