CHAPTER 13: Adding and Replacing Components www.gateway.com
152
7 Remove the processor from the system board.
8 Install the new processor onto the system board making sure that Pin 1
on the processor (indicated by the silk-screened arrow on the corner of
the processor) aligns with Pin 1 on the processor socket (indicated by the
absence of a pin hole in the processor socket), then return the lever to its
locked position.
9 Place the heat sink on the system board, then tighten the screws that
secure it to the system board.
10 Connect the fan cable to the system board, then insert the fan into place.
11 Replace the side panel by following the instructions in “Replacing the side
panel” on page 140.
Replacing the I/O board
Important
The color and shape of your replacement
component's front cover may vary from
your original component.
To replace the front I/O panel:
1 Remove the side panel by following the instructions in “Removing the side
panel” on page 138.
2 Remove the bezel by following the instructions in “Removing the front
bezel” on page 139.
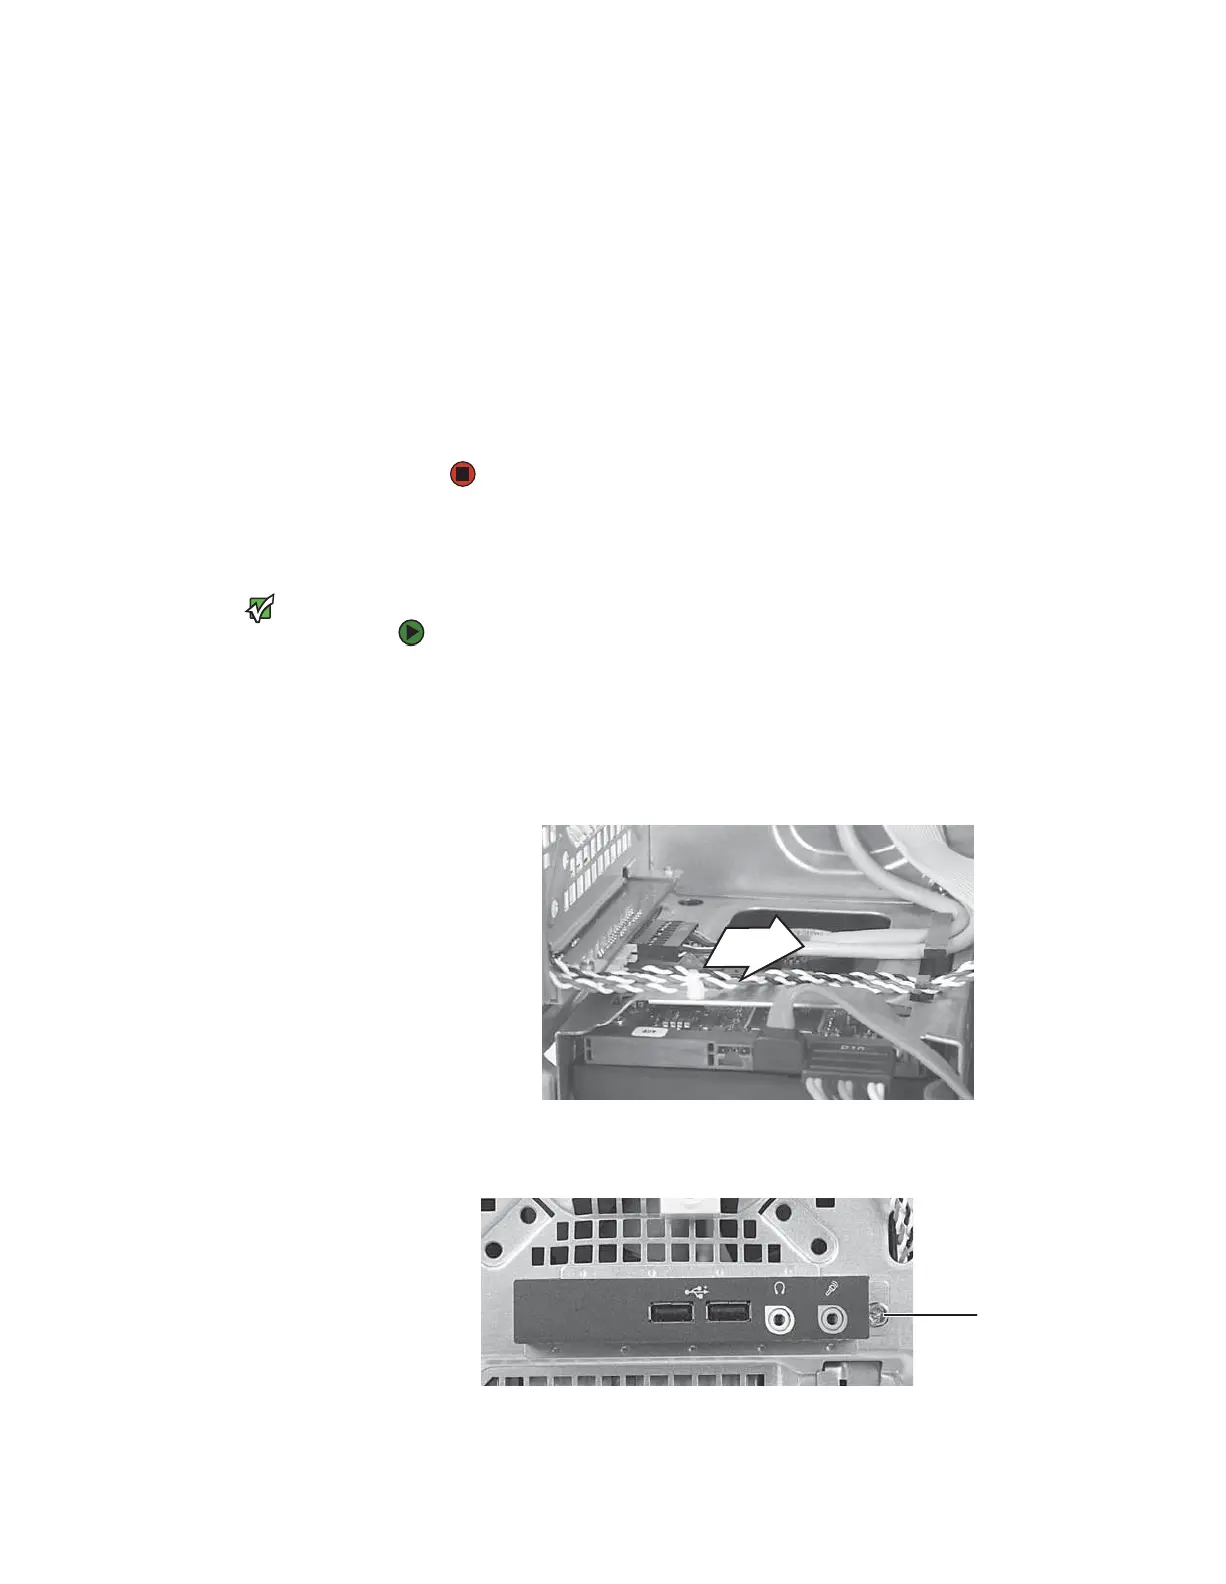
3 Disconnect the cable from the I/O panel.
4 Remove the screw that secures the I/O panel to the computer, then
remove the I/O panel from the computer.
5 Insert the new I/O panel board into the computer, then replace the screw.
Screw
8511629.book Page 152 Wednesday, July 19, 2006 9:38 AM