Setup and Calibration 4-15
January 2008
Setting Up the Serial Port After entering the User Program, as described on page 3-4, the main
menu appears. To set up the serial port, proceed as follows:
Note: For the XDP, the serial port is normally used only for
downloading software upgrades to the meter.
Note: “Lock All” and “Versions” menu options also appear on the
above list.
Note: The “Fault Alarm” and “Analog Output” options are also
available in the above list box.
IMPORTANT: Each of the following prompts shows the usual
default value for that parameter.
At the following prompt, choose one of the following numbers as the
Node ID for the meter: 16, 32, 48, 64, 80, 96, 112, 128, 144, 160, 176,
192, 208, 224, or 240.
Cal
Opt
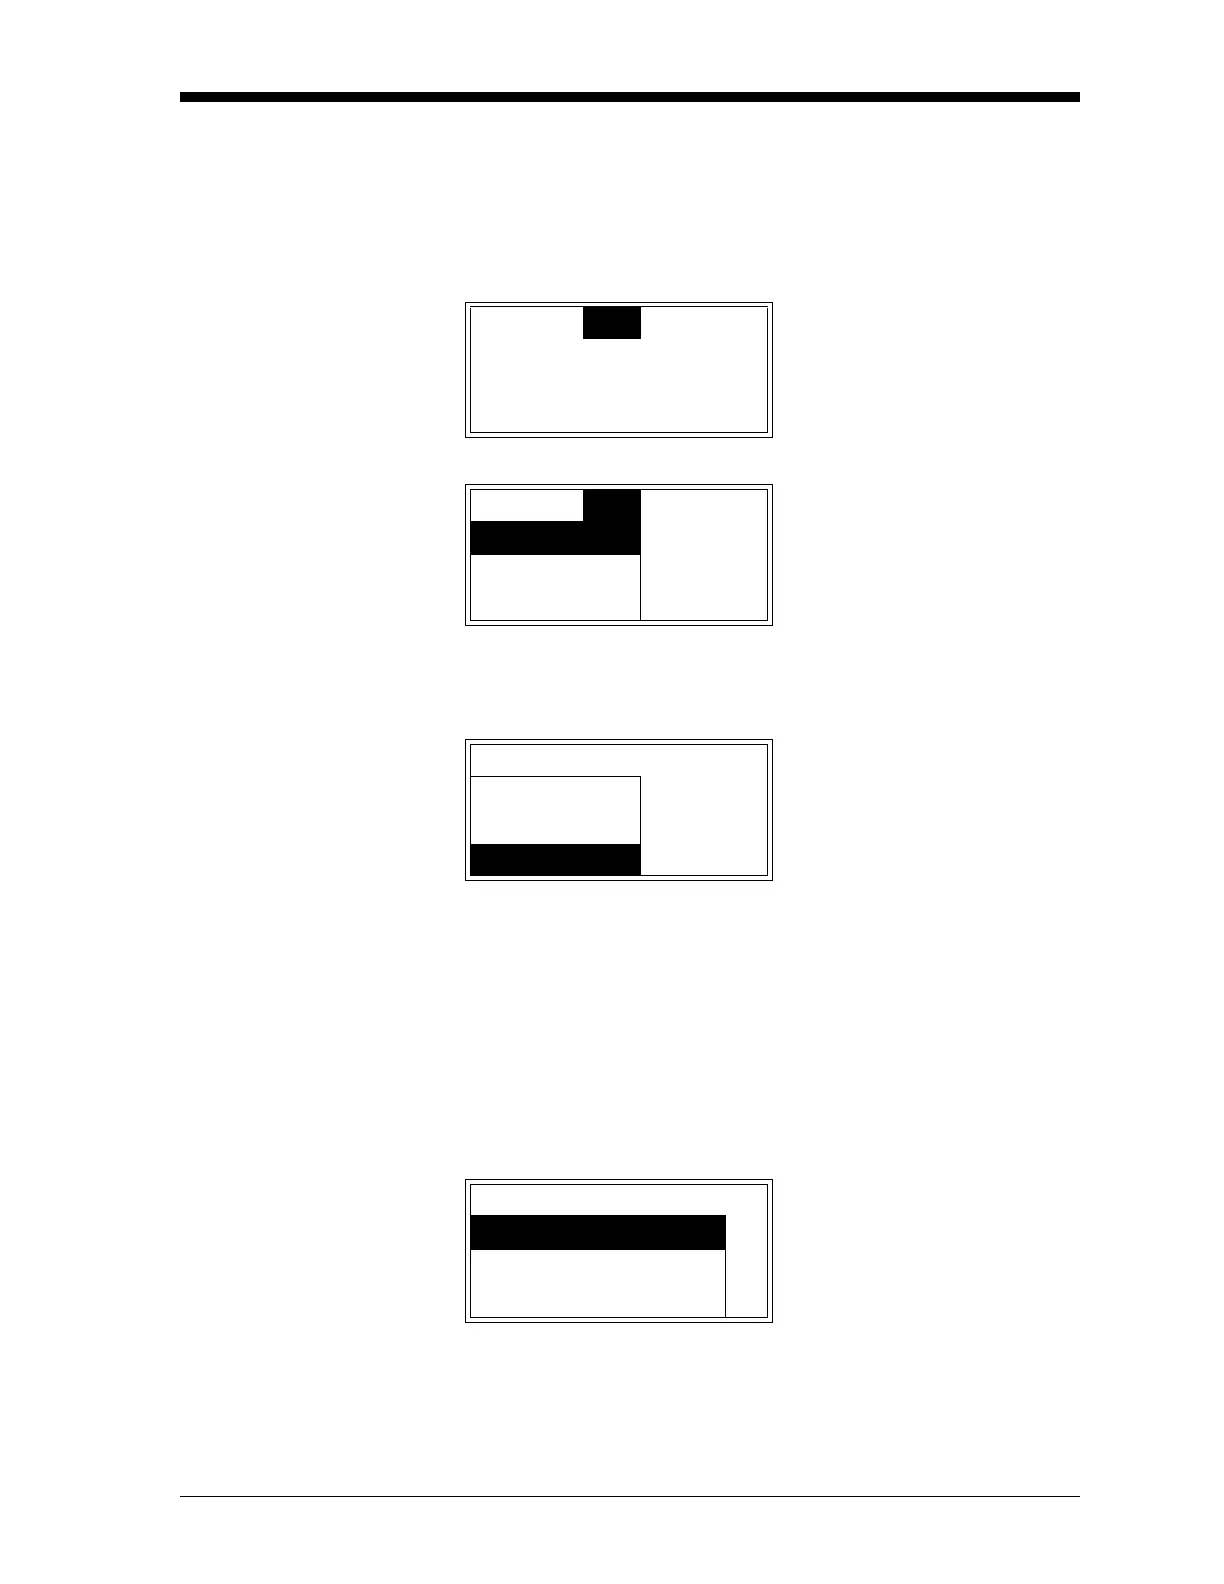
Disp Use the [W] and [X] keys to
select
[Opt] and press [ENTER].
Cal
Opt
Disp Use the [S] and [T] keys to
select
[User] and press [ENTER].
User
Lock Menus
User Use the [
S] and [T] keys to
select
[Comm] and press
[ENTER].
Contrast
Backlight
Comm
User Node-ID Use the [
S] and [T] keys to
scroll the list of available node
ID numbers. When the desired
number is highlighted, press
[ENTER].
Node ID
s
16
t
 Loading...


