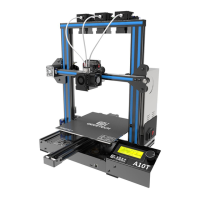
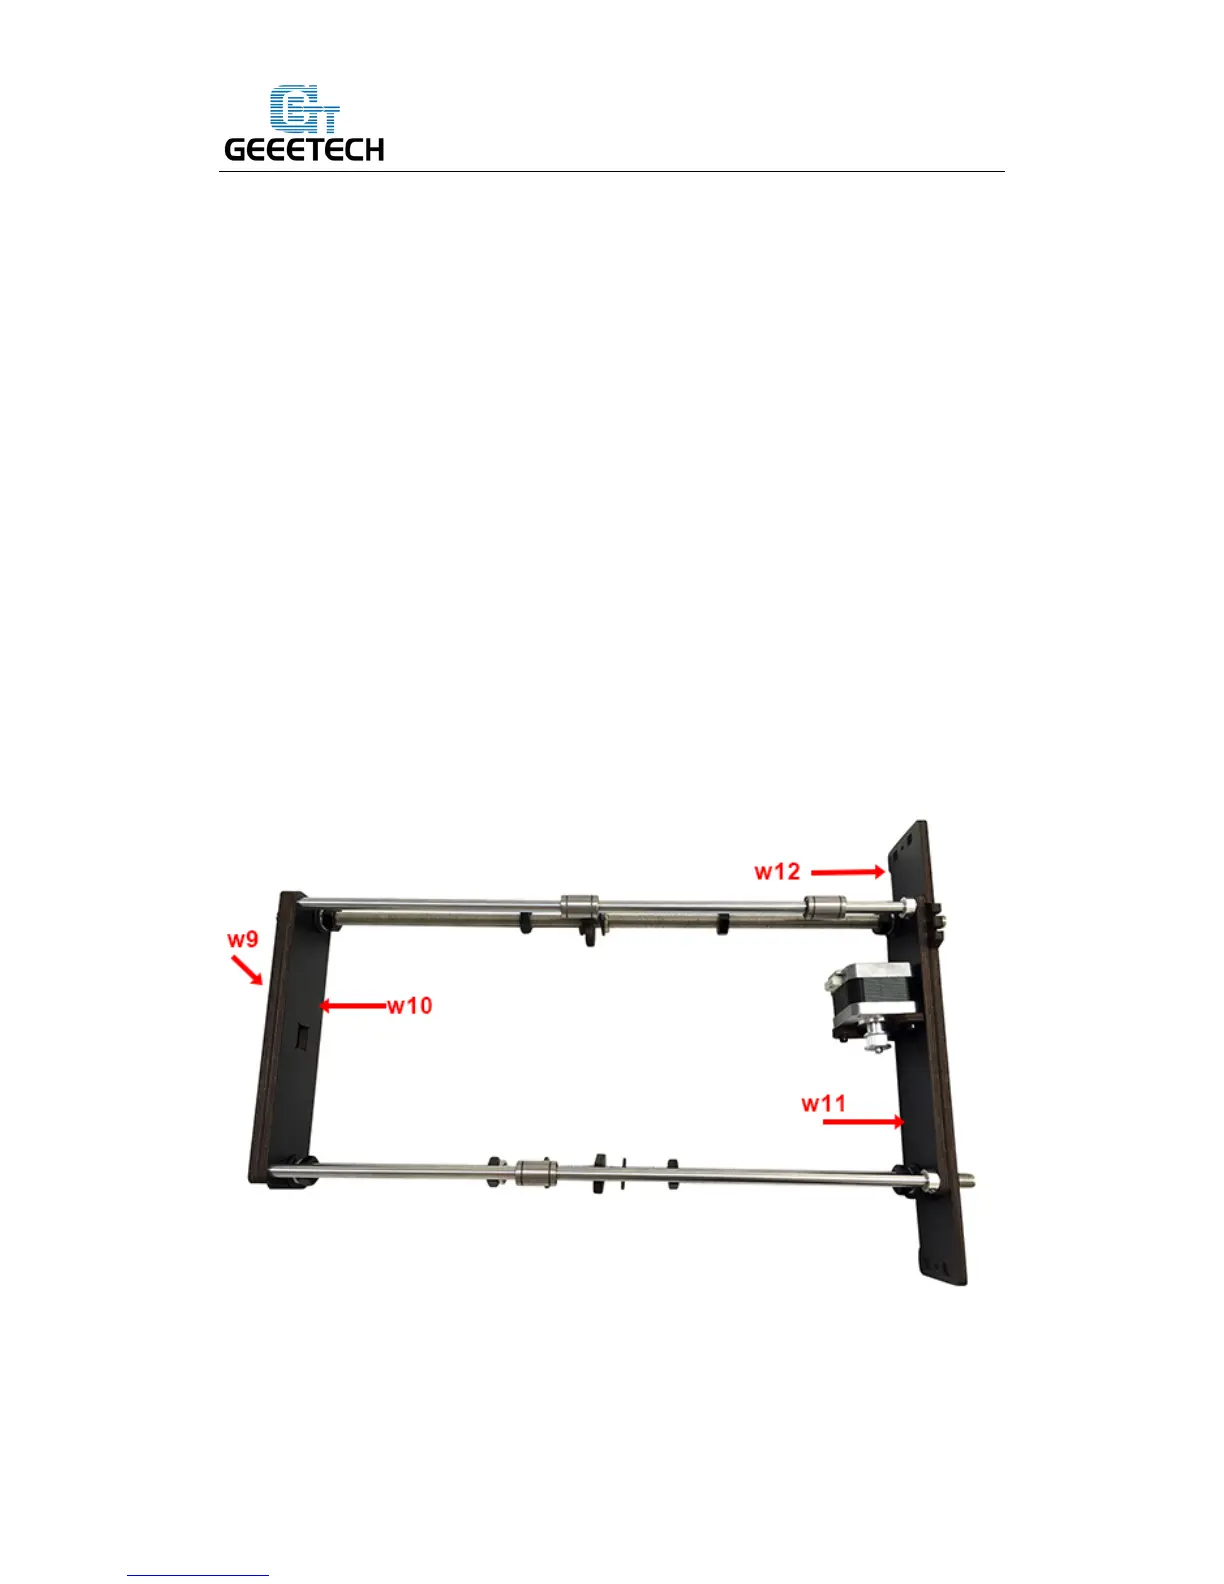
Step 1. Insert 2 threaded rods into rear support plates separately through the bottom
mounting hole; please note the sequential order of two support plates.(As below
picture)
Step 2.Slightly fix the threaded rods and the rear support plate with M10 nut and M10
washer.
Step 3.Insert the smooth rods with lock ring on into the rear support plates through the
upper mounting hole; then slightly fix the lock ring.
Step 4.Separately insert the another end of the smooth rods and the threaded rods into
the upper and the lower of the mounting holes of the front support.
Step5. Slightly fix the threaded rods and the wood plate with M10 nut and M10
washer.
 Loading...