*Do not screw it too tight, you should leave enough room for the wheel to turn freely.
22 Add the X axis belt
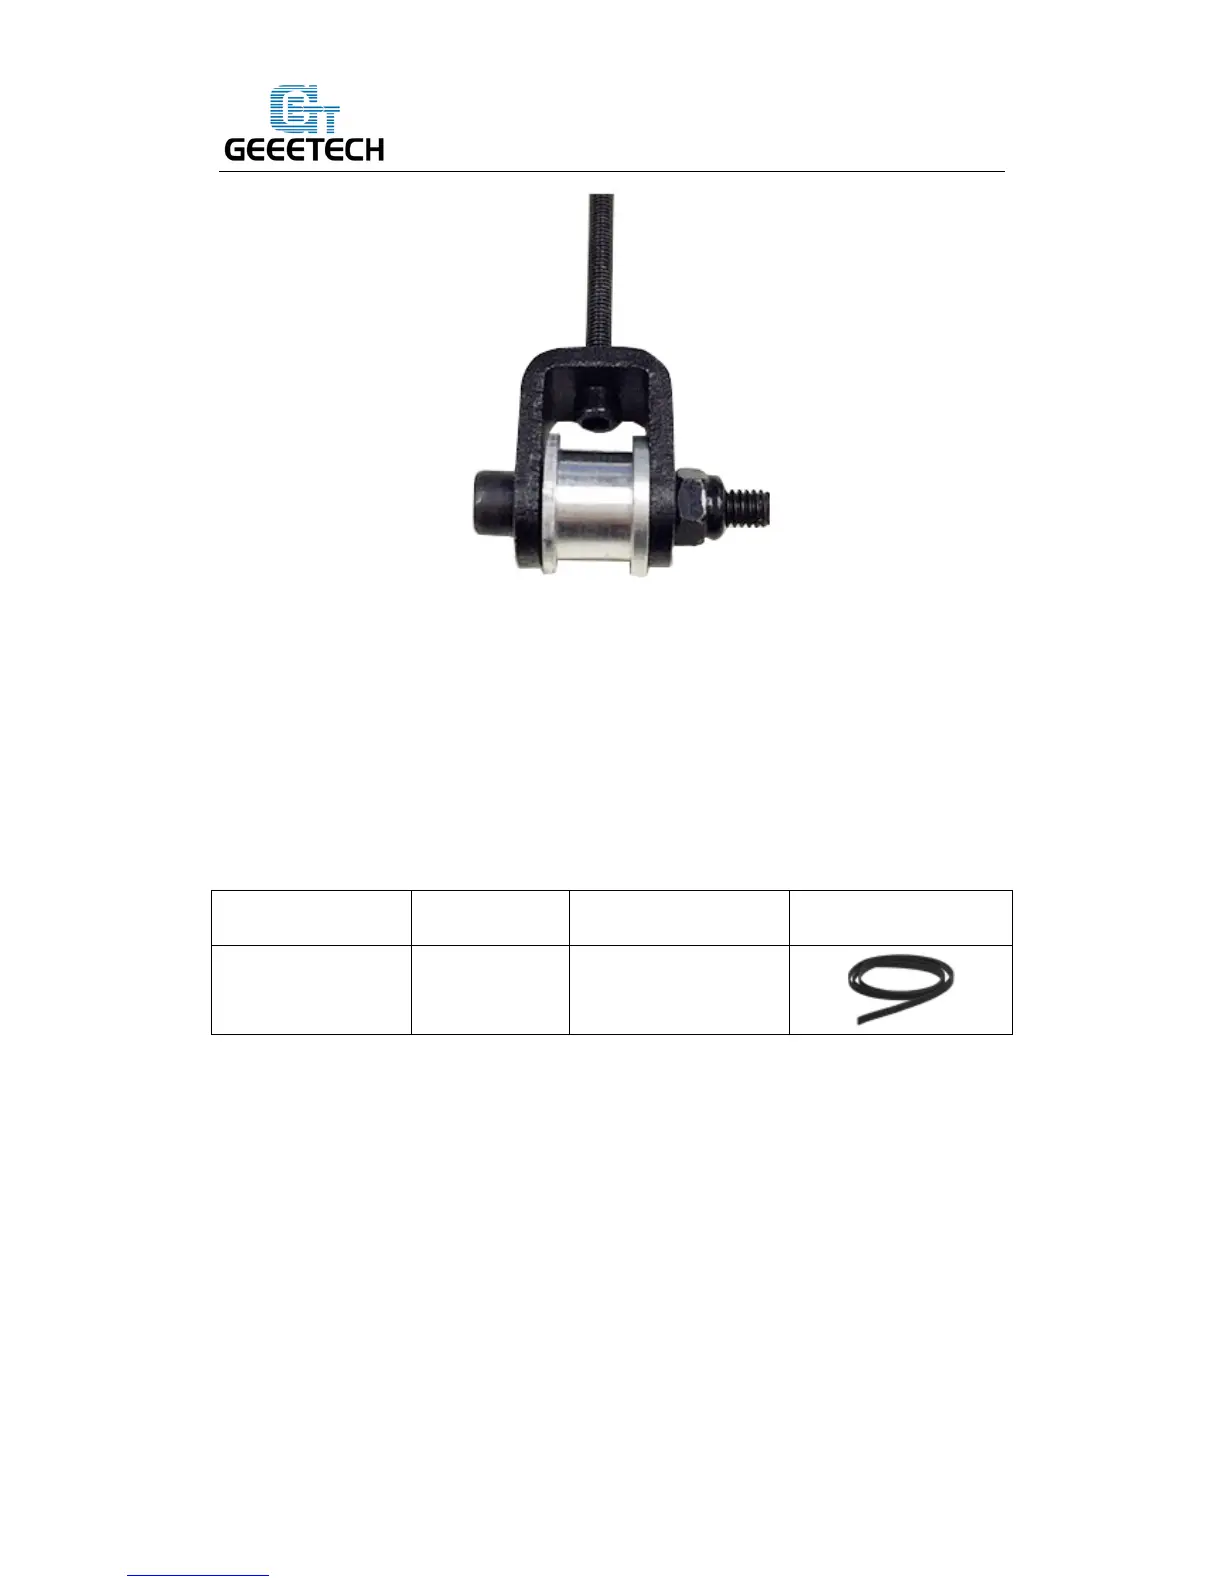
Required part Part ID Required quantiry Picture
Timing belt No.36 1
Step1. Insert one end of the belt into the groove. Pay attention to the tooth mesh of the
belt and the groove.
Step2. Thread the belt through the belt driven wheel and put the M3 x 40 mm screw
of he driving wheel into the X idler end, lock it with a wing nut. Do Not screw too
tightly.
Step3. Thread another end of the belt through the X motor end around the pulley.
Step4. Insert another end of the belt into the groove, pull tightly and cut the spare part.
Confirm the length of the belt.Then insert the belt into the groove.
 Loading...