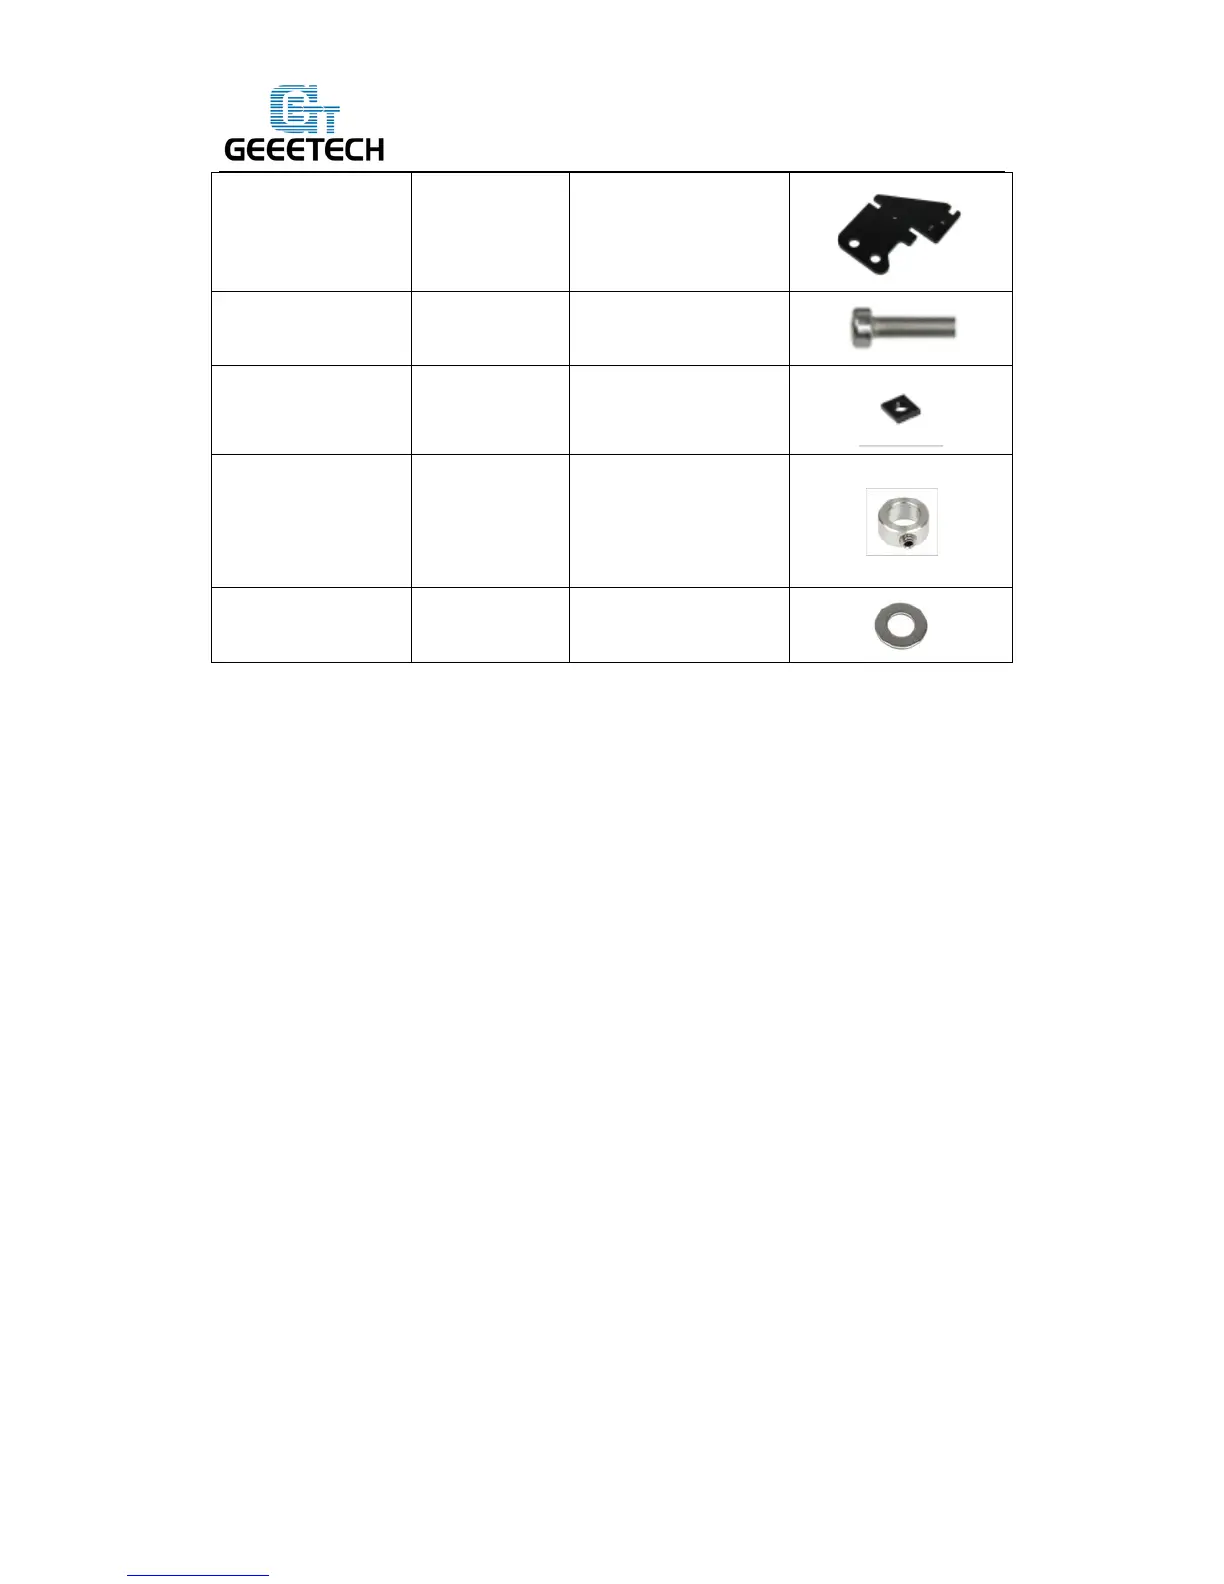
EasyManuals Logo

Geeetech Prusa I3 pro W Building Instruction

Geeetech Prusa I3 pro W
114 pages
To Next Page IconTo Next Page
To Previous Page IconTo Previous Page
Page #69 background imageLoading...
Page #69 background image
68
www.geeetech.com
Shenzhen GETECH CO.,LTD
Z axis top mount No.W8 2
M3 x 16mm screw No.24 4
M3 square nut No.15 4
Screw locking ring
No.18 2
M3 washer No. 7 6
Step1. Put the locking ring on the two smooth rods separately.
Step2. Add the Z top mount (No.W8) to the top of W1. Slowly rotate the rods into the
holes, or add some lubricants on the rods.
Step3. Screw up the top mount, the main frame and the side panel with M3 x 16mm
screw and M3 Square nut.
Step4. Screw up the locking ring on smooth rods.

Other manuals for Geeetech Prusa I3 pro W

Questions and Answers:

Question and Answer IconNeed help?

Do you have a question about the Geeetech Prusa I3 pro W and is the answer not in the manual?

Geeetech Prusa I3 pro W Specifications

General IconGeneral
BrandGeeetech
ModelPrusa I3 pro W
Category3D Printers
LanguageEnglish

Related product manuals