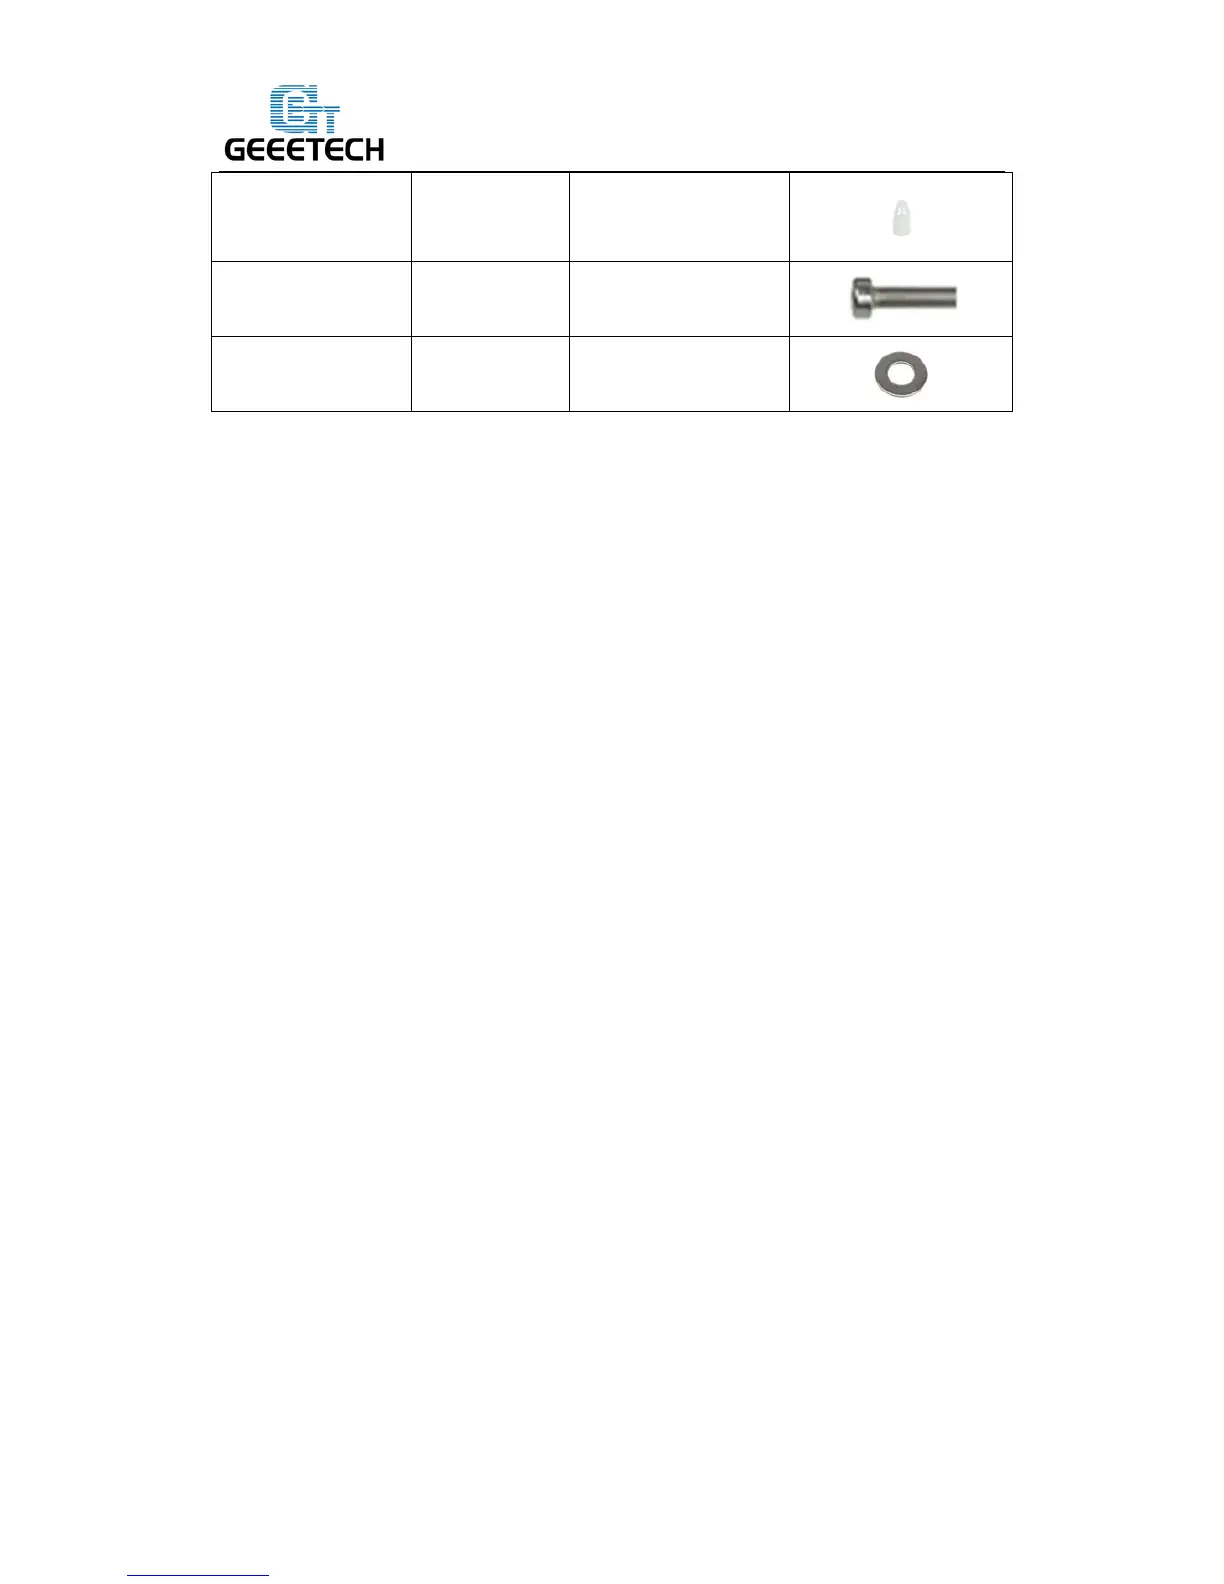
M3 x 10 mm screw No.22 4
M3washer No. 7 5
1. You can also mount the board after you finish the wiring so that you can see the
Silk print on the back of the board
2. Some connectors on the board may vary in different batches, but the layout of the
board are the same, it will not affect the wiring.
Step1. Cut the sticker into small pieces. Past the heat sink onto the chip of the A4988
drivers (on the main board).
Step2. Insert the spacer into the holes of the board from back to front, Mount the
board kit on the left side panel with 4 M3 x 10mm screws and M3 washers on the side
panel.
Note the direction of the board; the section insered A988 is are upwards.
 Loading...