9 / 66
1436 cPos
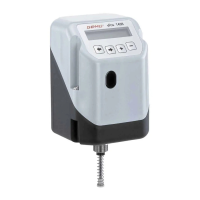
4.2.3 Mounting the positioner
1
2
4
3
6
Valve with positioner
1. Place positioner 1 with adapter 4 and mounting bracket 6
on actuator 3.
The adapter lug 4 must engage in the actuator
shaft groove.
4
6
3
1
2. Attach mounting bracket 6 to actuator 3 using the screws,
washers and spring washers provided.
4
6
3
1
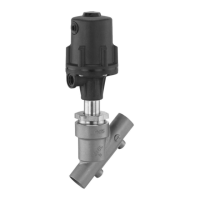
4.2.4 Mounting the external travel sensor
(onlyforversionwithremotemounting)
7
4
6
3
Valve with external travel sensor
In the design with an external travel sensor, the
travel sensor's cable exit protective coating is
not UV-resistant and must therefore be protected
against direct exposure to weather.
1. Fit positioner 1 somewhere suitable.
The GEMÜ 1446 00 ZMP mounting bracket (to
be ordered separately) can be used to accom-
plish this.
2. Assemble the travel sensor (see chapter 4.2.2 "Assembling
the travel sensor").
3. Place travel sensor 7 with adapter 4 and mounting bracket
6 on actuator 3.
The adapter lug 4 must engage in the actuator
shaft groove.
6
7
3
4
4. Attach mounting bracket 6 to actuator 3 using the screws,
washers and spring washers provided.
6
3
7
Information on the travel sensor:
The slotted holes should be positioned in the
centre on the screws. In the case of incorrect
travel set up, (determined by checking the
attachment, see chapter 4.2.5), loosen the two
screws slightly and twist the travel sensor. Set
the travel up correctly and tighten the screws
again.
4.2.5 Checking the mounted assembly
1. Connect the positioner to power and air supply
(see chapter 5)
2. The following message is displayed:
NoInit
XX.X%
The mounted actuator can be moved to the OPEN and
CLOSED positions using the
+
and
ـ
keys.
The displayed valve position must be between 1 % and 99 %.
Should the display show that this range is being exceeded,
check the mechanical mounting again and readjust the
orientation of the travel sensor, if necessary (see chapter 4.2.2
or 4.2.4).