Model S4000T
22
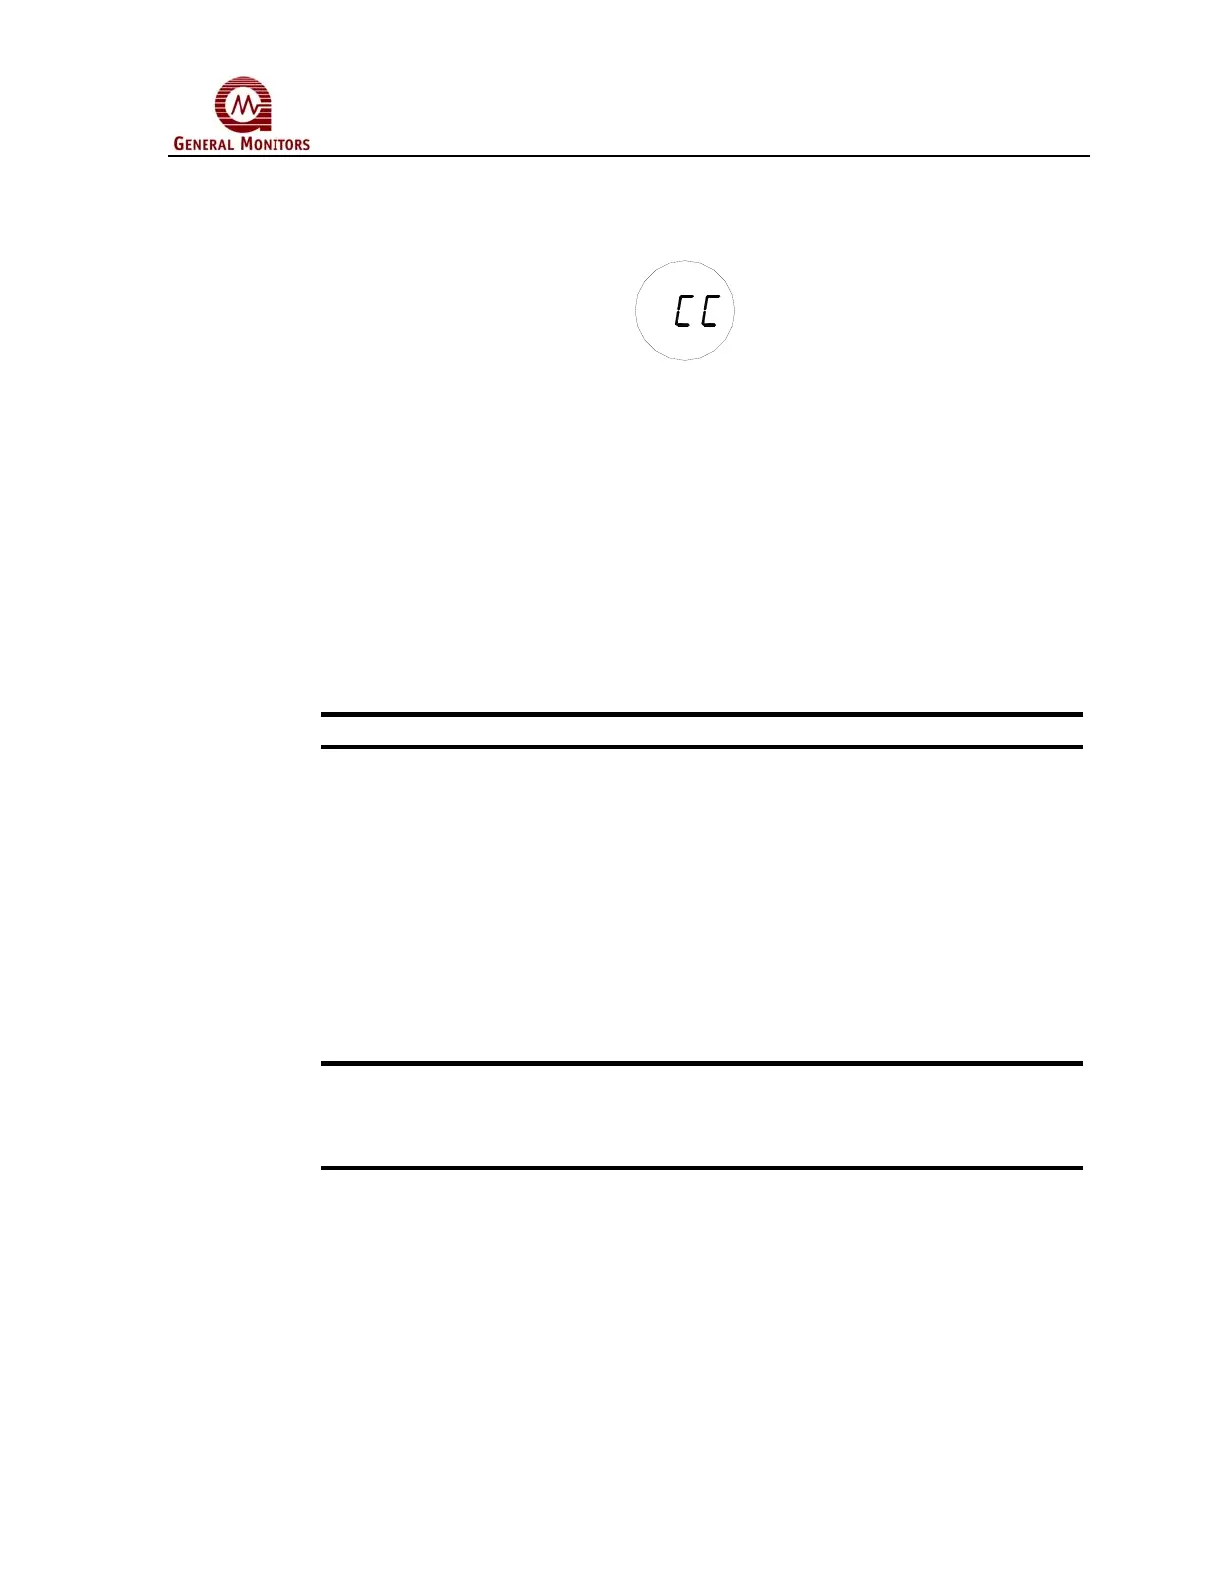
After three to five minutes, the display will change from “CP” to “CC” (Figure 29),
indicating that the calibration is complete.
Figure 29 Calibration Complete Mode
Remove the gas and wait for the unit to return to normal operation. The display will
indicate a few percent full-scale and then drop to “0”.
The unit is now calibrated and the new SPAN value has been stored in the non-
volatile memory (EEPROM).
4.6.2 Aborting Calibration
If calibration is to be aborted, and gas has not been applied, wait ninety seconds and
reapply the magnet. The unit will return to normal operation with the previous
calibration values unchanged.
NOTE - Once gas has been applied, it is not possible to abort a calibration.
If the Model S4000T is placed in the Calibration Mode, and no gas is applied for
twelve minutes, the unit will revert to a Fault (F2) condition. Re-applying the magnet
over the GM Logo will return the unit to operational mode with the previous
calibration values unchanged.
4.6.3 Remaining Sensor Life
The Model S4000T Intelligent Sensor provides an estimate of remaining sensor life,
in percent remaining, to provide the user with an early warning of the need for sensor
replacement. The remaining sensor life is updated each time the unit is calibrated.
The current remaining sensor life estimate is displayed during the zeroing portion of a
calibration sequence. It can also be read via the Modbus interface (see Section 8).
NOTE - The remaining sensor life provides an estimate of the amount of life
remaining for the sensor. This estimate can be effected by many factors, including
environmental conditions, poisons, etc. It should be used only as an estimate for
preventive maintenance and logistic purposes.
4.6.4 Initializing the Remaining Sensor Life
The remaining sensor life estimate must be initialized each time a new Hydrogen
Sulfide Sensor is installed. The initialization should be done during the first calibration
of a newly installed sensor. After the sensor has been on power for a minimum of one
hour, enter calibration mode as described in Section 4.5. While the display is flashing
the remaining sensor life estimate during zeroing, apply the magnet to the GM Logo
on the cover. The flashing number will change to “100”, indicating the sensor has
100% of remaining sensor life. Complete the calibration per Section 4.5.1.
 Loading...