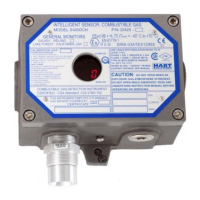
Model S4000T
23
4.7 Calibration Equipment
4.7.1 Breaker Bottles and Ampoules
General Monitors offers ampoules with breaker bottles as a method of reliably
introducing calibration gas to the Model S4000T. The ampoule is placed inside the
breaker bottle into the breaker slot, and the breaker bottle is placed over the sensor.
The ampoule should contain 50% FS of H
2
S of the sensor range. Follow the
calibration procedure in Section 4.6. When the display indicates “AC”, break the
ampoule by turning the thumbscrew on the side of the breaker bottle clockwise. The
display will change to “CP” indicating that the sensor is seeing the gas. When the
display reads “CC”, the calibration is complete. Remove the breaker bottle and allow
the sensor to see clean air. It will return to normal operation once the gas at the
sensor is below 5% of full-scale. See Section 9.4 for available equipment.
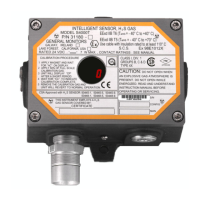
4.7.2 H
2
S Portable Purge Calibrator
An alternate method for introducing calibration or test gas to the Model S4000T is
available. The H
2
S Portable Purge Calibrator is a compact, practical, accurate and
safe system for field calibration of H
2
S Sensors. The bottle is filled with a hydrogen
sulfide (H
2
S) in air mixture and is available in 7 concentrations. The temperature
limitation for operation and storage is 0°F to +130°F (-18°C to +54°C).
NOTE - Do not store the cylinder with the regulator fully engaged in the cylinder
valve.
Use the calibration procedure listed below for H
2
S Portable Purge calibrations:
• Make sure the Portable Purge Calibrator contains a gas concentration equivalent to
50% of full-scale for the unit that is going to be calibrated.
• Ensure that the sensor is seeing clean air. If it is suspected that hydrogen sulfide
gas is present, it will be necessary to purge the sensor environment with clean air.
• Place the gas cup over the sensor and initiate the calibration sequence, by placing
the magnet over the GM Logo on the cover of the unit.
• When the letters “AC” appear in the display window remove the magnet and apply
the calibration gas (50% of full-scale) by opening the valve on the cylinder.
• When the sensor begins to see the gas, the display will change from “AC” to “CP”
to indicate “Calibration in Progress”.
• When the calibration sequence is complete, the display will change from “CP” to
“CC” to indicate “Calibration Complete”.
• Remove the gas by closing the valve on the cylinder, and remove the cup allowing
the sensor to see clean air. The display will change from “CC” to indicate a few parts
per million (ppm) and then drop to “0”.
The unit is now calibrated and the new values have been stored in the EEPROM
(non-volatile memory). See Section 9.4 for available equipment.
 Loading...