28
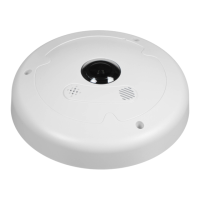
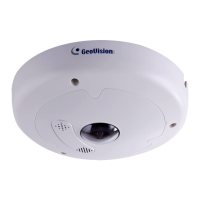
3.3 Installation
To install a Mini Fixed Dome, make sure the installing site is shielded from
rain and moisture.
GV-MFD Series
1. Unscrew the housing cover using the supplied torx wrench.
2. Put the camera on the desired location and make 2 marks on the
ceiling for screw anchors. If you want to run the cables inside the
ceiling, make a round mark with a diameter of 2.5 cm.
3. Drill the marks and insert the screw anchors.
4. Secure the Mini Fixed Dome to the ceiling with the self-tapping screws.
5. Connect the camera to network and power. For details, see 3.4
Connecting the Camera.
6. Access the live view. See 9.2 Accessing the Live View in the Quick
Start Guide.
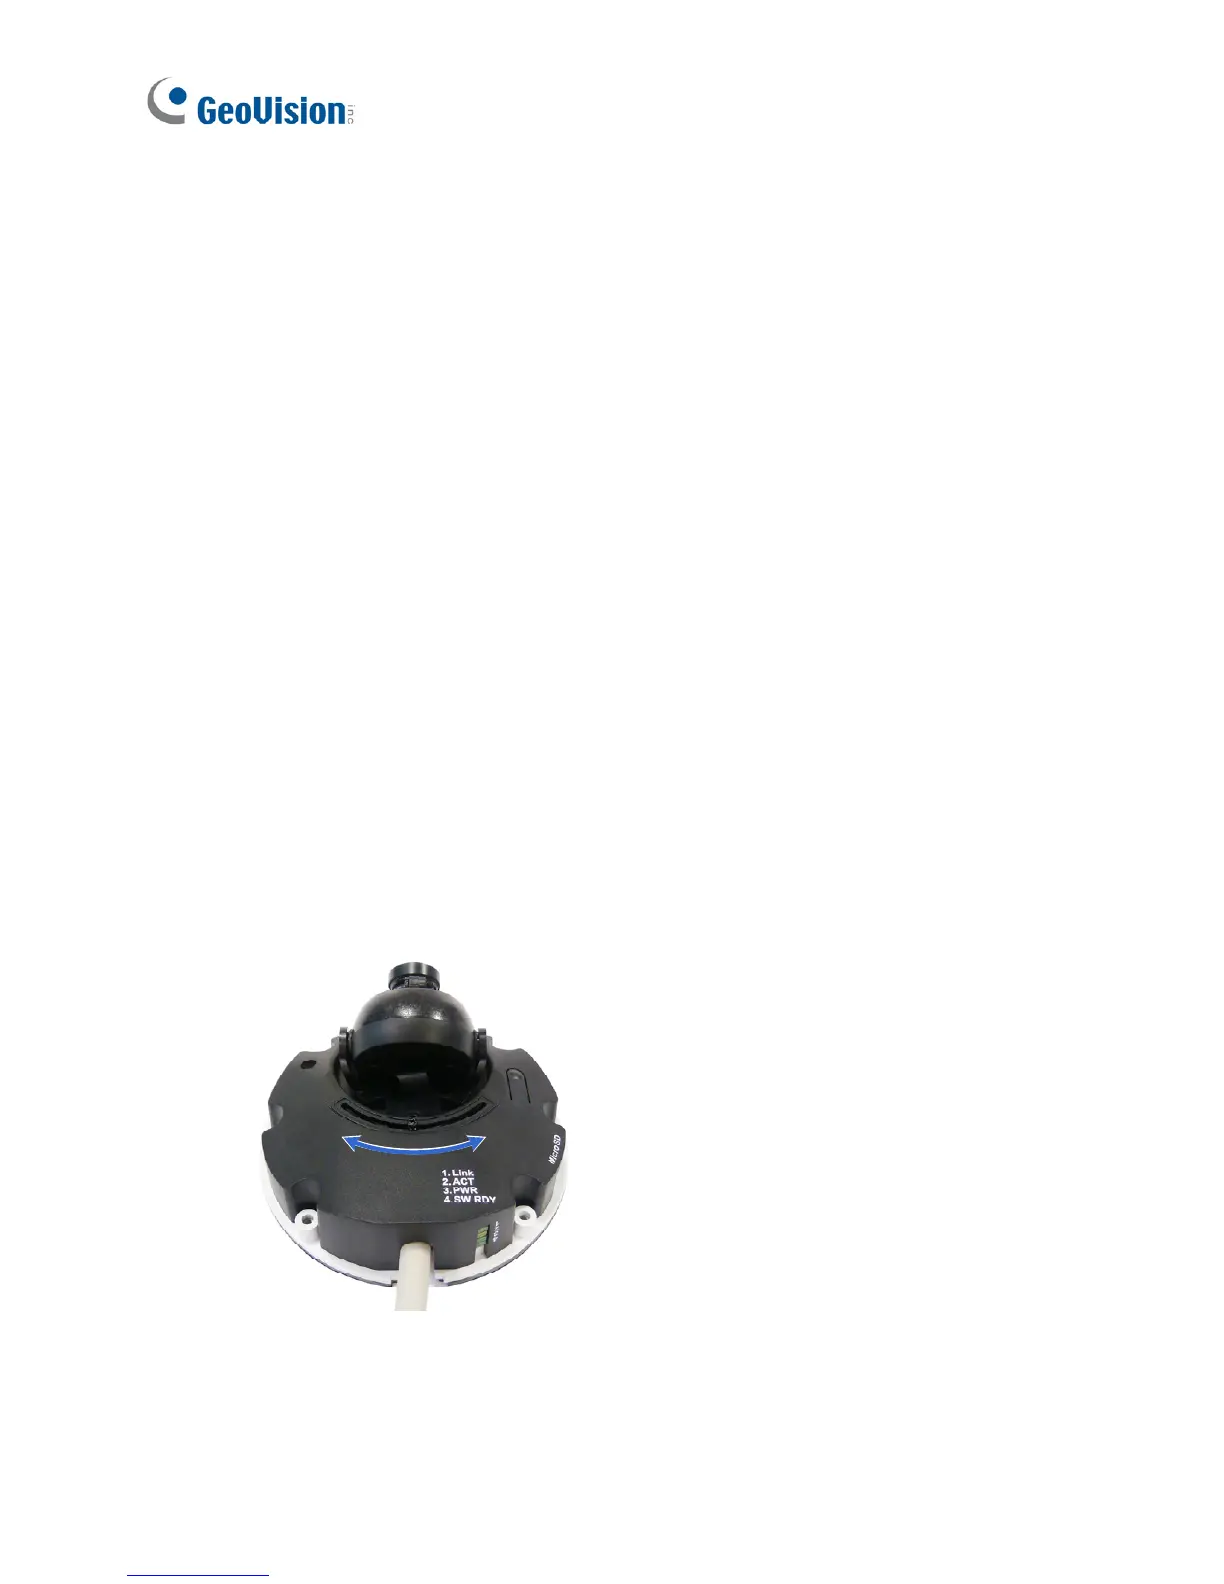
7. Adjust the angles based on the live view.
Pan Adjustment
 Loading...