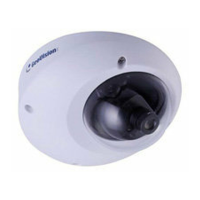
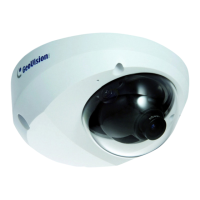
Target Fixed IP Dome
16
16.3 Installation
The Target Fixed Dome can be installed on the wall or the ceiling. Before
installing the camera, make sure the installing site is shielded from rain and
moisture.
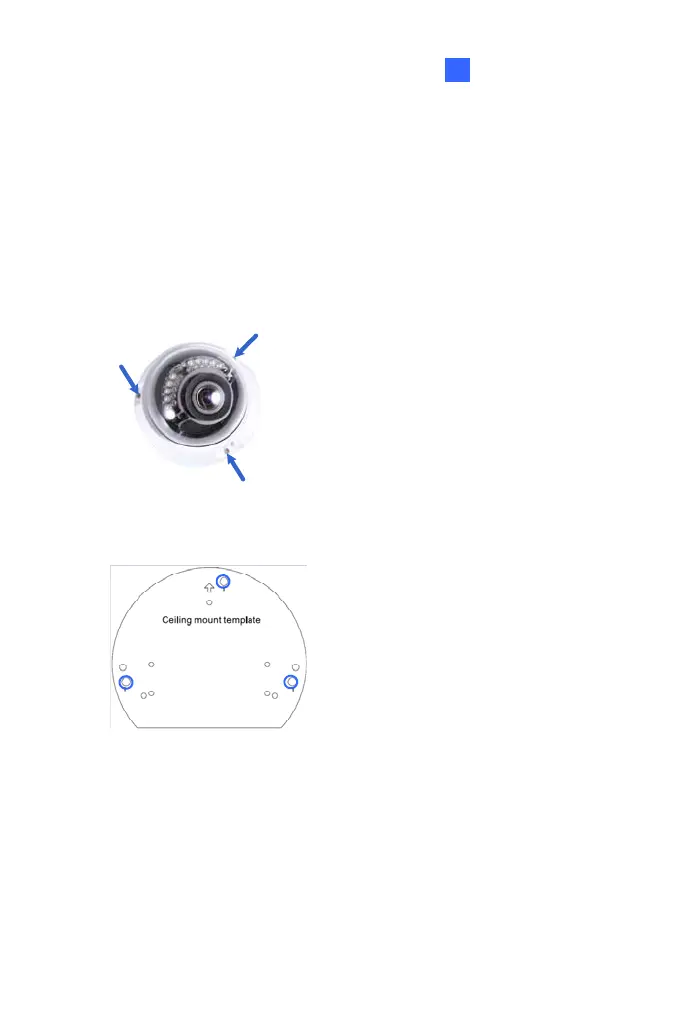
1. Use the supplied torx wrench to loosen three screws on the housing
cover, and take out the camera body.
2. Place the installation sticker where you want to install it, and make 3
marks on the ceiling or the wall for screw anchors.
3. Drill the marks and insert the screw anchors.
4. Connect the camera to network and power. For details, see 16.4
Connecting the Camera.
5. Secure the camera to the ceiling or the wall with the supplied screws.
6. Access the live view. For details, see 21.2 Accessing the Live View in
the Quick Start Guide.
181
 Loading...