Vandal Proof IP Dome (Part II)
13
13.3 Installation
The Vandal Proof IP Dome is designed for outdoors. With the standard
package, you can install the camera on the ceiling.
Note: You can also install the camera:
on a power box (of the 4" square and double gang type) using the
standard package
to ceilings, wall corners (concave or convex), and poles using
optional mounting kits
For details on these installations, see GV-Mount Accessories Installation
Guide on the Software DVD.
IMPORTANT: When installing the Vandal Proof IP Dome near the
corner, maintain at least 25 cm away from the walls to avoid reflection
problems.
1. Remove the housing cover with the supplied torx wrench.
2. Thread wires into the camera.
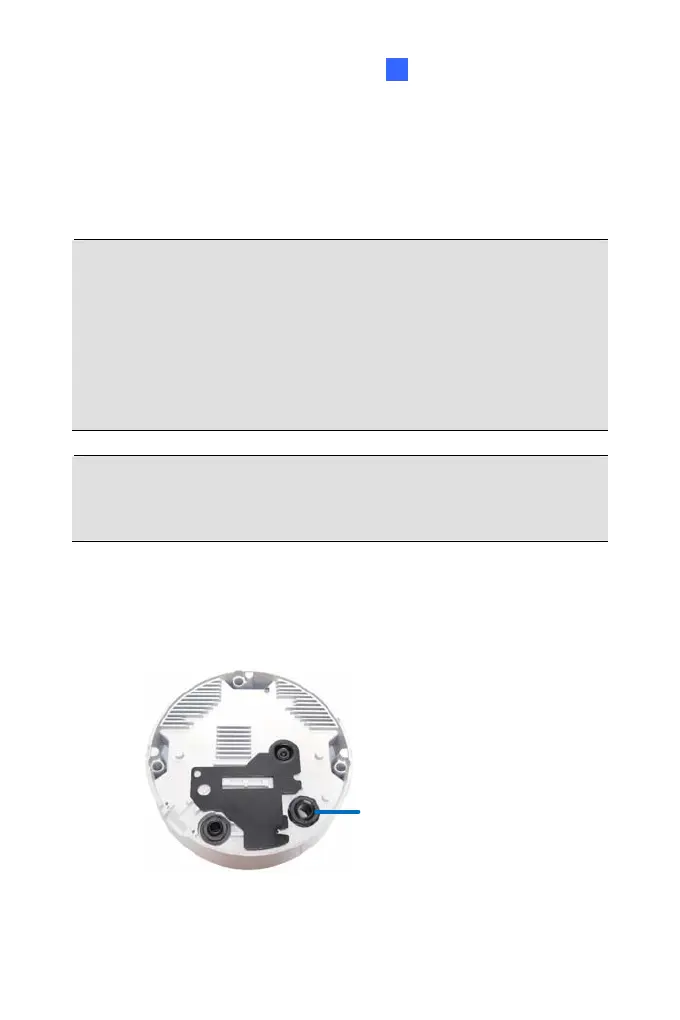
A. Unscrew the conduit connector from the back.
Conduit Connector
135
 Loading...