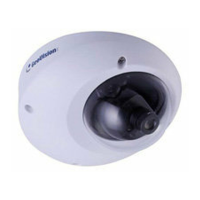
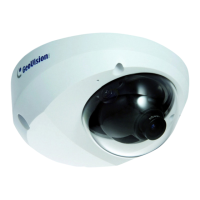
No. Name Description
1
Lens Receives images.
2
Microphone Receives sounds.
3
Lens Screw Loosens to adjust the camera lens.
4
RJ12 Port
Use the supplied RJ12 cable to connect
the camera lens and main body.
5
RJ12 Status LED
Turns on (green) when the camera lens
and main body are connected.
6
PoE Connects to a PoE adapter.
7
Status LED
Turns on (green) when the system is
ready.
8
Memory Card Slot
Inserts a micro SD card (SD/SDHC,
version 2.0, Class 10) to store recording
data.
9
Default Button
Resets to system default settings. For
details, see 24. Restoring to Default
Settings in the Quick Start Guide.
208
 Loading...