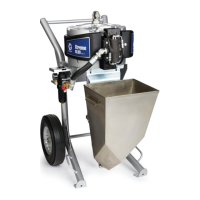
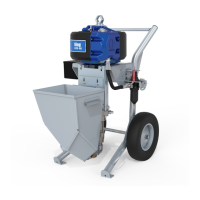
Wall Mount Assembly
26 311164M
Wall Mount Assembly
1. Ensure the wall is strong enough to support the
weight of the pump assembly and accessories, fluid,
hoses, and stress caused during pump operation.
2. Drill four 7/16 in. (11 mm) holes using bracket as a
template. Use any of the three mounting hole group-
ings in the bracket. See Pump Packages with
L290C# Lowers (16:1, 25:1, 45:1 ratio), page 50.
3. Bolt bracket securely to wall using bolts and wash-
ers designed to hold in the wall’s construction.
4. Attach pump assembly to mounting bracket (213).
5. Connect air and fluid hoses. Refer to Setup, page
12.
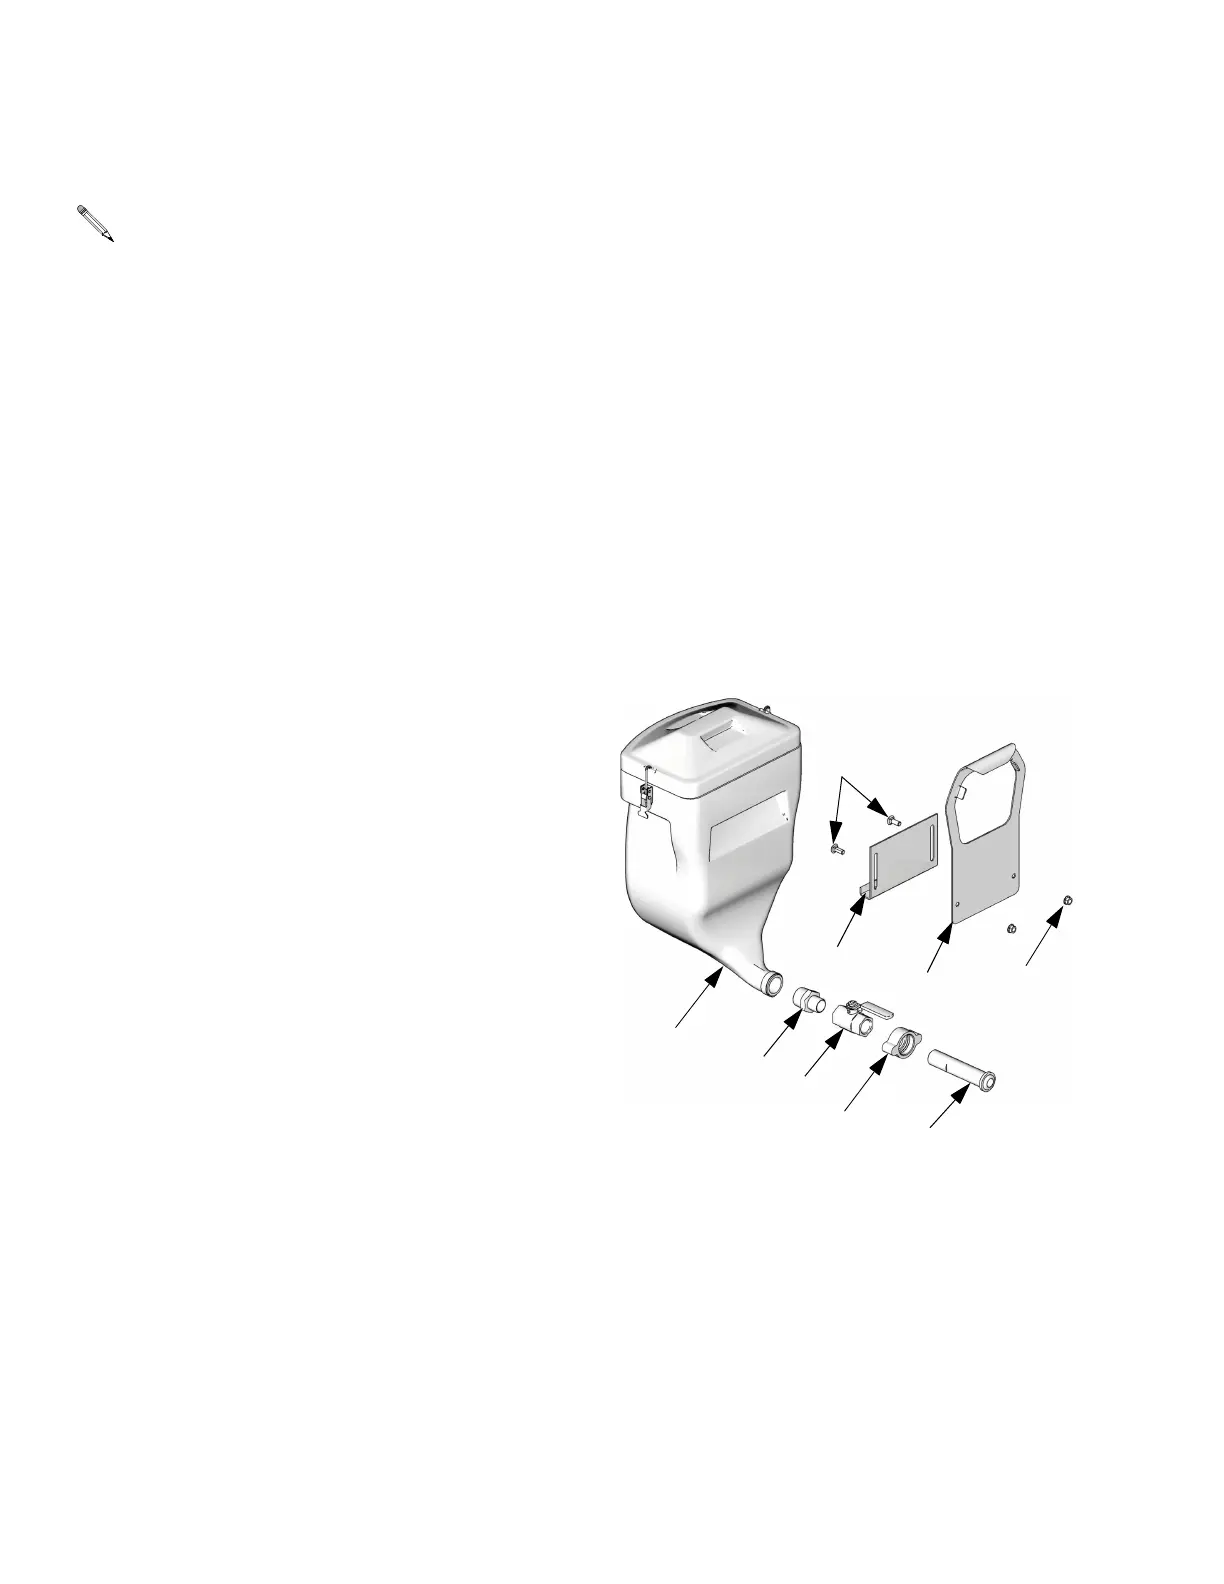
Hopper Assembly
1. Hang hopper bracket (109b) on hose rack of sprayer
cart.
2. Attach hanger bracket (109c) to hopper bracket
(109b) using supplied bolts (109f) and nuts (109g).
3. Remove fitting supplied with hopper (109a) and
replace with reducer (109n).
4. Hang hopper (109a) on bracket assembly. Adjust
bracket assembly height as necessary.
5. Assemble fittings (109d, 109m, and 109e) to hop-
per.
6. Attach quick disconnect fitting (109m) to fluid inlet
on pump lower.
7. Adjust bracket assembly height as necessary.
NOTE: Before mounting any pump assembly to
the wall always follow the Pressure Relief Pro-
cedure, page 13.
TI8631a
109a
109n
109d
109m
109e
109f
109c
109b
109g