Set the trigger coupling
6) a. Press “Setup” to skip to the trigger setup menu.
b. Press “Coupling” option key to select “DC”, “AC”, “HF rejection” or “LF rejection”.
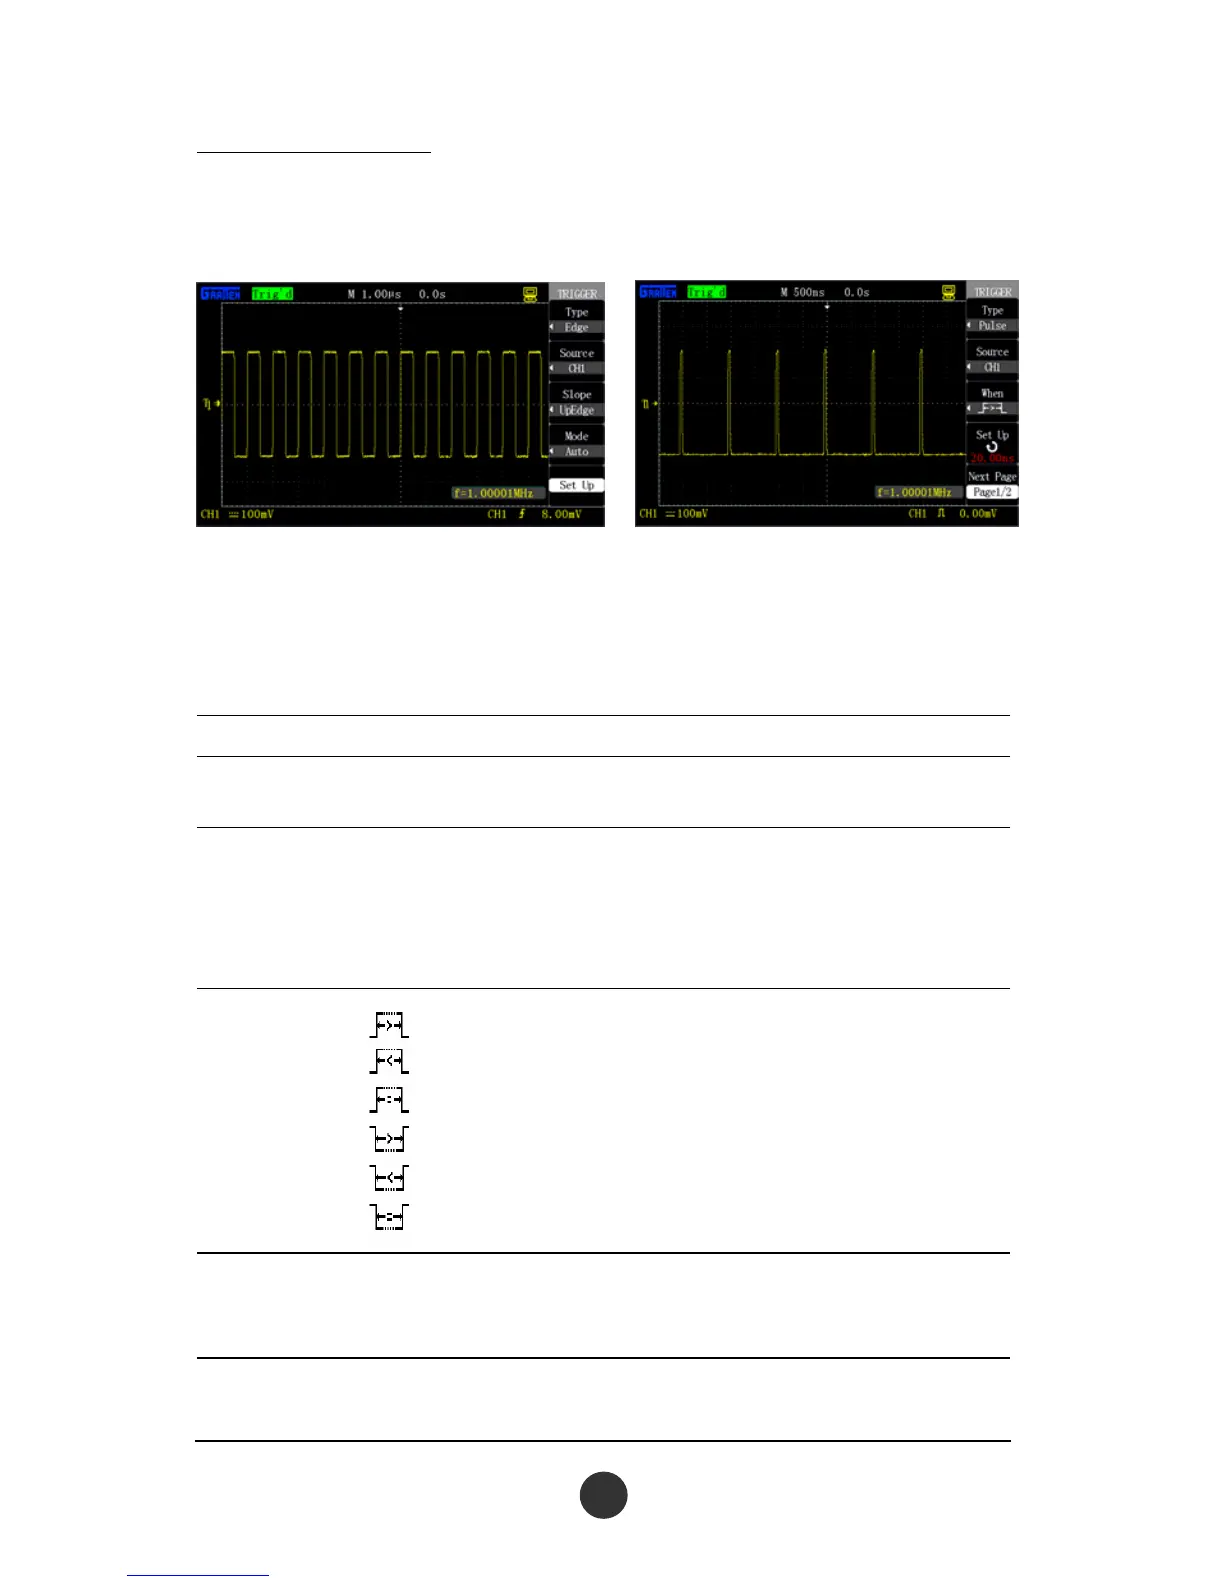
Figure 2-29 Edge trigger Figure 2-30 Pulse trigger
2. Pulse trigger: Set certain conditions to catch abnormal pulses,
as shown in figure 2-30.
Table 2-15 Page 1 of the pulse trigger function menu:
Option Setup Description
Type Pulse
Trigger the pulse satisfying the
condition when selecting pulse.
Signal source
CH1
CH2
EXT
EXT/5
See the signal source shown in
2.7.1.
Condition
Positive pulse width >
Positive pulse width <
Positive pulse width=
Negative pulse width>
Negative pulse width<
Negative pulse width=
Condition for triggering the pulse
relative to “Pulse width setup”
value
Pulse width
setup
20.0ns ~ 10.0s
Select the options to use the
[UNIVERSAL] knob to set the pulse
width
Next Page 1/2
Skip to page 2 of the pulse trigger
function menu